

.JPG)


Step by step instructions to create this checkerboard cake without any special pans. It's as delicious as it is pretty!

This dish is better than any Chinese takeout I've ever had! Step by step instructions make it so easy that even the inexperienced cook can make it!

 1
1 2
2 3
3Wednesday, September 16, 2015
Homemade Protein Bars
These are all natural, gluten free, sugar free, dairy free bars of awesomeness! They are my substitute for brownies. Did I mention they are easy to make? There are only 6 ingredients or 5 if you don't like coconut!

3 cups of whole almonds (if you get the 25 oz. package, as shown, you can use 1/2 of the package)
1 cup unsweetened coconut (if you don't like coconut, don't add it)
4 tablespoons cocoa
1/3 cup peanut butter (you could also use almond butter or sunflower seed butter)
1/3 cup honey
1/3 cup hot water
Grind up the almonds in your food processor. If you do not have a food processor, I'm sure you could use a blender. I haven't tried it, but I'm pretty sure it will work.

Add in the cocoa powder and coconut and process a little longer until the almonds and coconut are ground very fine. Transfer the mixture to a mixing bowl and add in the peanut butter, honey and hot water. Stir until everything is incorporated, mixed up, all one color. You get the picture.

I use a square pan to make the mixture into bars. There's no need to grease the pan. Just push the mixture down evenly and then put in the freezer for about an hour or so. Cut into bars. I usually cut mine into bars and put them in individual snack size ziplock bags.

Thursday, August 27, 2015
Rotisserie (Taste) Chicken in a Crockpot
We all know it's not a rotisserie chicken if it's not cooked on a rotisserie. After you make this chicken you won't care if it was on a stick or in a pot. All you'll care about is how to get more of it! Did I mention it's simple too?
1 Whole Chicken
3 teaspoons salt
1 teaspoon paprika
1 teaspoon onion powder
1/2 teaspoon thyme
1 teaspoon oregano
1 onion
Stir all the seasonings together in a big bowl.
Check the inside of your chicken for a bag with the livers and other stuff in it. If it's in there, pull it out. What you do with it is your business. I throw mine away.
Rinse your chicken inside and out.
Put the chicken in the bowl and roll it around and rub the seasonings all over it.


Take a whole onion and quarter it and put it inside the chicken.
Put the chicken breast side down (in the picture it is breast side up) in the crockpot. Depending on how big your chicken is, you'll want to cook it on Low for at least 8 hours. I get the biggest chicken I can find and cook it on Low for 10 hours.
If you have any leftovers, they are great to use in my Chicken Enchilada Casserole.
Sunday, July 19, 2015
You've asked. You've begged. You've pleaded. So here I am. Back by popular demand!
As some of you know, right now I'm in the middle of a "two week test". So, if you are gluten free, paleo, omnivorous, low carb, high protein or just want to generally eat healthy, this recipe will work great for you.
I found this recipe at Paleo Leap.

Ingredients:
8 ounce can tomato sauce
8 ounce can water
1/4 cup chili powder
1/4 teaspoon garlic powder
1/4 teaspoon onion powder
1/4 teaspoon cumin
1 1/2 lbs. boneless chicken
2 bell peppers
1 red onion
6 green onions
1 avocado
Lettuce
Tomatoes
Sour cream
Salsa
Preheat oven to 375 degrees.
I'm not the best planner and I'm bad about deciding to do things at the last minute (just ask my husband!) so around 1 p.m. when I decided to make this for supper, my chicken was partially frozen. I put it in the crockpot and added about a cup of water and cooked it on high for about 4 hours. If you plan better than me, you can put your chicken in the crockpot and cook it on low for 8 hours. You can also put thawed chicken in a pan, cover it with water and boil it for about 30 minutes. Or if you have leftover chicken, use it. However you decide to do it, start with cooked chicken and shred it.


I used two forks to shred my chicken and then put it in a baking dish.

Next, I chopped up the green onion, bell peppers and red onion and put it on top of the chicken.
Then I made the enchilada sauce. The recipe on PaleoLeap said to cook it for 10 minutes, but I figured since it was going to be in the oven and there was nothing in the sauce to thicken it up, it would be just fine without cooking it first and it was.

I mixed the tomato sauce, water, chili powder, garlic powder, onion powder and cumin up in a bowl and poured it over the chicken and vegetables in the baking dish. Then I stirred everything up and put it in the oven.

While the chicken was baking, I sliced up an avocado and some lettuce. You can chop up a tomato as well. I just wasn't in the mood tonight for a tomato.

After the chicken was done I put it on a plate and topped it with the lettuce, avocado and sour cream. I was going to top it with some salsa too, but I forgot. It was good without it, but it would have been good with it on there too!
If you try it, let me know!
Tuesday, December 31, 2013
I know I haven't posted in a while and I might start back again if I get a little time. I found these freezer meals on another blog and I wanted to be able to find it again. I figured the best thing to do would be to put it here. You might want to see it too. Just click here >>> A month of freezer meals in one day.
Saturday, April 28, 2012
Get Your #CoronaRita On At Chili's!
This is a Sponsored post written by me on behalf of Chili’s Grill & Bar for SocialSpark. All opinions are 100% mine.
You must be 21 years or older to drink alcoholic beverages and as always, please remember to drink responsibly.
I don't know about your neck of the woods, but in mine we just skipped right over spring and now it's summer. For us that means it's time to ride! One of our favorite things to do is ride to Hot Springs and eat out and one of our favorite restaurants is Chili's. It's almost Cinco de Mayo and normally we don't go out of our way to celebrate it, but if it gives us an excuse to go out and have a good time with family and friends then we'll take it!

Last time we ate at Chili's, my friend's baby back ribs jumped off her plate and landed on the floor. She was going to eat them anyway (5 second rule and they looked so good!), but the waitress was kind enough to bring her some more. I didn't want to chance another mishap so I didn't ask to try them, but next time we go I think I will.
Have I ever mentioned that I used to wait tables at Chili's? I did back when I was going to college years ago. We won't discuss how many years ago that was. Their menu has come a long way since then, but they still have my favorite, the Crispy Chicken Tenders with corn on the cob. Back then they had glass mugs and I could carry four in each hand. Not that you care about that, but for me it was quite an accomplishment. Of course, it's always nice to be the one on the other side of the table being waited on. The staff at Chili's is always great even when our friends are a little obnoxious. They always make sure we have a great time.
I'm sure the new CoronaRita at Chili's would go great with a plate of saucy baby back ribs or crispy chicken tenders. It's a margarita made with Jose Cuervo Especial and a Coronita. Usually I'm not a beer drinker, but I do like margaritas and occassionally will drink a Corona. What do you think? Does it sound like it might be worth a try?

If you're a fan of Chili's too, leave me a comment and let me know what your favorite thing to eat there is!

Friday, November 11, 2011

A Penny Saved is a Penny Earned and The Country Cook are hosting a Foodie Friday Link-Up Party. It's a great place to visit if you're looking for something new or a different version of something old! I added my link for Angela's Baked Beans. It's a great dish for this time of year and the perfect dish to take to a potluck.
Tuesday, October 25, 2011
Sunkist S'alternative Sodium Quiz
This post brought to you by Sunkist S’alternative. All opinions are 100% mine.
Sunkist wants to know, do you really know as much as you think you do about how much salt is in your food? I took the Sunkist Sodium Quiz and I didn't do too bad.

I guess I know more than I thought I did about salt in my food! So now it's your turn. The quiz is just a few questions about your choice of food based on different situations. It only takes a minute, so take it and let me know your results!

Did you know lemons are sodium-free? Sunkist S’alternative uses lemons instead of salt to add flavor to your food, as well as potassium, essentially making it healthier for you and your family.
Here's a recipe you can try:
Sunkist® Lemon Seafood Paella -
Ingredients: (Makes 8 servings)
*1- 32 oz can low sodium vegetable broth
*1 cup dry white wine
*1 teaspoon saffron threads
*1lb. of firm, fresh pieces of whitefish such as tilapia, bass, halibut and swordfish, cut into 16-21 pieces
*1lb. or 16-21 mussels, cleaned and de-bearded
*1lb. or 16-21 medium sized clams, rinsed
*cup chopped fresh parsley
*3 Sunkist® lemons, zest and juice
*3 Tbsp. olive oil
*1 _ cups minced onion
*3 cloves garlic, minced
*teaspoon crushed red pepper
*3 cups uncooked short-grain rice such as Valencian, Arborio, or Calrose
*1 cup frozen green peas
*1- 8oz jar of sliced, roasted red peppers
Instructions:
• To prepare broth, combine all the ingredients in a saucepan. Bring to a simmer (do not boil). Keep warm over low heat.
• To prepare paella, heat 3 tablespoons olive oil in a large paella pan or large skillet over medium-high heat. Add fish pieces to pan and sauté 1 minute. Remove fish from pan, reserve and keep warm. Add onion to pan and sauté 5 minutes. Add the lemon zest, garlic and crushed red pepper and cook 5 minutes. Add rice and cook 1 minute longer, stirring constantly. Stir in broth, bring to a low boil and cook 10 minutes, stirring frequently.
• Stir in the peas and red pepper slices. Add mussels and clams to pan, nestling them into rice mixture. Cook 5 minutes or until shells open; discard any unopened shells. Stir in the reserved fish and chopped parsley and cook 5 minutes. Remove from the heat, stir in lemon juice and check for seasoning. Cover with a towel and let stand 10 minutes before stirring.

This actually sounds like something I would try, well, minus the mussels and clams. The rest of it sounds pretty good. I can definitely see how you could substitute lemons for salt.

Monday, October 24, 2011
Monte Cristo Sandwich
For probably about two years now, my husband has been begging me to make him a Monte Cristo. The main reason it took me so long to make one was because I had no clue what it was. He tried to explain it to me and I guess I could have looked it up, but I just never got around to it. That was until I started working at the coffee shop and needed to come up with new sandwich ideas. So, I decided it was a good time to figure out what this Monte Cristo sandwich was all about.
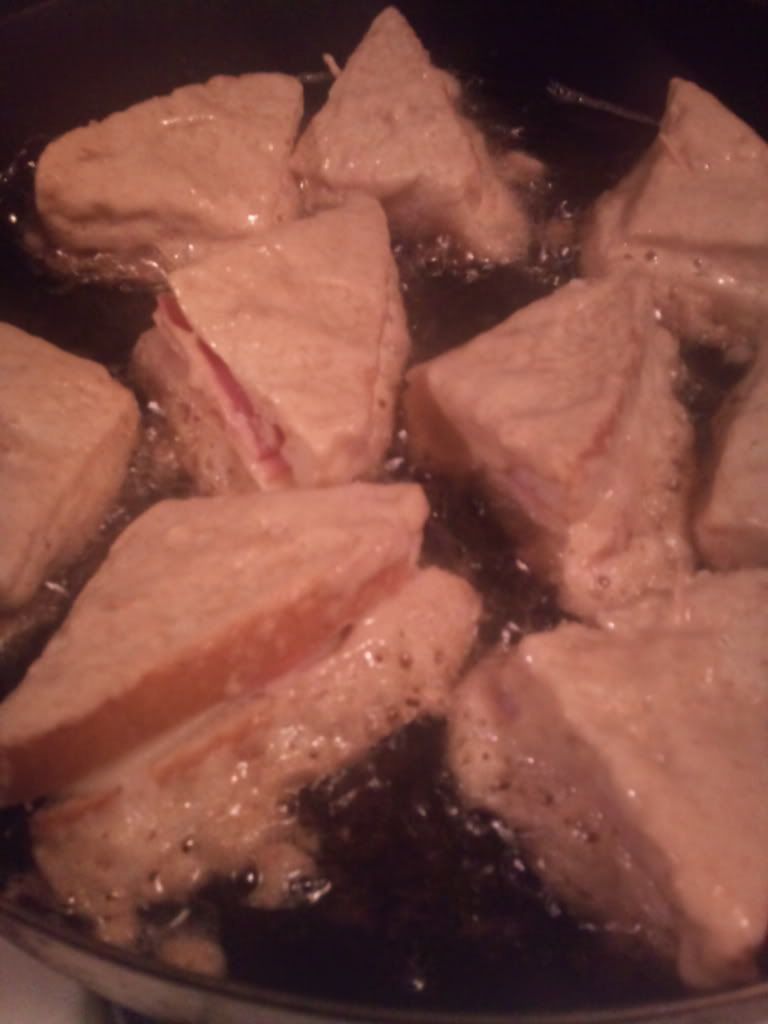
Basically, a Monte Cristo is a sandwich you dip in french toast batter and fry. It's actually a whole lot simpler to make than I thought it would be. I found a recipe on allrecipes.com called Monte Cristo Sandwich - The Real One.
Ingredients
Directions
- Heat 5 inches of oil in a deep-fryer to 365 degrees F (180 degrees C). While oil is heating, make the batter: In a medium bowl, whisk together the egg and water. Combine the flour, baking powder, salt and pepper; whisk into the egg mixture until smooth. Set aside in the refrigerator.
- Assemble sandwiches by placing one slice of turkey on one slice of bread, a slice of ham on another, then sandwich them with the Swiss cheese in the middle. Cut sandwiches into quarters, and secure with toothpicks.
- Dip each sandwich quarter in the batter so that all sides are coated. Deep fry in the hot oil until golden brown on all sides. Remove toothpicks and arrange on a serving tray. Dust with confectioners' sugar just before serving.
After reading the reviews of this recipe, I decided I didn't need a quart of oil. I poured about 1/4" of oil in a skillet and waited until I had assembled the sandwiches to start heating it up.
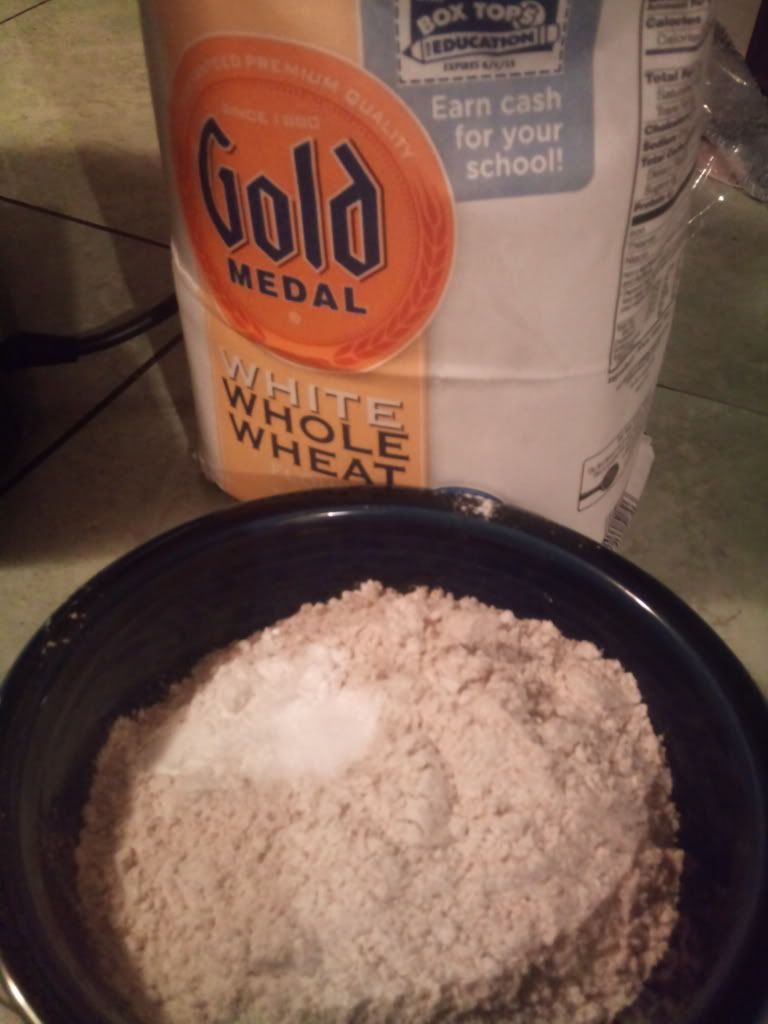
First, I made the batter. I mixed the flour, baking powder, salt and pepper in a small bowl and then used a whisk to mix it into the egg and water. The flour I used is the new Gold Medal White Whole Wheat Flour which actually gave this really good flavor.
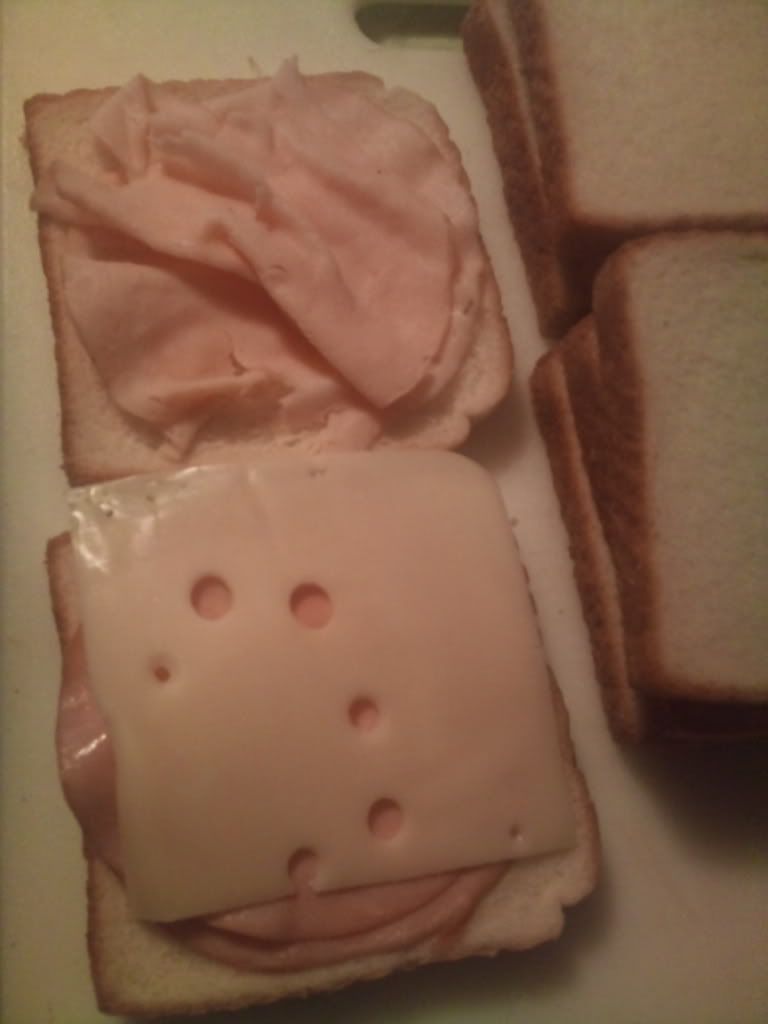
Next I assembled the sandwiches. Instead of following the directions, it's easier to just place the turkey on one piece of bread, then the swiss cheese, then the ham and top it with the other slice of bread. You can see by the picture, I tried it by the directions first and it works, but it's just easier to do it the other way!
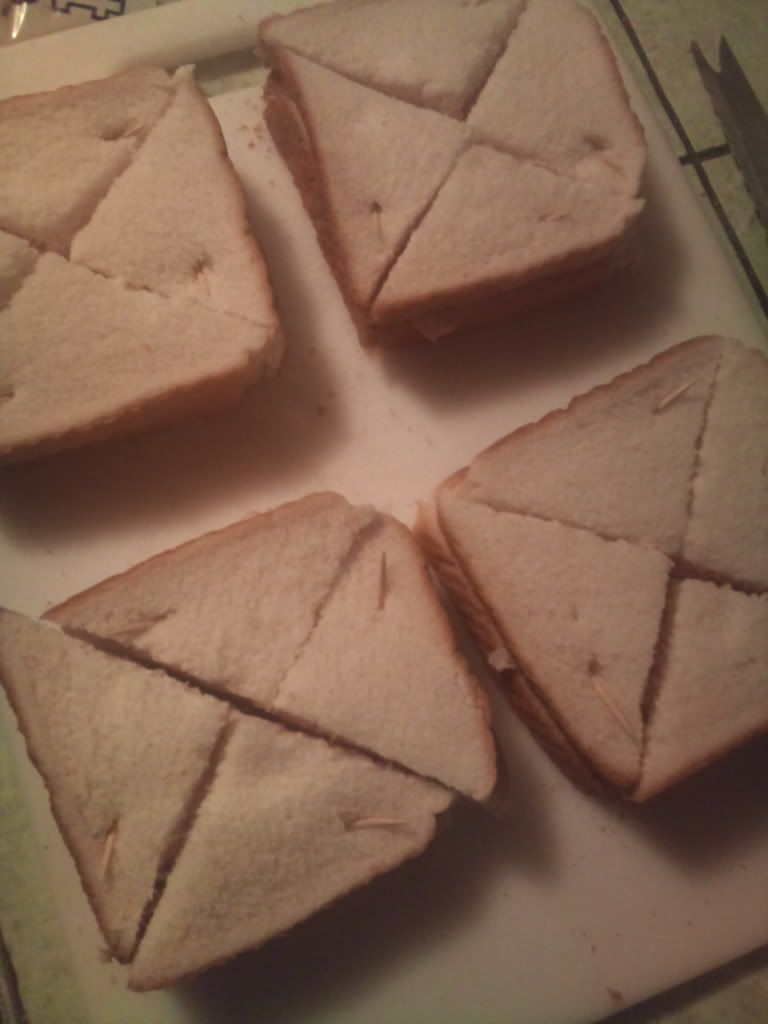
I cut the sandwiches into quarters and stuck toothpicks into them to hold them together. The first sandwich I stuck the toothpicks vertically, but decided that wasn't going to work, so I ended up sticking them in kind of diagonally. While I was doing all of this I turned my burner on medium high to let the oil start heating up in the skillet.
Now for the fun part! I dunked each little sandwich in the batter and put it in the skillet. I coated the sides as well as the top and bottom on the first couple of sandwiches. They quickly got soggy and were hard to handle so the rest of them I just coated the top and bottom which worked out because as the sandwiches cooked, the batter dripped down the sides a little.
After they browned on one side, I flipped them over and let them brown on the other side.
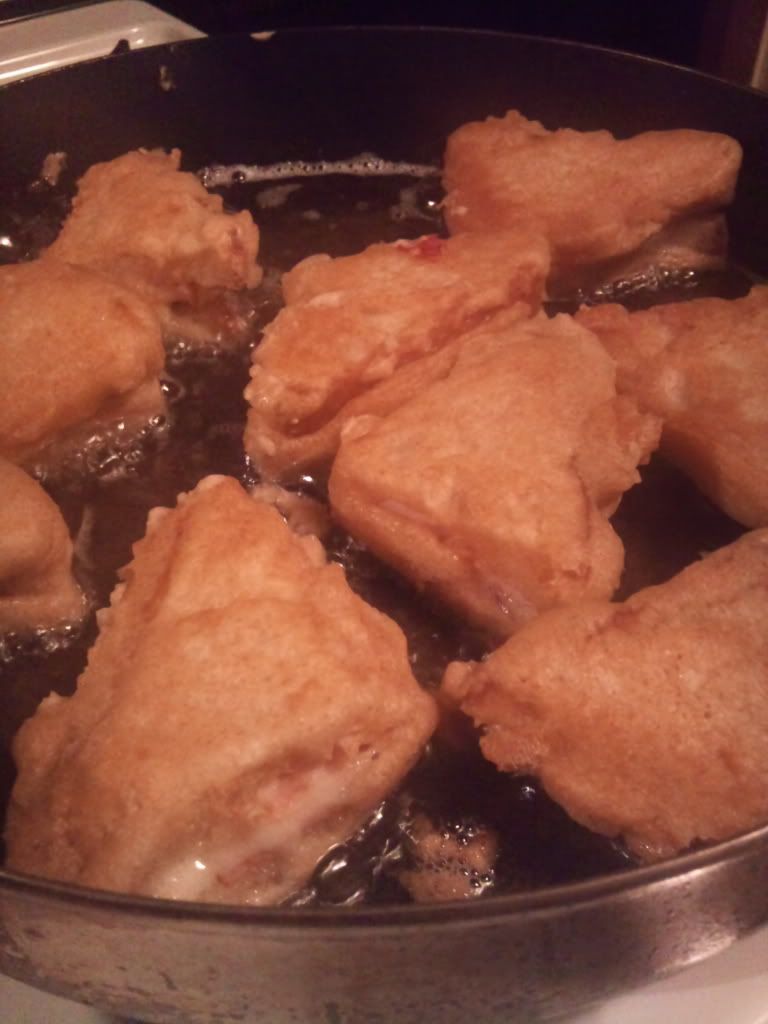
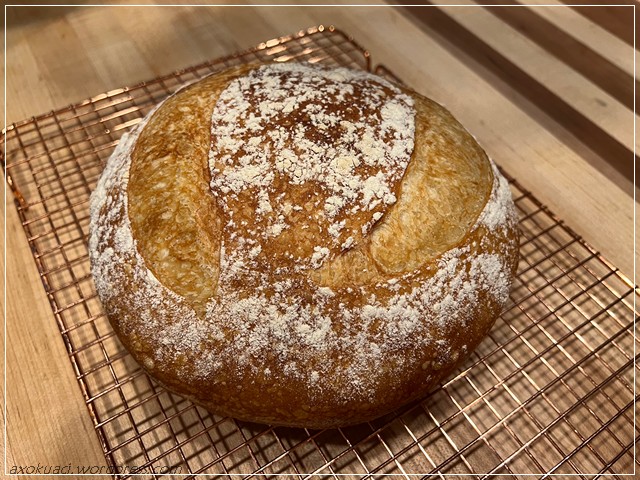
Once they were browned, I put the on a rack to drain and then dusted the tops with powdered sugar.
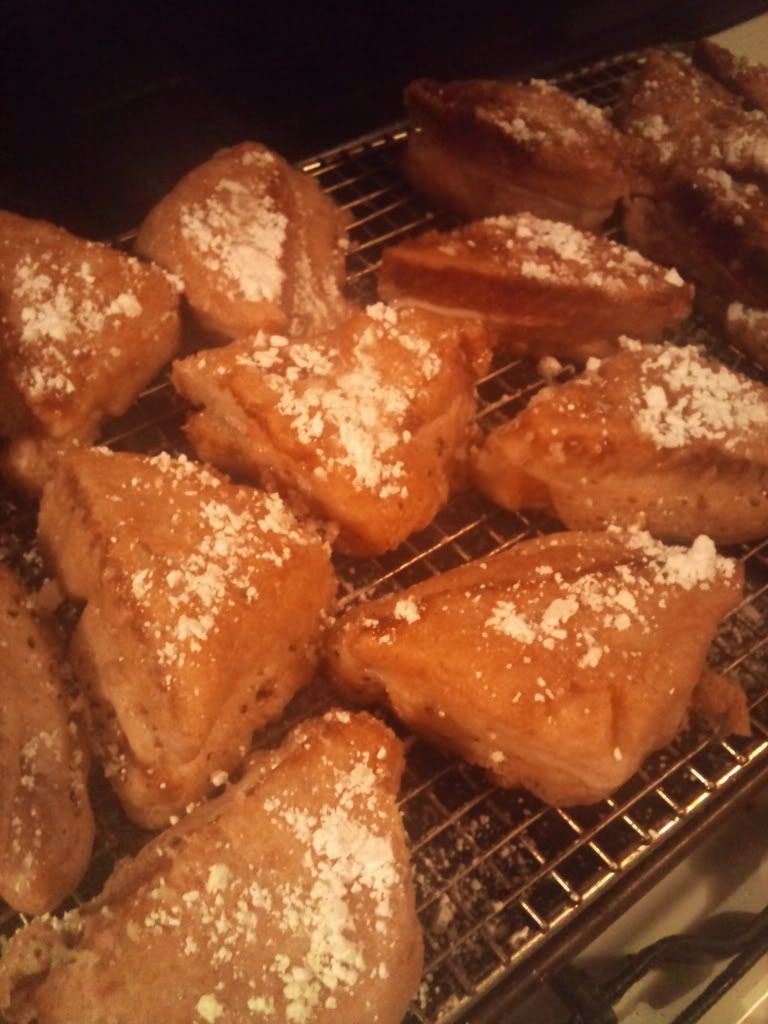
I put a couple on a plate and gave it to my husband to try. Oh yeah, I pulled the toothpicks out of the first couple of sandwiches and then just warned him that they were in there on the second round! He said he would have given this a four helping rating if he could have eaten that much!

Some suggestions say to eat these with currant jelly. We ate them with strawberry jam and the leftovers with syrup. I made a similar version of these for the coffee shop and called it a Cafe' Monte Cristo. I made the sandwiches using french toast, grilled them and dusted them with powdered sugar. They were a hit!
Monday, September 26, 2011
Double Peanut Butter Cookies
I know it's been almost a month since I've posted anything. Trust me, I've been having withdrawls! We had a little incident with my blogging machine (our laptop) and well, it's out of commission now so it's a little more difficult to post. No worries though! Hubby is feeling the pain. He's been eating grilled turkey sandwiches and nothing much more exciting than that. So today he told me it won't be long before we replace the laptop and in exchange I'll make an effort to cook something interesting at least once a week and share it with you while he watches regular TV instead of Netflix. Now for the Double Peanut Butter Cookies and the giveaway you've all been patiently waiting for!
Gold Medal asked me to try their new White Whole Wheat Flour. They sent me several different recipes to choose from and since I'd already bought peanut butter specifically with the intention of making peanut butter cookies, I decided on this recipe.
1 cup packed brown sugar
1/2 cup creamy peanut butter
1/2 cup butter or margarine, softened
1 egg
1 1/4 cups Gold Medal® white whole wheat flour
3/4 teaspoon baking soda
1/2 teaspoon baking powder
1/4 teaspoon salt
1 cup peanut butter chips (6 oz.)
2 tablespoons granulated sugar
Heat oven to 375ºF. In large bowl, beat brown sugar, peanut butter, butter and egg with electric mixer on medium speed until creamy.
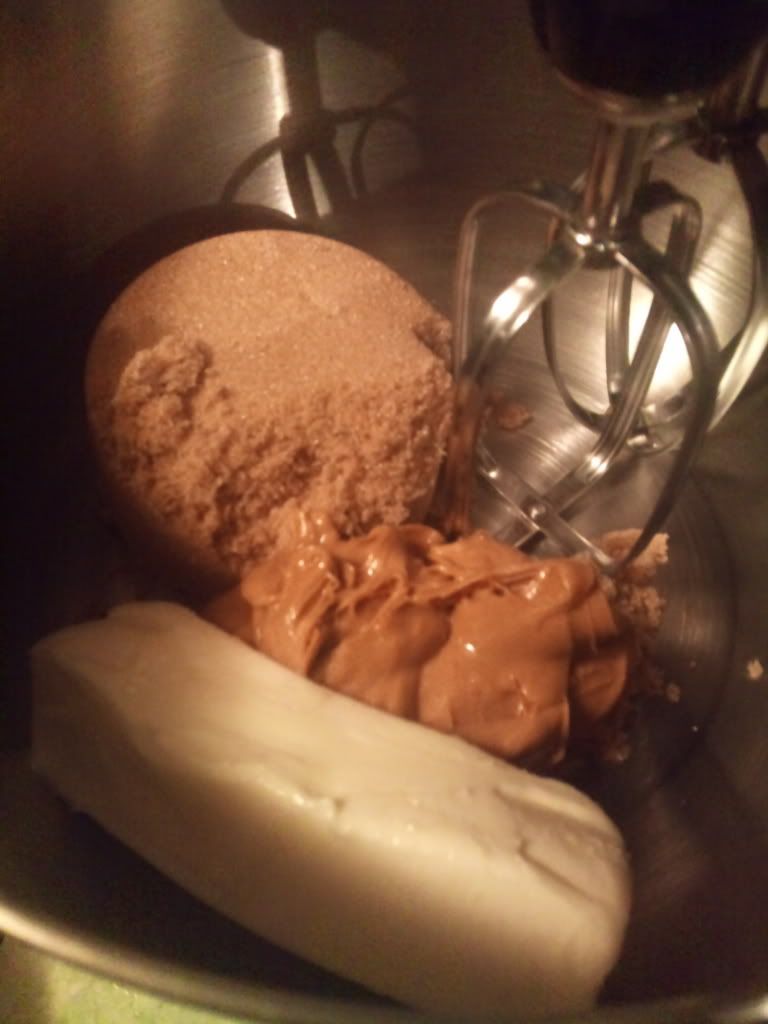
I took the butter straight out of the fridge and softened it in the microwave for about 20 seconds. I'm not the greatest with following recipes and realized that I'd left out the egg. Good thing I caught it before it was too late!

On low speed, beat in flour, baking soda, baking powder and salt.
I mixed the flour, baking soda, baking powder and salt in a small bowl before I added it to the mixing bowl.
Once the flour was somewhat mixed in, I scraped the bowl and beat it just a little longer to make sure it got evenly mixed.
Well, that picture is a little blurry, but you get the picture. It's starting to look like cookie dough!
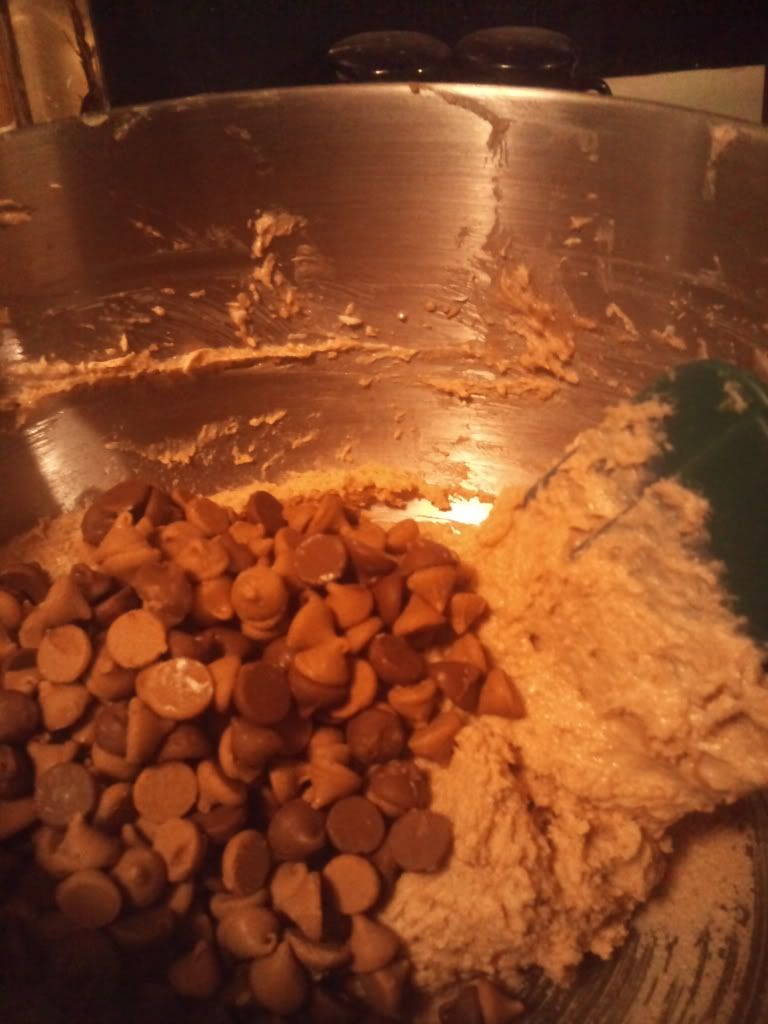
Stir in peanut butter chips.
I couldn't find plain peanut butter chips, but I did find some that were half peanut butter and half chocolate chips. Trust me, I didn't complain!
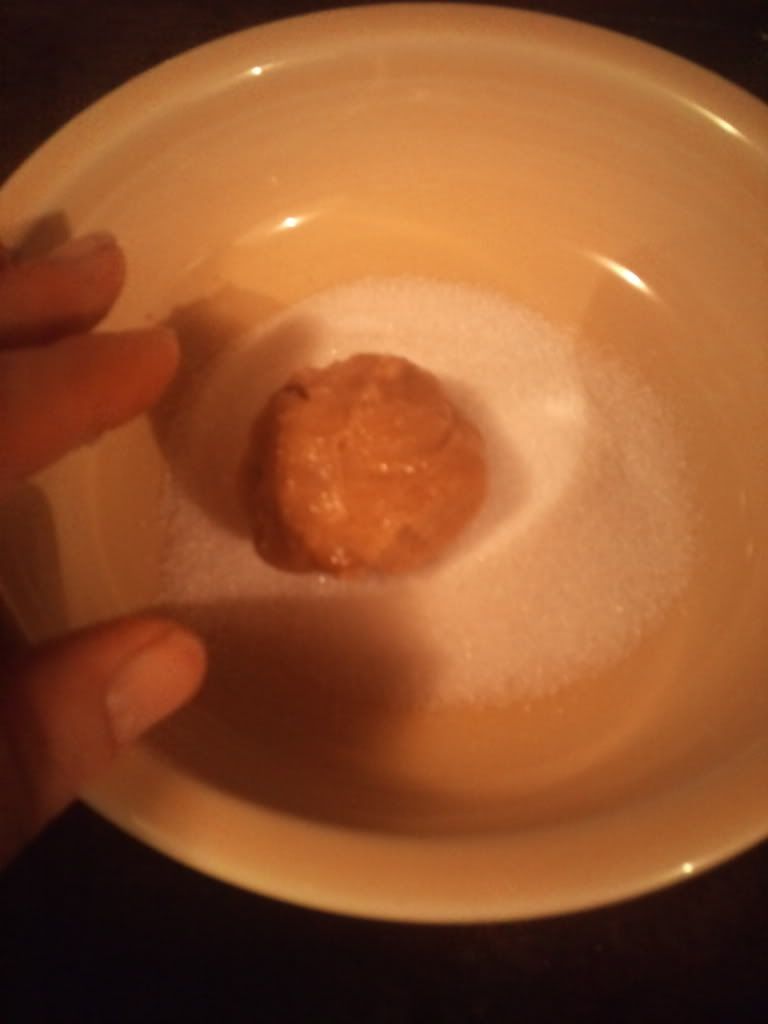
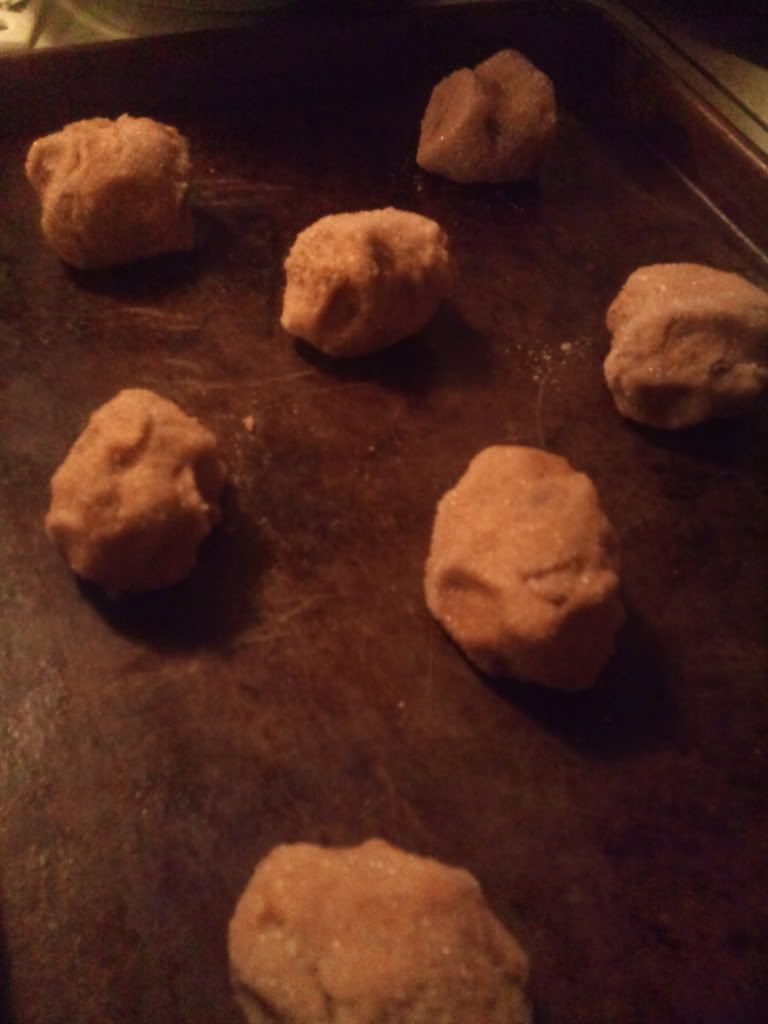
Shape dough into 1½-inch balls.
I figured golf ball size was about right and I think I was right. I ended up with about 22 balls and the recipes said it should make about 2 dozen.
Coat balls with granulated sugar.
After I put the sugar in a small bowl, I just rolled the balls around in it.
On ungreased cookie sheets, place balls about 2 inches apart (do not flatten).
Bake 9 to 12 minutes or until light brown.
All ovens bake differently, so I set my timer for 8 minutes and checked the cookies. After 9 minutes they were perfect.
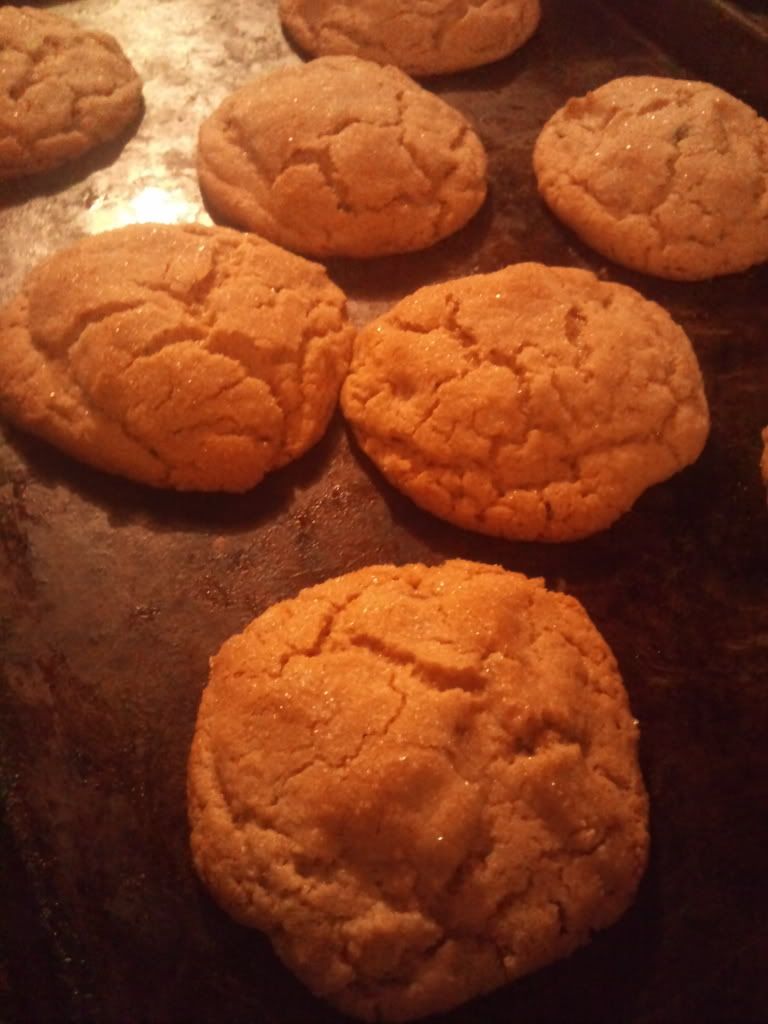
Cool 5 minutes; remove from cookie sheets to cooling racks. Cool completely; store tightly covered.
They should have added, what cookies you have left, let them cool completely; store tightly covered! I think we ate almost half a dozen before they had even cooled 5 minutes!
These were really good cookies! I could tell a little bit of difference in the flour, but it had nothing to do with taste. As a matter of fact, I'm not exactly sure how to describe it, but it had to do with after eating the cookie I noticed there were like a few little flakes of what I guess were the ground up wheat hull or something. It wasn't anything that would stop me from making these again and eating them! My husband didn't have any complaints so he probably didn't notice it. I figure the only reason why I noticed is because I'm a princess and the pea kinda girl.
Now let's get to the giveaway part! Here's what you'll win, compliments of Gold Medal:

You'll get the recipe cards, a coupon for full price on a bag of Gold Medal White Whole Wheat flour and a cookie jar. I love my cookie jar! I'm actually thinking about using it for my Gold Medal flour.
To enter, leave a comment telling me your favorite cookie recipe or what you'd like to make substituting white whole wheat for regular white flour. If you can't leave a comment here for some reason, you can leave your comment on the Cooking With Kick Facebook page.
You can also enter by following me on Twitter @cookingwithkick. Be sure to send me a tweet letting me know that you're following me!
Make sure I can get in contact with you either through Facebook, Twitter or by email to get your address if you win.
You have until 11:59 p.m. CST Sunday, October 2, 2011 to enter. The winner will be announced Monday afternoon. Good luck!
For more information on Gold Medal White Whole Wheat Flour, you can visit these websites:
"Disclosure: The Gold Medal White Whole Wheat flour product, information, and giveaway have been provided by Gold Medal through MyBlogSpark."
Wednesday, August 31, 2011
Tamale Pie
The other day I was trying to decide what to make for supper and in the back of my mind I kept hearing Jackie from Syrup and Biscuits say "use what you got." So I started looking around in the pantry and the fridge and saw I had some taco seasoned ground turkey, enchilada sauce and cheese, but no tortillas. Then I remembered my mother-in-law telling me about a tamale pie she had made from the recipe on the side of a cornmeal bag. Well, I then remembered I had used up the last of my cornmeal making fried okra a few weeks ago, but I did have a box of Jiffy cornbread mix. So I decided I would just have to invent my own and that's what I did.
1 pound Taco Seasoned Ground Turkey
1 can Enchilada Sauce
1 can Cream Corn
1 box Jiffy Cornbread Mix
1 Egg
1/3 cup Milk
1 cup cheese
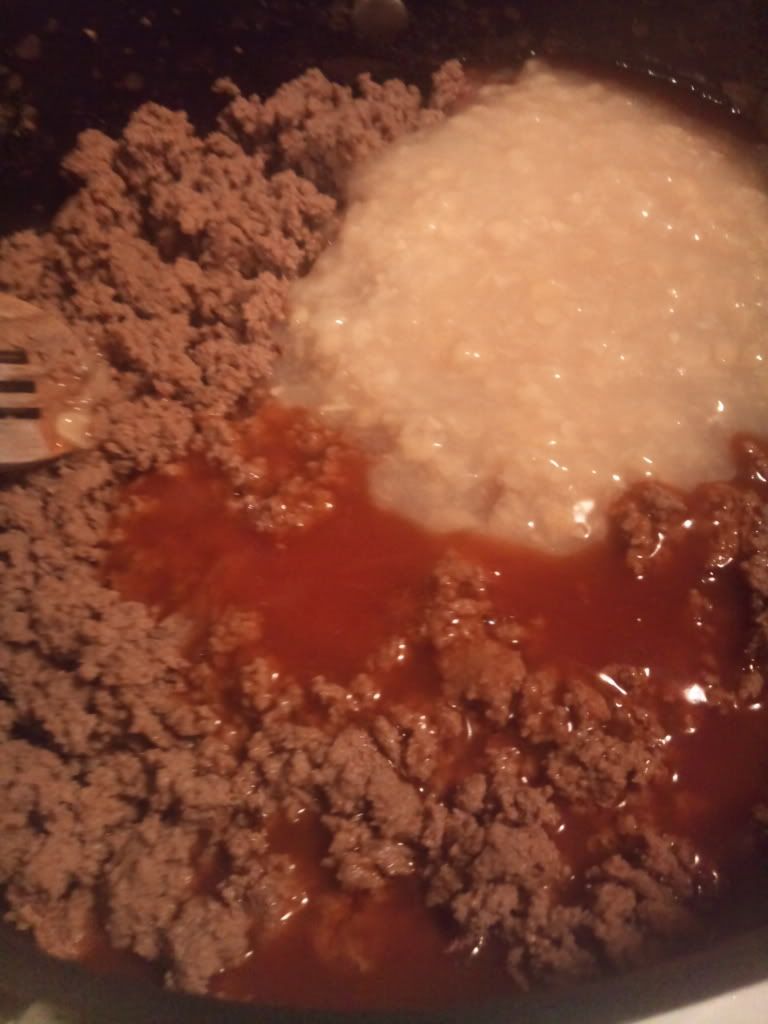
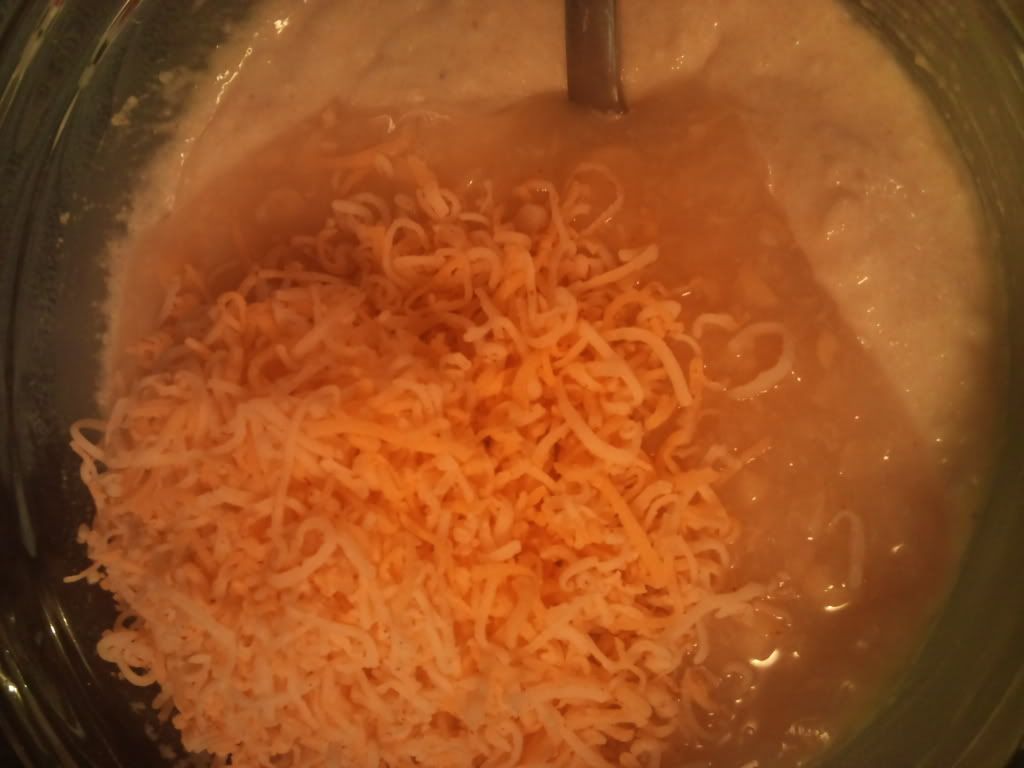
I browned the ground turkey in a skillet. If you've been reading my blog, then you know I'm a fan of the seasoned ground turkey. It'll still work out about the same if use ground beef or ground turkey and a packet of taco seasoning. Once the turkey was brown I drained it and put it back in the skillet and added the can of enchilada sauce and half the can of cream corn.
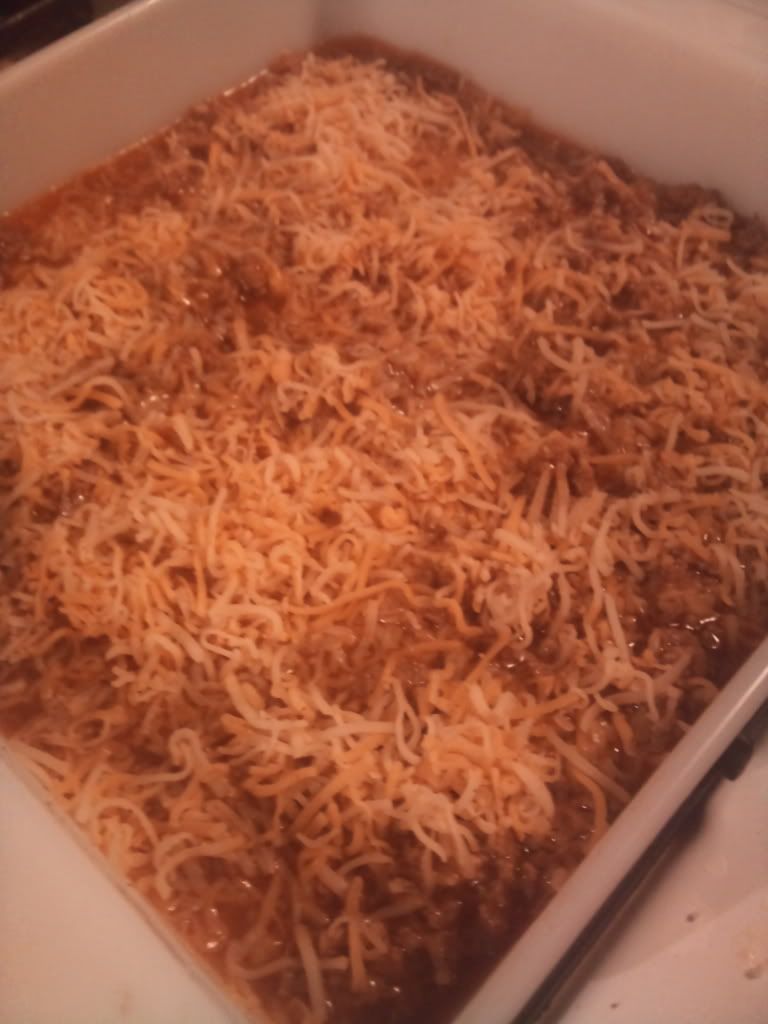
Once that was all stirred together I poured it in a square casserole dish and sprinkled it with about a 1/2 cup of cheese. I went ahead and turned the oven on 350 degrees so it could be heating up while I finished getting it all together.
Next, I poured the cornbread mix, egg and milk in a bowl and mixed it together.
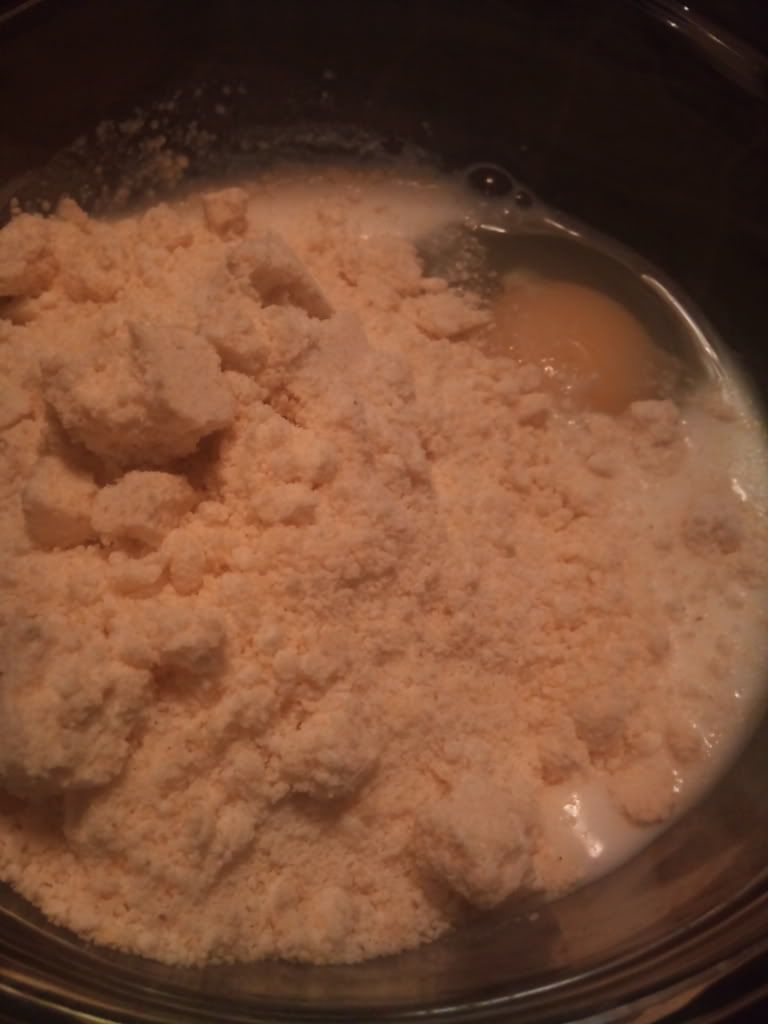
I kind of poured and spooned the cornbread batter on top of the meat, making sure it all got covered.
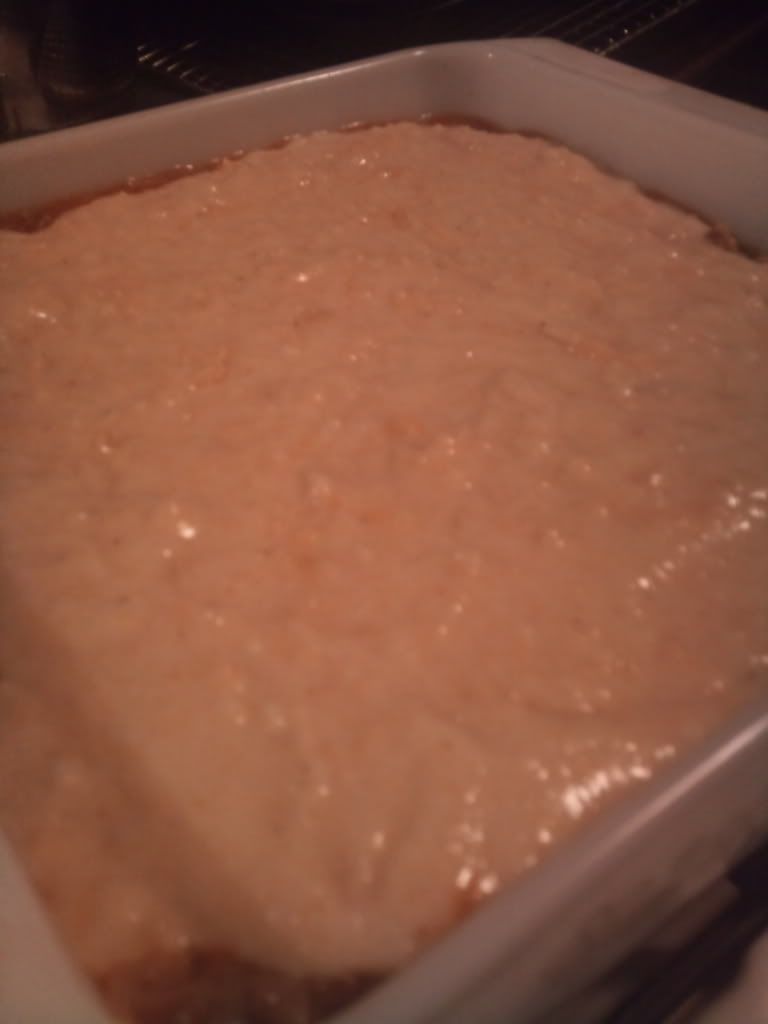
It baked for about 25 to 30 minutes, until the top wasn't spongy and the edges were starting to brown.

Hubby said the only thing he would've done different was more meat and less cornbread. Personally, I think a pound of meat was plenty, but next time I think I'll add a can of regular or mexi-corn to the meat mixture to make it stretch a little further.
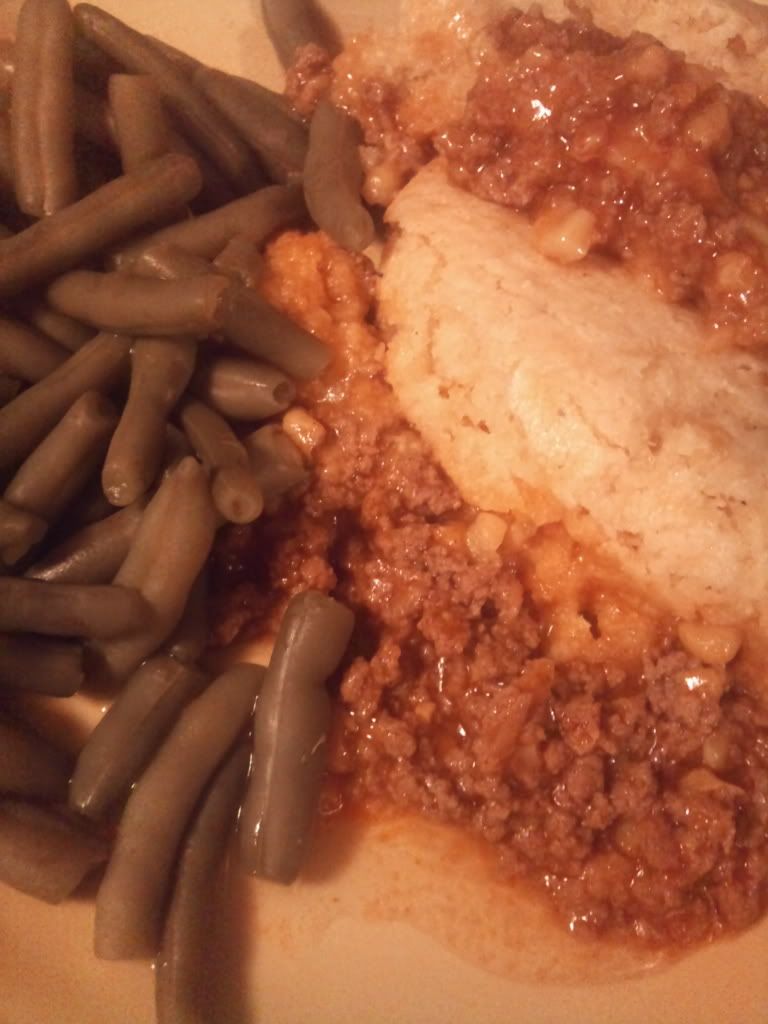
Needless to say, he really liked it because there weren't any leftovers. He gave this a three-helping rating! It generously serves 2 to 3 and if you added the additional can of corn, would definitely generously serve 4.
Monday, August 22, 2011
Angela's Baked Beans
Angela is my sister-in-law. When my husband and I got married, his brother was deployed in Iraq and his family lived in New Jersey. They recently moved back here to Arkansas, so I'm still getting to know her. My mother-in-law emailed me the recipe for Angela's baked beans and let me tell ya, she's got it going on!
This recipe is so easy, yet so dang good! Here's what you need to make her awesome baked beans:
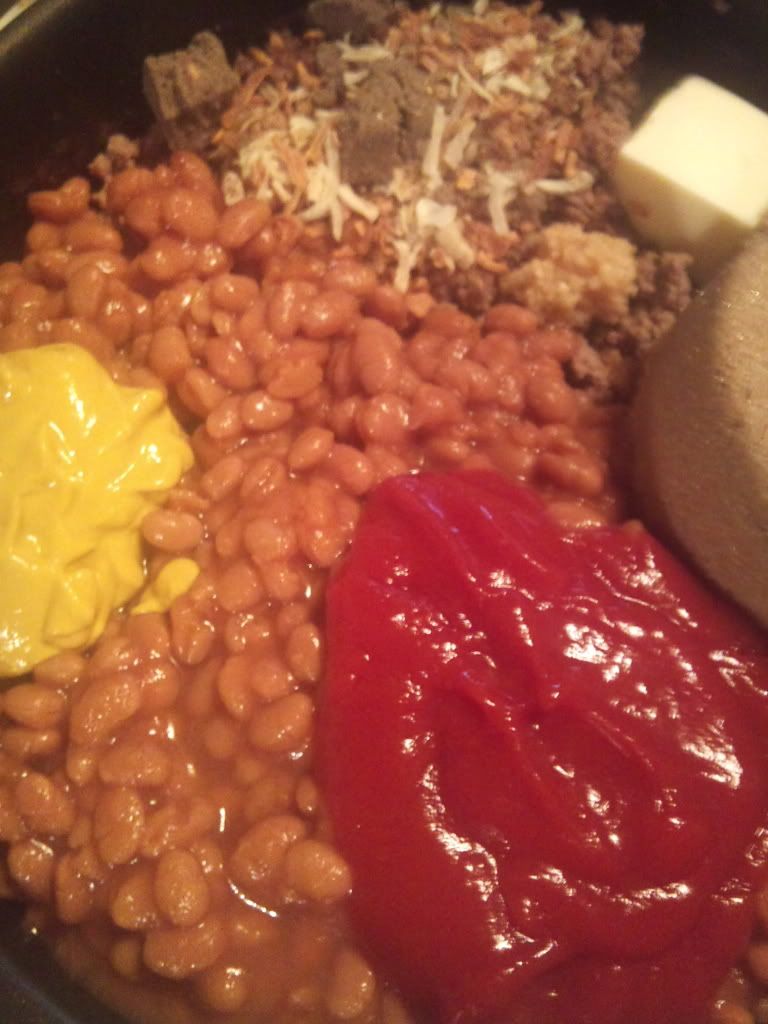
Next, drain the meat and put it back in the skillet and mix in the rest of the ingredients.
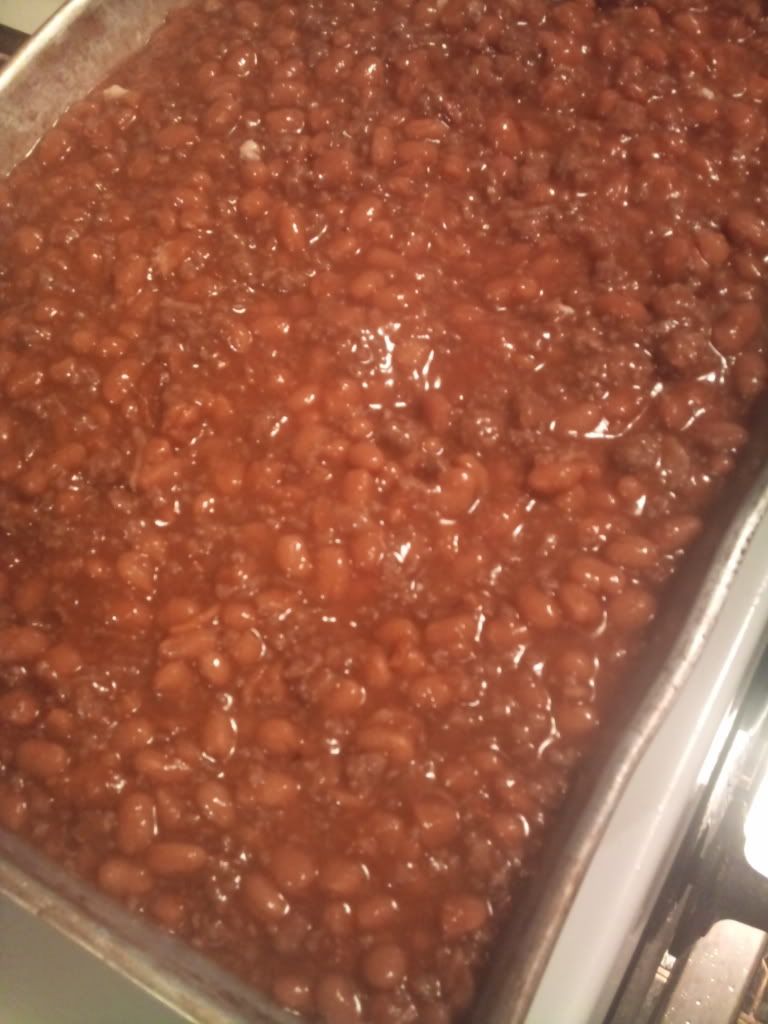
Pour into a baking pan and bake on 350 degrees for about an hour.
That's it! Can you believe it? I took these to a potluck and there wasn't even one bean left in the pan!
The other day Valerie with Simple Fare, Fairly Simple posted the recipe for this cake. I remembered someone telling me about their grandma making a cake similar to this where you pour the condensed milk over the cake and frost it, but I never knew what kind of cake they were talking about. So when I saw this one I thought, this must be it! It sounds so good I've got to make it.
I had all the ingredients on hand except for the evaporated milk and baking powder. Baking powder and I do not get along at all, but I decided for the sake of trying to follow a recipe EXACTLY like it says that I'm going to try my best to be nice and use the baking powder and I'm going to hope it'll return the favor and be nice to me! So, I ran to the store and got what I needed and now I'm ready to get down to business and make this cake.
Alrighty, here goes...
Laptop on kitchen table with the recipe - Check
Oven preheating to 350 degrees - Check
Butter on the counter coming to room temperature - Check
Okay, so you see I'm ready. It is important to preheat the oven when you're baking a cake. I've also heard some people say preheat the oven to 25 degrees hotter than you need and turn it down to where it's supposed to be after you've put the cake in the oven because opening the oven door makes it lose 25 degrees. Well, it almost makes my head hurt to think about all the little nit-picky things you can do just to achieve ultimate perfection. I'd probably forget to turn my oven down anyway, so I'm just going to keep it simple and preheat my oven to 350 degrees.
To get the measurements for this recipe, go here - Tres Leche Cake.
For the cake part here's what we'll need:
Butter
Sugar
Vanilla
Eggs
All-Purpose Flour
Baking Powder
Got everything? Me too! See, we're off to a good start. You just need a few more simple ingredients for the final touches.
Milk
Evaporated Milk
Sweetened Condensed Milk
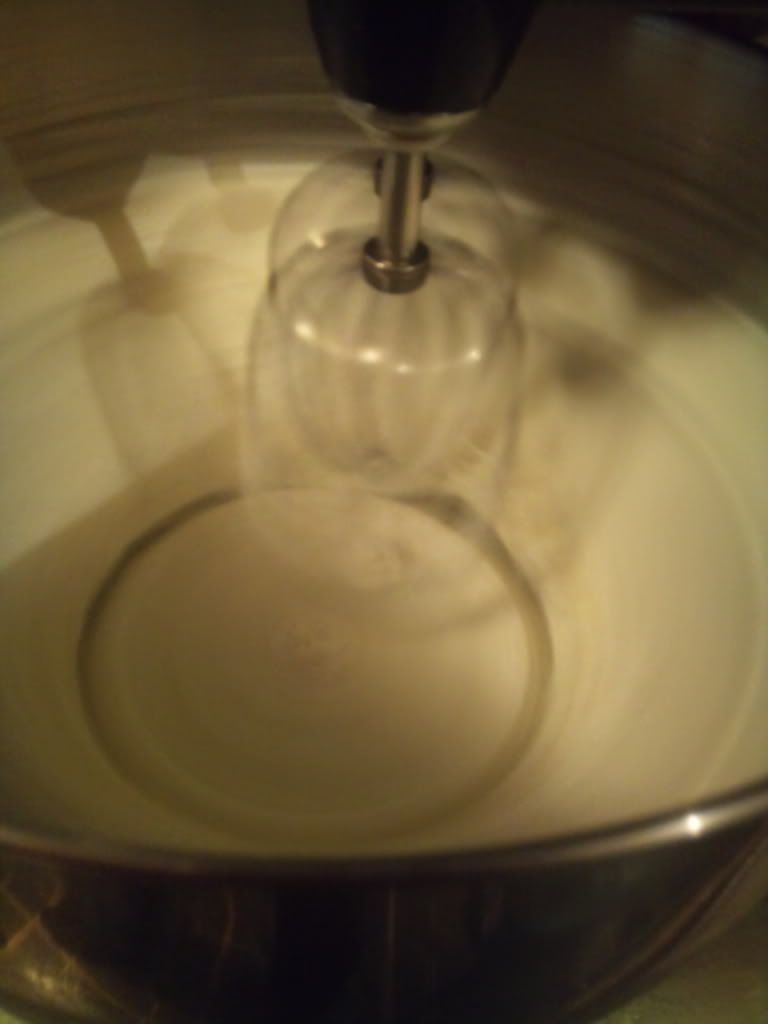
Whipping Cream
Powdered Sugar
Vanilla
I'm thinking this cake is going to make my quick trip to the store well worth it! If you need to run and get anything, go ahead, I'll wait on you.
Welcome back! Are you ready? Let's make Tres Leche Cake! I couldn't figure out how to pronounce this right and was on the phone with my daughter telling her about this cake. She finally said, "Mom, you were born in America, you should know Spanish!" What?? Then she says, "I know where I got my brains from (meaning from me :), the only reason I know what you're talking about is because a lady called the bakery today to ask if we made it." I just shook my head and smiled, but I'm still so excited. The name alone makes it sound just so delish! Alot more exciting than if you just called it Three Milk Cake.
Well, I don't have parchment paper, but I checked with Valerie and we should be good to go to leave the cake in the pan, so I'm going to grease the pan with some shortening and flour it or you can use Baker's Joy if you have it. Baker's Joy and I aren't on speaking terms at the moment, so for now I'm sticking to the old fashioned way of doing things.
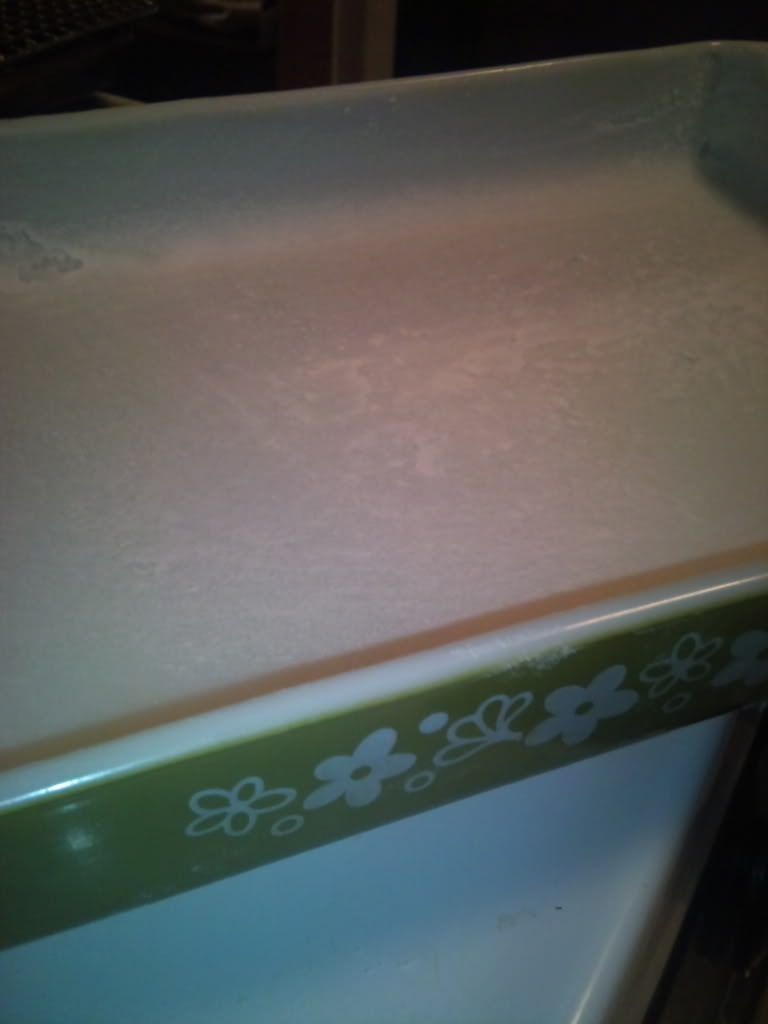
Okay, the pan is greased and floured.
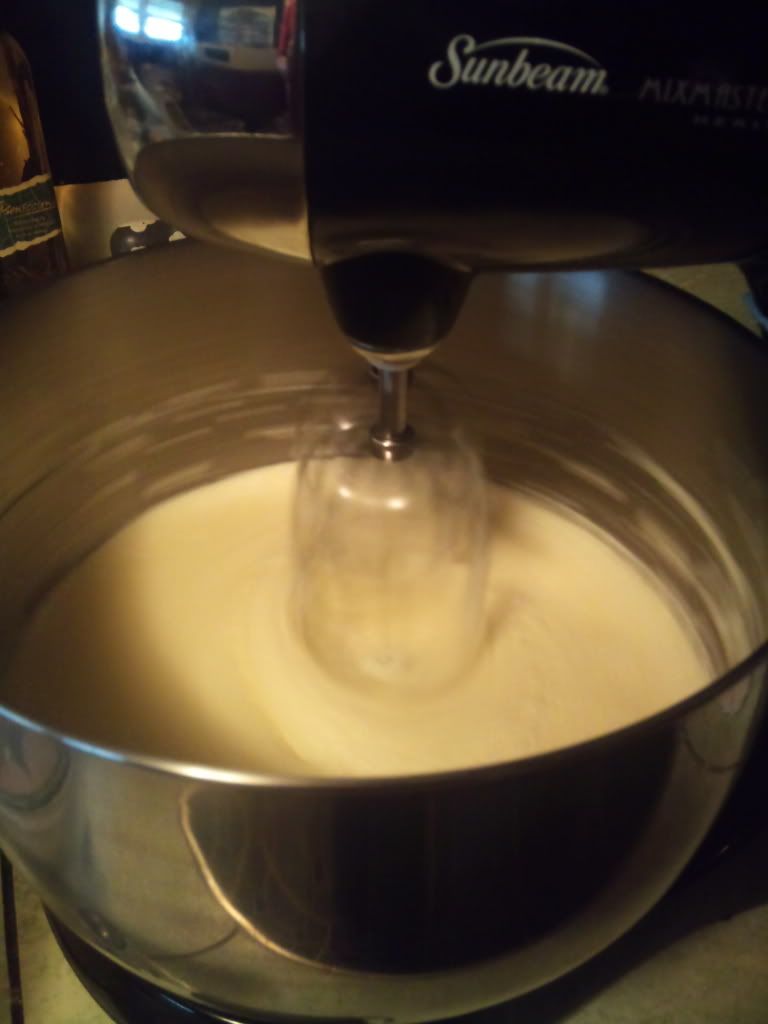
My butter isn't quite soft enough to be considered room temperature, so I'm going to nuke it in the microwave for about 10 seconds. While that's nuking I'm going to put my sugar in the bowl. Alright, butter is nuked. Add it to the bowl and turn on the mixer.
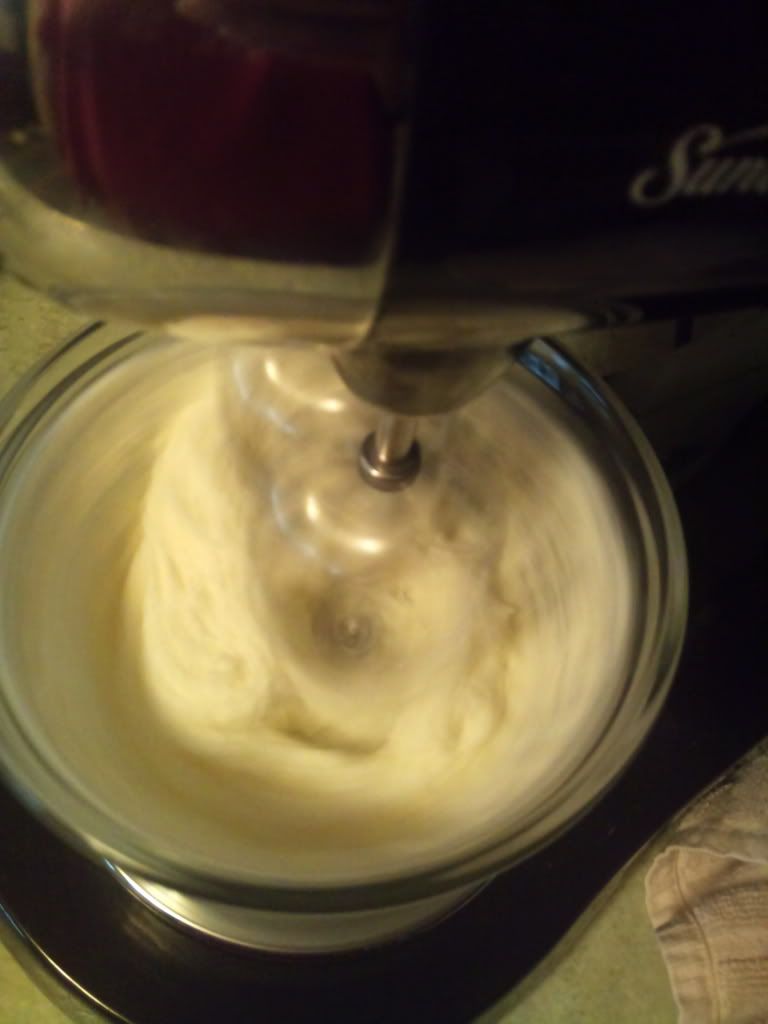
Viola! Fluffy butter and sugar.
Make sure your eggs end up in the bowl and not on the floor like one of mine did!
Everything is now fully incorporated. I heard someone using that word the other day as a guest on a cooking segment of The Today Show. Everything was incorporate this, incorporate that, make sure it's fully incorporated...I'm thinking she was pretty nervous! I know I would have been!
Baking powder don't do me wrong!
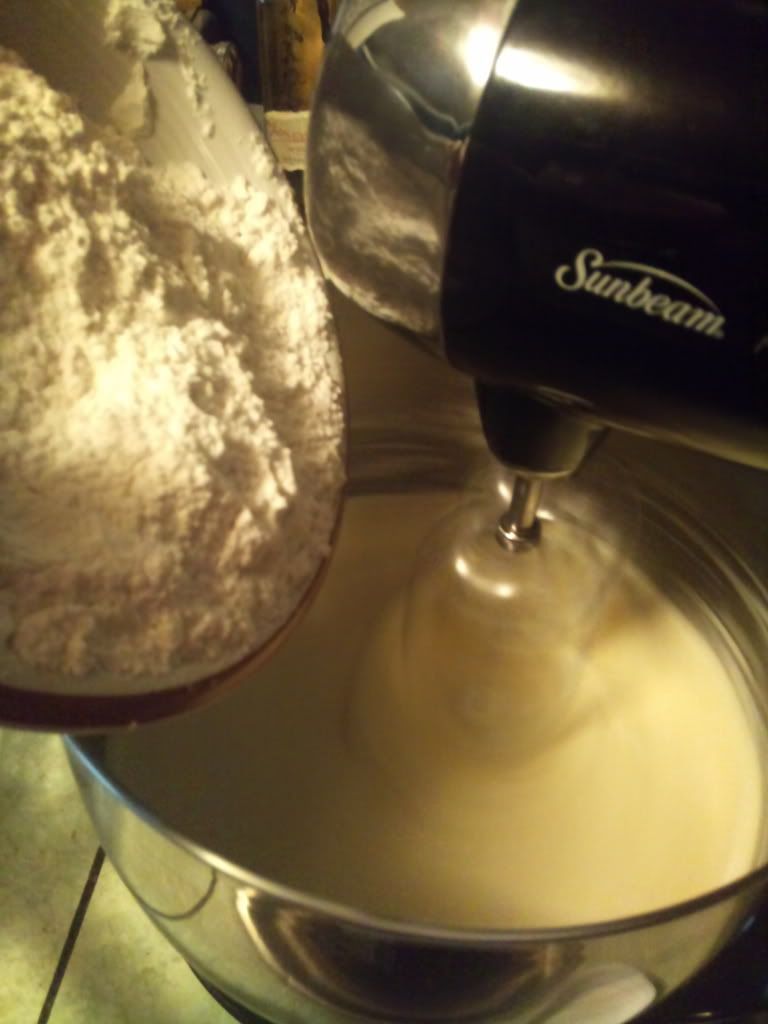
Cross your fingers and mix up the flour and baking powder in a small bowl and gradually add it to the mixture. The batter seemed to be getting thick as it blended.
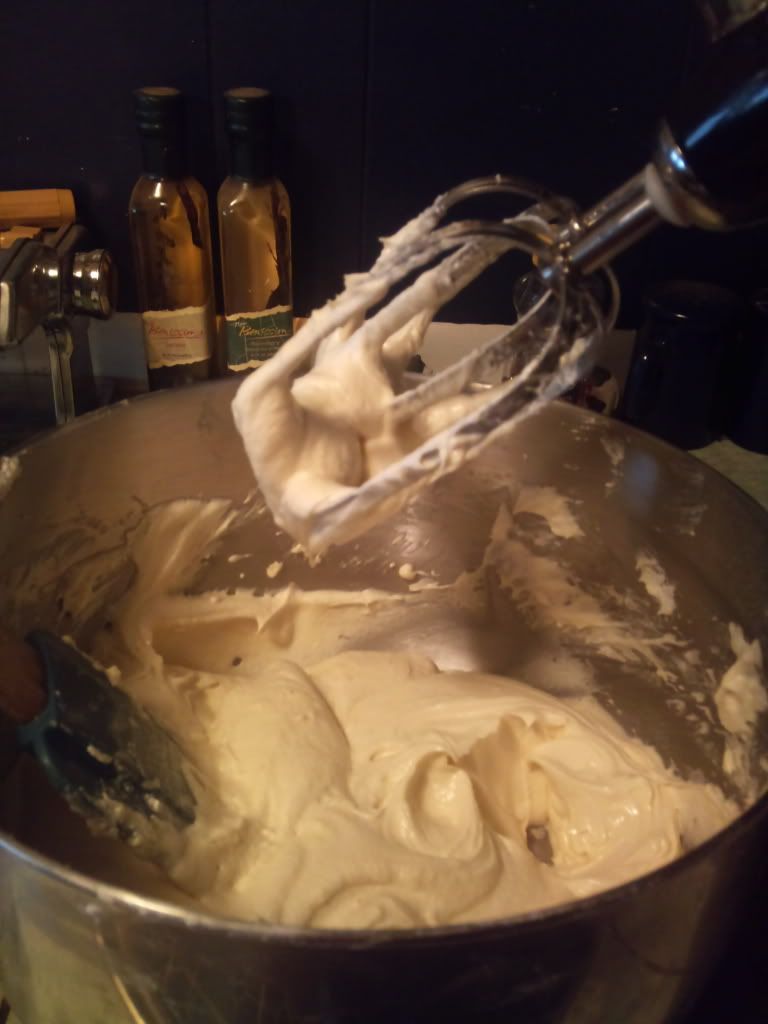
Well, it seems like a really thick whipped cream. That's the best way I know to describe it! I bet my hubby wishes he was home to lick the bowl. This stuff is wonderful!

Batter is in the pan. Now it's time to put it in the oven.
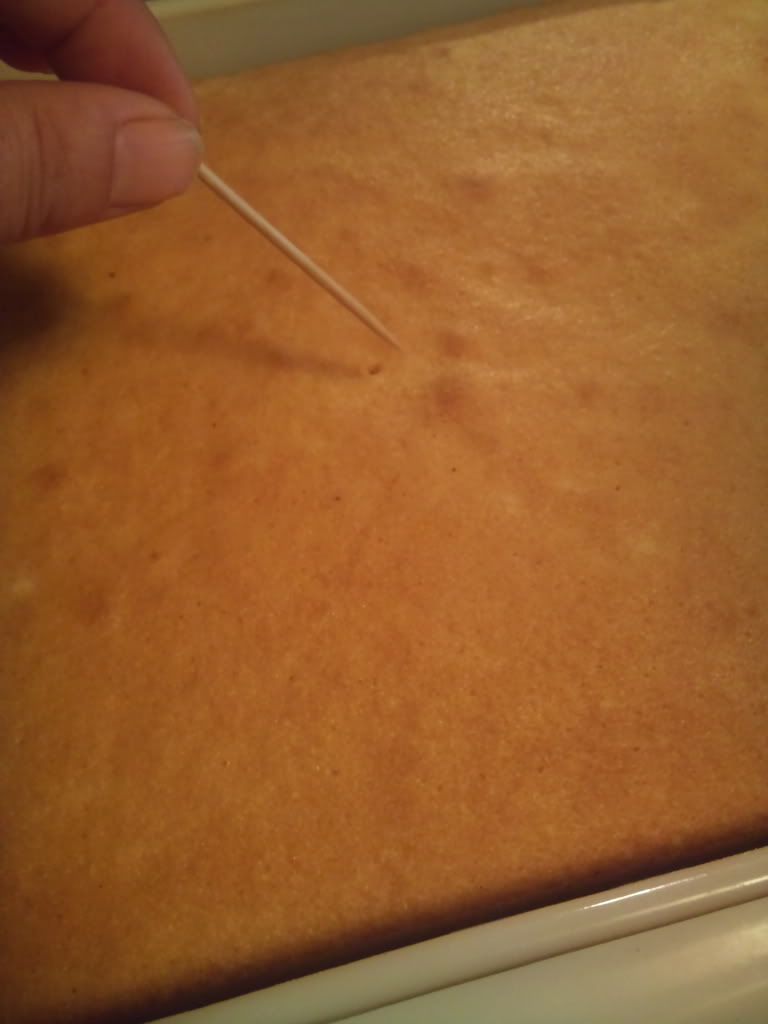
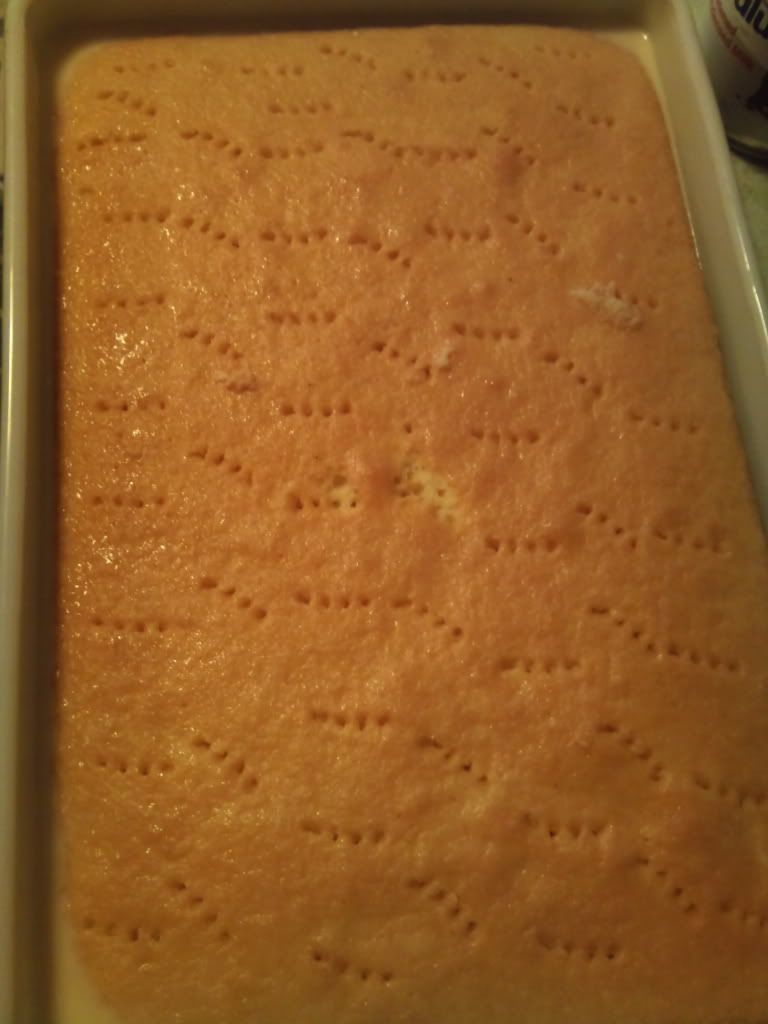
Alright, the cake is out of the oven and cooling. I'm going to keep my cake in the pan so let me get my fork and we'll get to poking it.
The milks are mixed and the cake is ready.
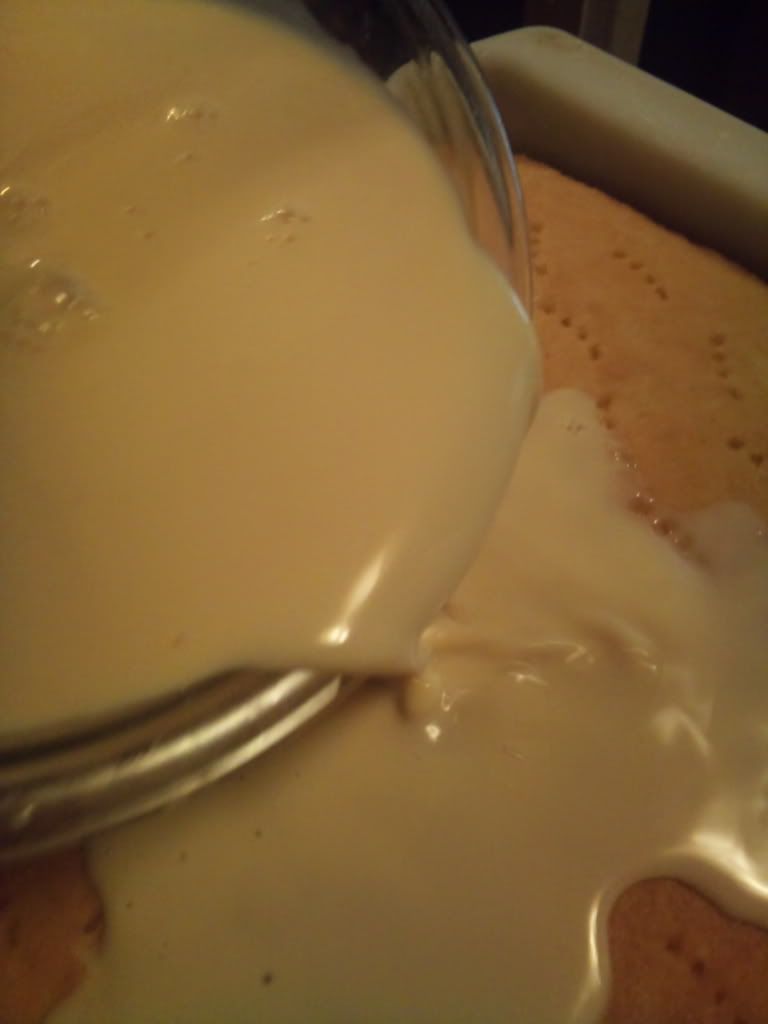
I thought for a second there it was going to overflow, but only for a second.
The cake soaked it right up! As soon as it cools down a little more, I'll pop it in the fridge and let it sit there until after supper.
That stuff is thick!
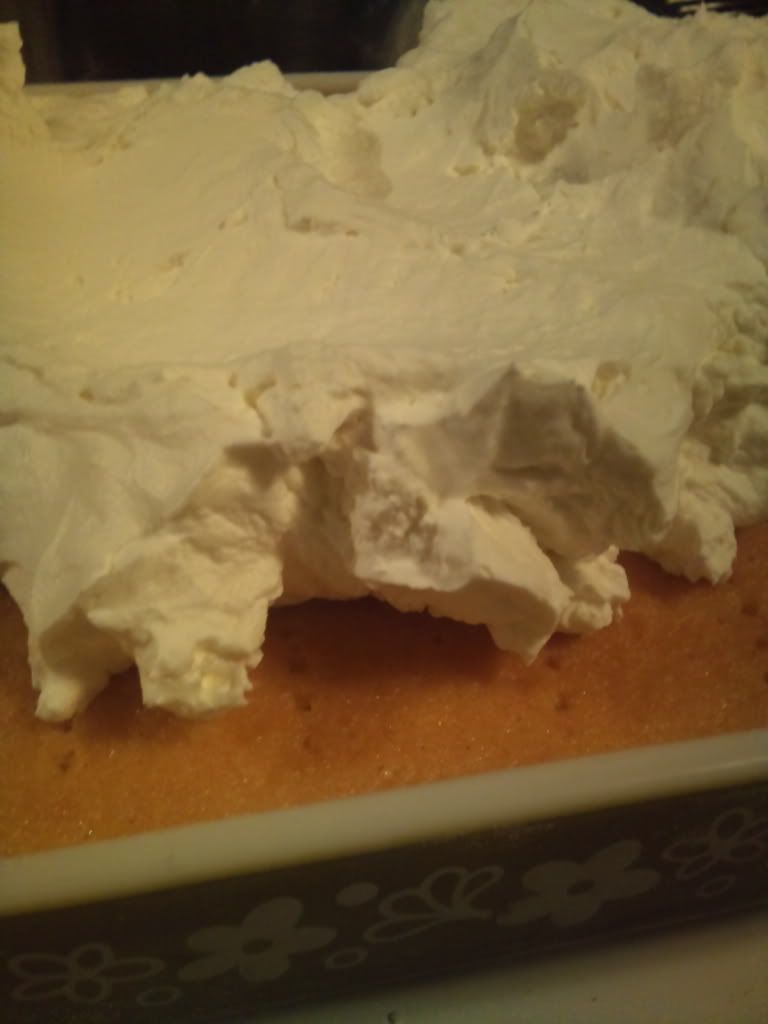
Now all is left to do is serve. How 'bout a piece?
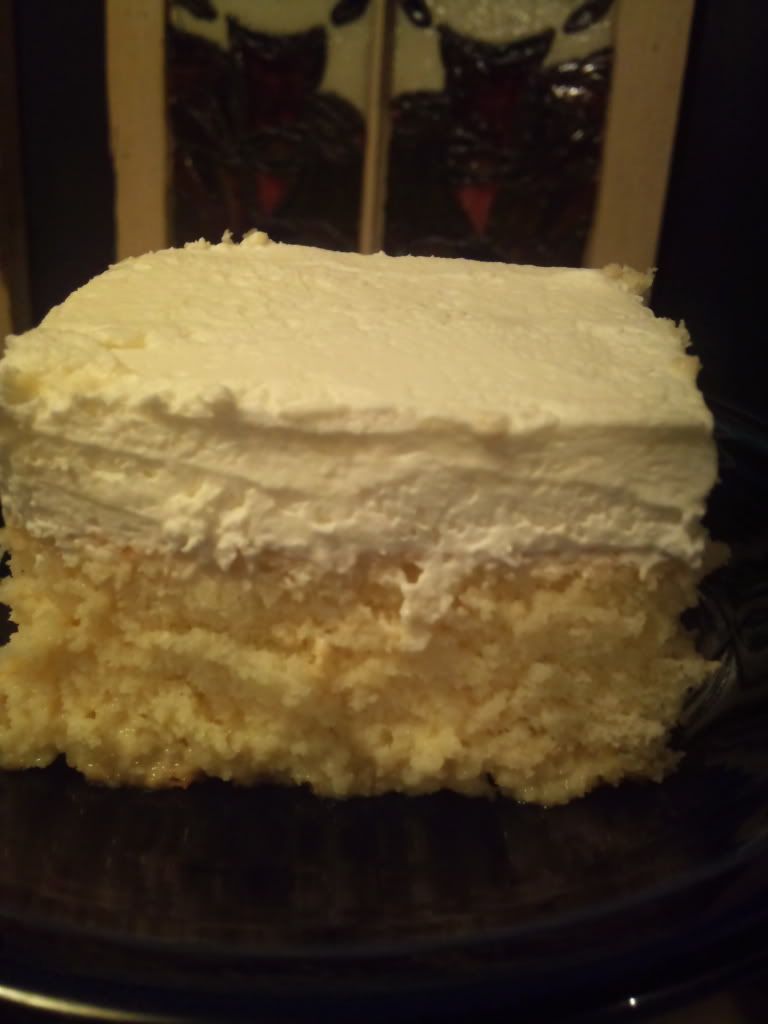
Hubby really liked it. It is best if you can let it sit overnight. After 6 hours the cake had a little bit of a dry texture, but the next day the cake had soaked up the milk even more and it was great!


