




Tuesday, August 16, 2011
Impossible Coconut Chocolate Pie
A while back my husband and I had lunch at his parents house. His mom served us pie for dessert and of course, gave me the recipe which I managed to lose. So, I called her up the other day to get the recipe from her again. Now that I've made the pie and am sharing it with you, I'll never lose the recipe again! Well, unless of course blogger doesn't crash!
The best thing about this pie is it is so easy! The next best thing about this pie is that it tastes so good! The recipe she gave me doesn't include the chocolate chips, but you know me, sometimes I can't leave well enough alone. If you've ever had those cookies that have chocolate chips and coconut in them (I've always called them "Magic Bars"), then you'll love this pie. It tastes alot like a pie version of the cookie.
Another thing I should mention about this pie is it is so easy! I know, I know, I mentioned that already, but seriously, there's very little work to it. That's why I'm rambling on here about it, because if I didn't, this wouldn't be much of a post! This pie makes it's own crust and everything is mixed in the blender and poured in a greased pie pan. Now see, aren't you glad I mentioned that!
Allright, lets make this pie!
The ingredients:
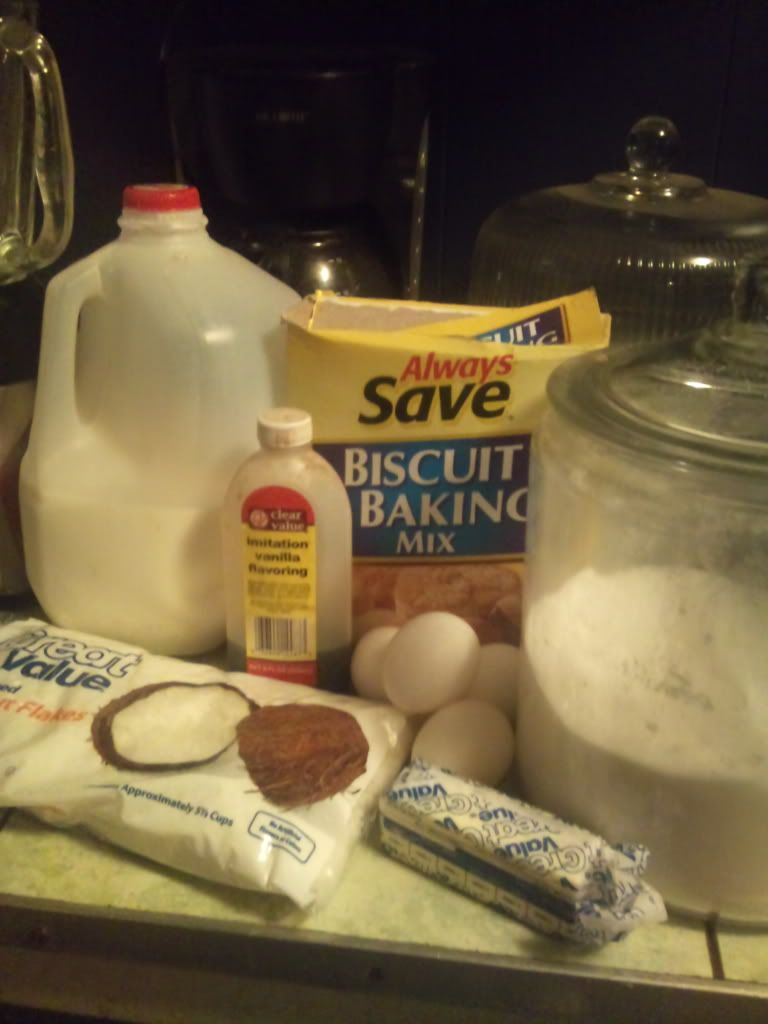 |
| The chocolate chips were thought about later on into the recipe so they didn't make it in the picture. |
2 cups Milk
1/2 cup Bisquick (or the generic version)
1/2 stick Butter
4 Eggs
1 1/4 cup Sugar
1 teaspoon Vanilla
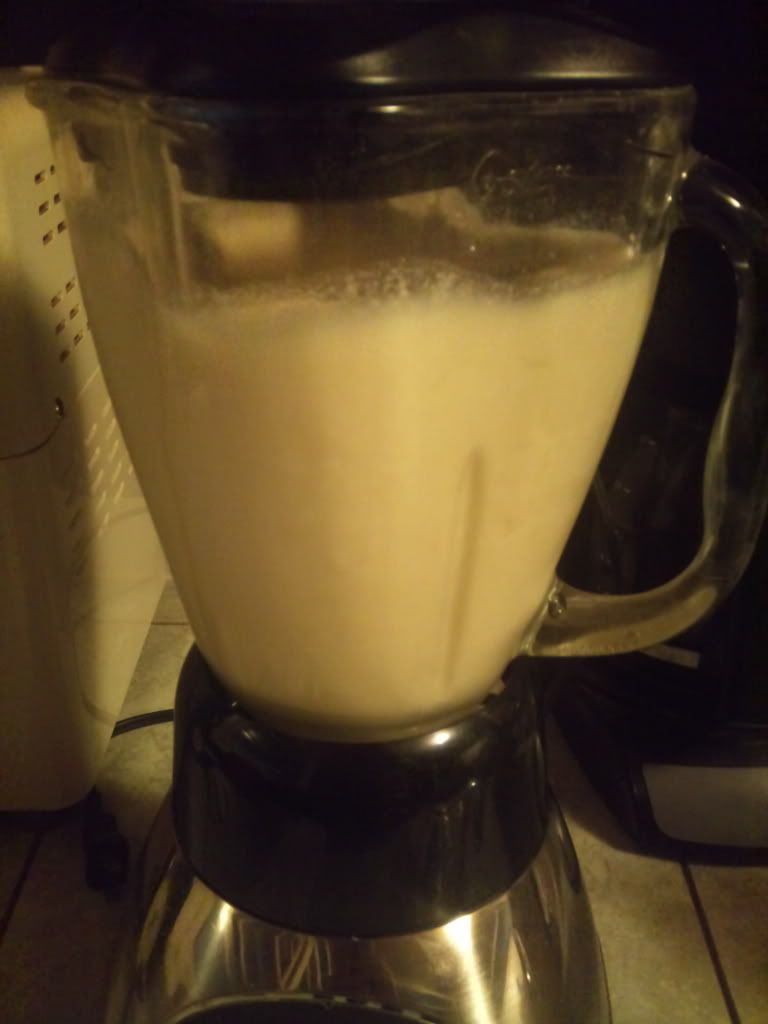
Blend for 3 minutes.
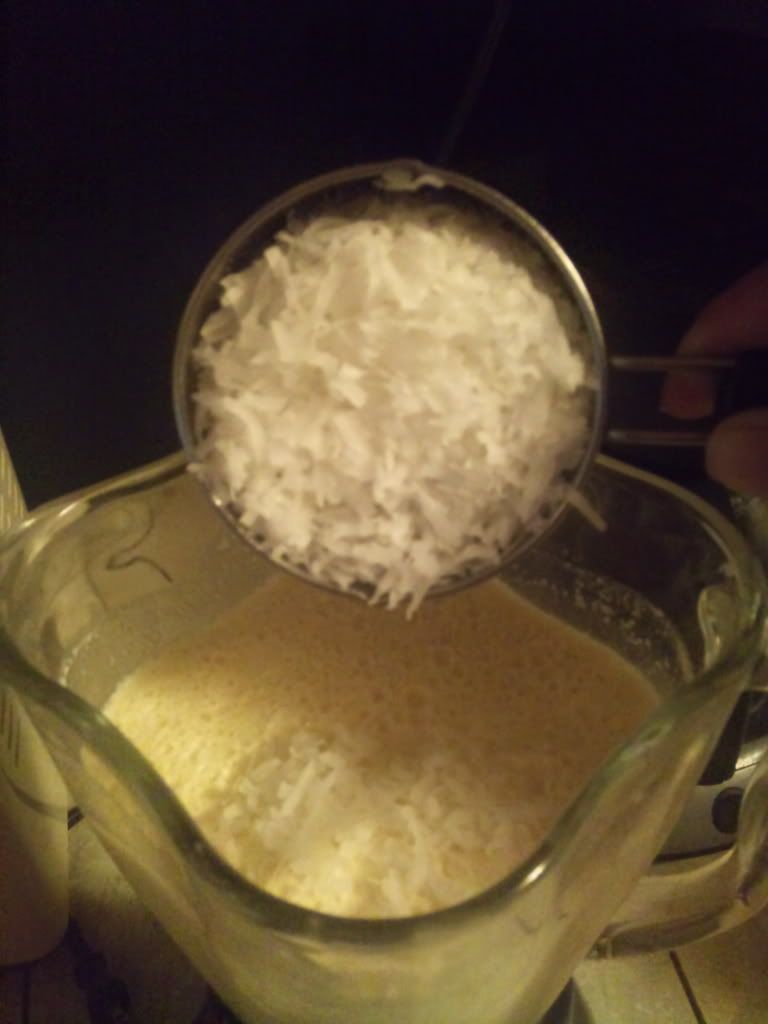
Add 1 cup of coconut.
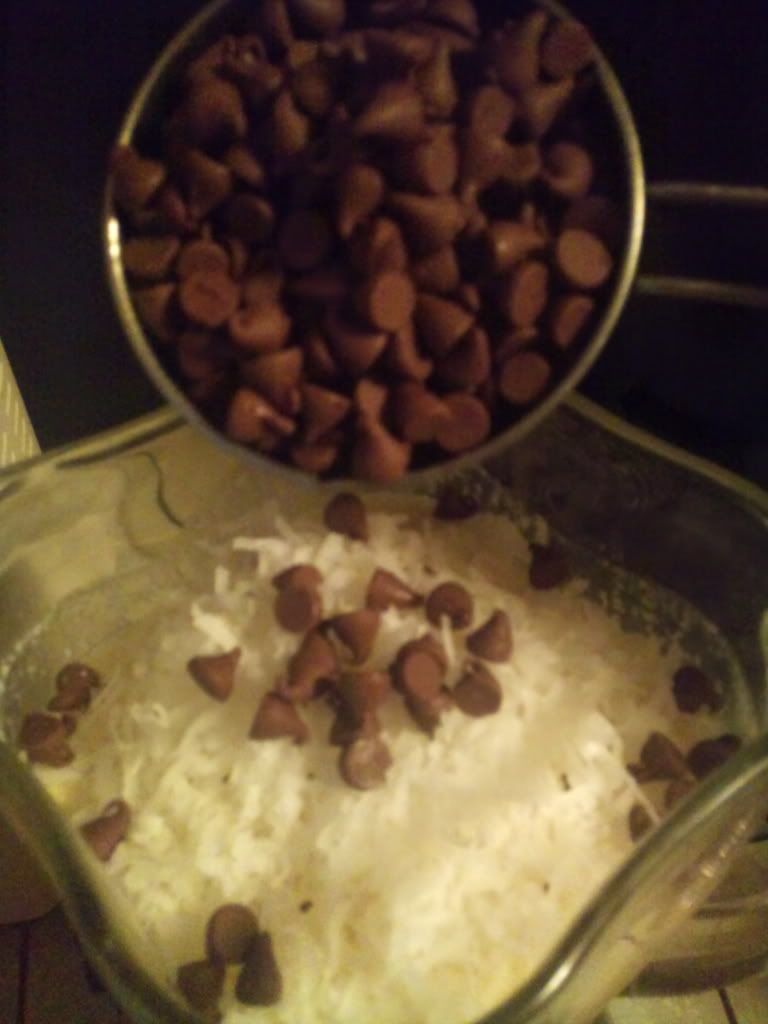
If you want, add 1 cup of chocolate chips and then flash blend. I have a button on my blender that says "Pulse" so I just pressed it a couple of times.
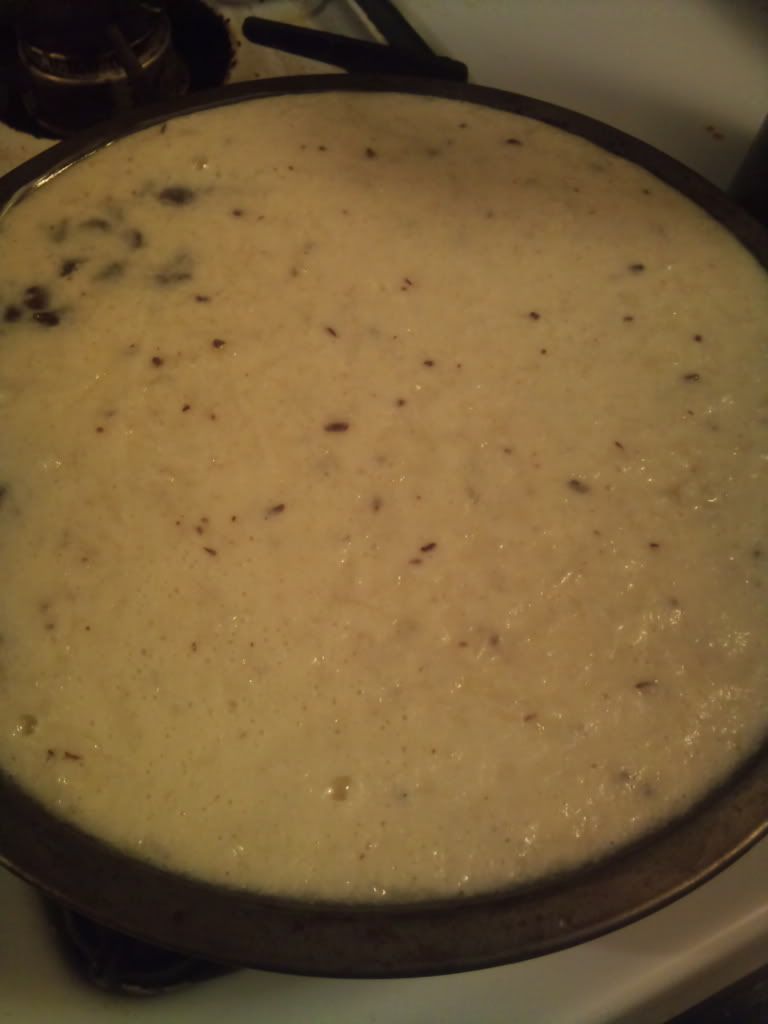
Pour into a greased pie pan. It will fill it all the way to the top. Carefully put it into a 350 degree oven and let it bake for about 45 minutes.
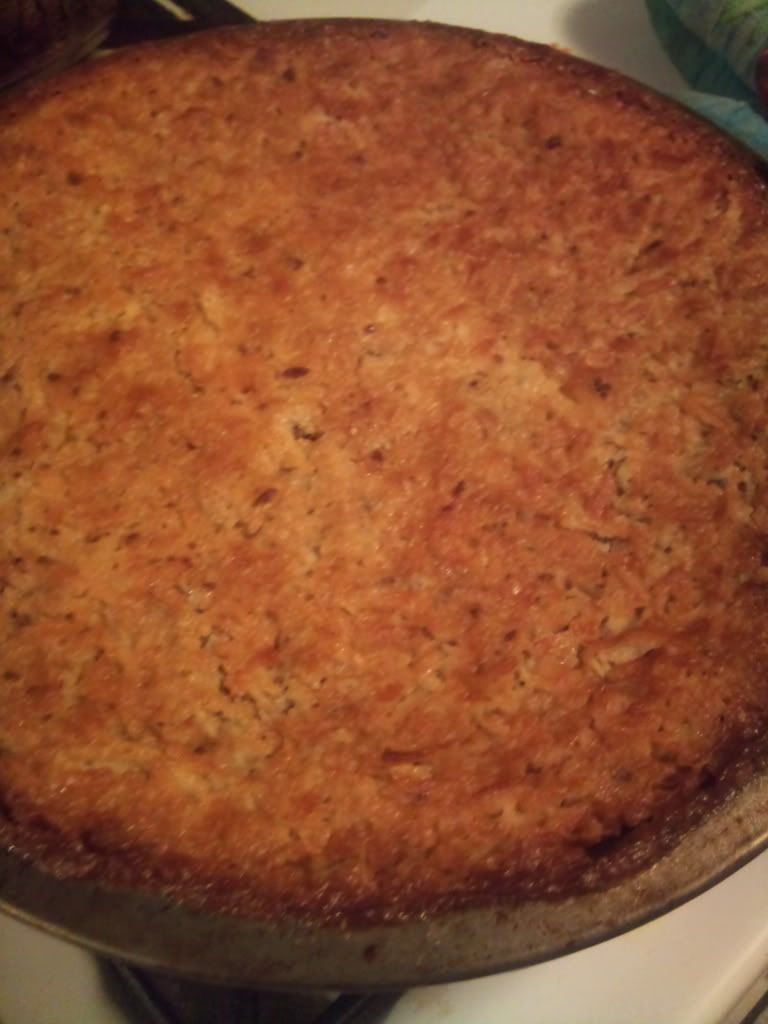
The middle wasn't completely set when I pulled it out of the oven, but it was getting really brown on top so I went ahead and pulled it out. After it cooled for a few minutes, it had completely set.
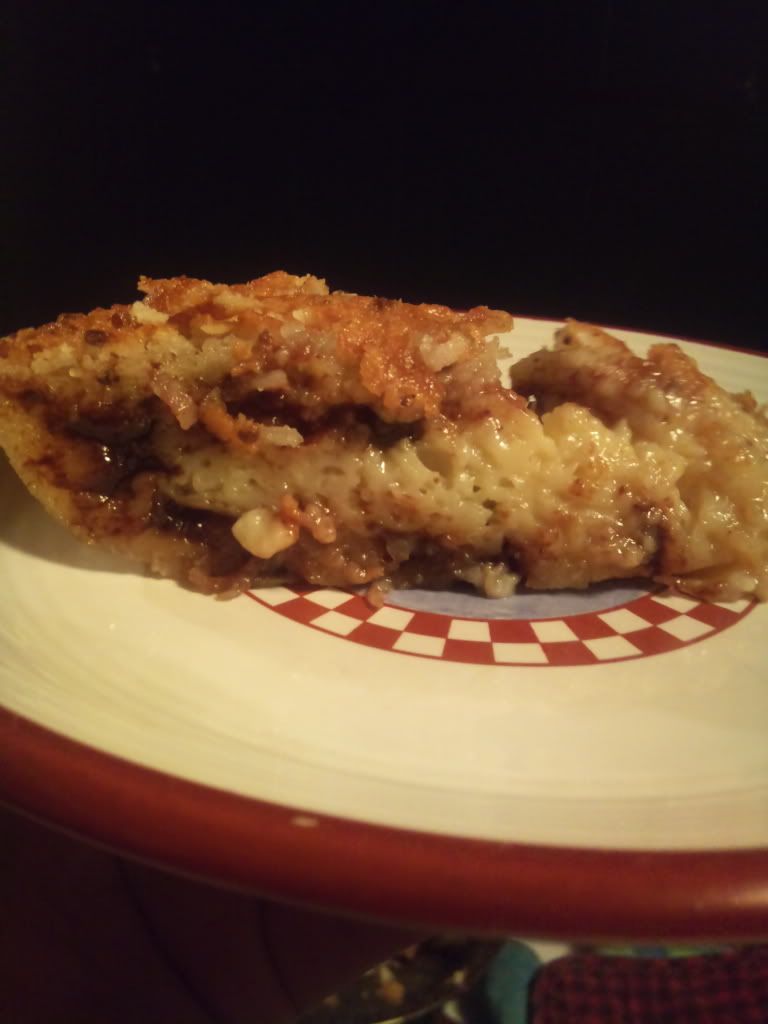
Cut into pieces and serve warm or cold. It's great either way!

Thursday, August 11, 2011
Skillet Burgers or Really Sloppy Joe's
My husband loves Sloppy Joe's, Manwiches or whatever you want to call them. So earlier I knew I was going grocery shopping and made a mental note to pick up the ingredients and then sat down to flip through my cookbook for something new to try. I'm just about burgered-out from our vacation, so when I came across the recipe for skillet burgers I thought eh, no more burgers, wait a sec, these are kind of like sloppy joes...hmmmm. By the way, this recipe was in my 1968 New Better Homes & Gardens Cook Book. Of course, I made a few changes, but you knew that was bound to happen!
Okay, I know nothing can be simpler than a can of "the sauce" and meat, but if it tasted better and was better for you, wouldn't you be willing to put in a little extra love and effort into making it? Seriously, it really didn't take that much longer to make. The smell was amazing. The taste was even more amazing! Are you ready for it?
Here's what you need:
1 pound of Ground Meat (turkey or beef)
3 or 4 stalks of Celery
1 small Onion
2 8-ounce cans of Tomato Sauce (or 1 can and 1 can of Tomato Soup)
1 tablespoon Cornstarch (omit if using tomato soup)
2 tablespoons Sugar (omit if using tomato soup)
1 teaspoon Salt (only use 1/2 teaspoon if using tomato soup)
1/4 teaspoon Chili Powder
1 tablespoon Worcestershire
You know I normally use ground turkey, but I found a pound of hamburger meat marked down to $2.00 at the store so I grabbed it. If you know me, you know I eat ground turkey because it's cheaper, not just because it's healthier. Anyways, put your meat in a skillet and add a little water to it. You don't want to drown the meat. Just cover the bottom of the skillet with it. Turn the burner on medium-high and let the meat brown.
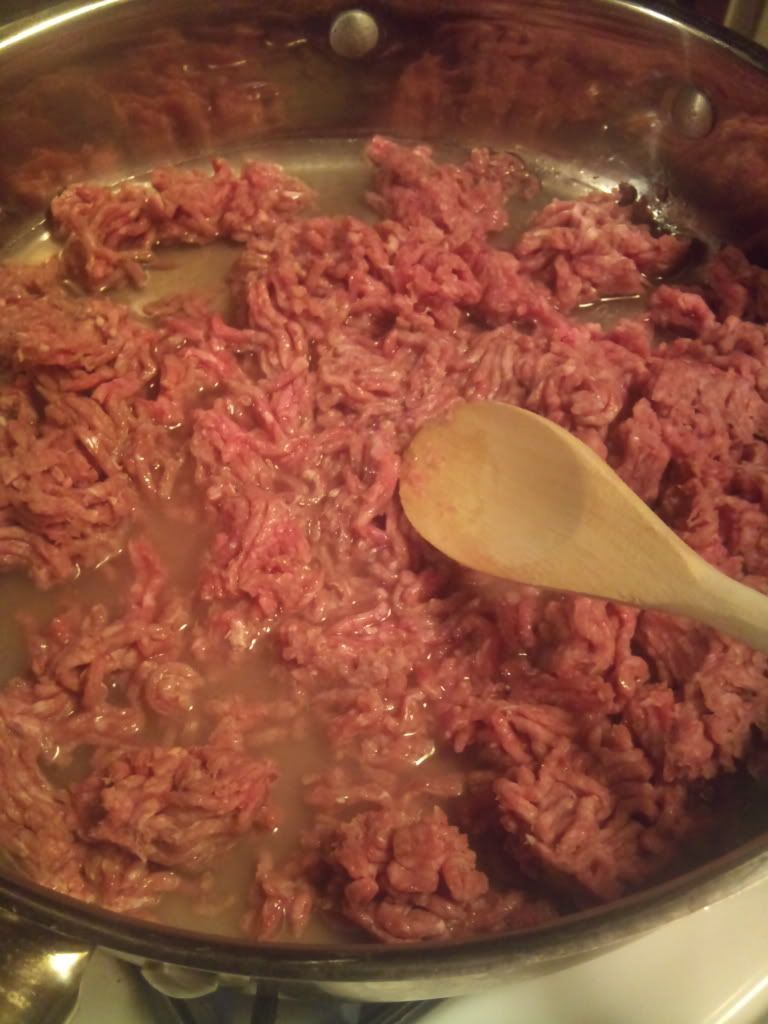
While it's browning, chop up the celery and the onion. By this time, the meat should be brown. Don't drain it. Add the celery and onion to the meat and let it cook on medium-high until the water evaporates.
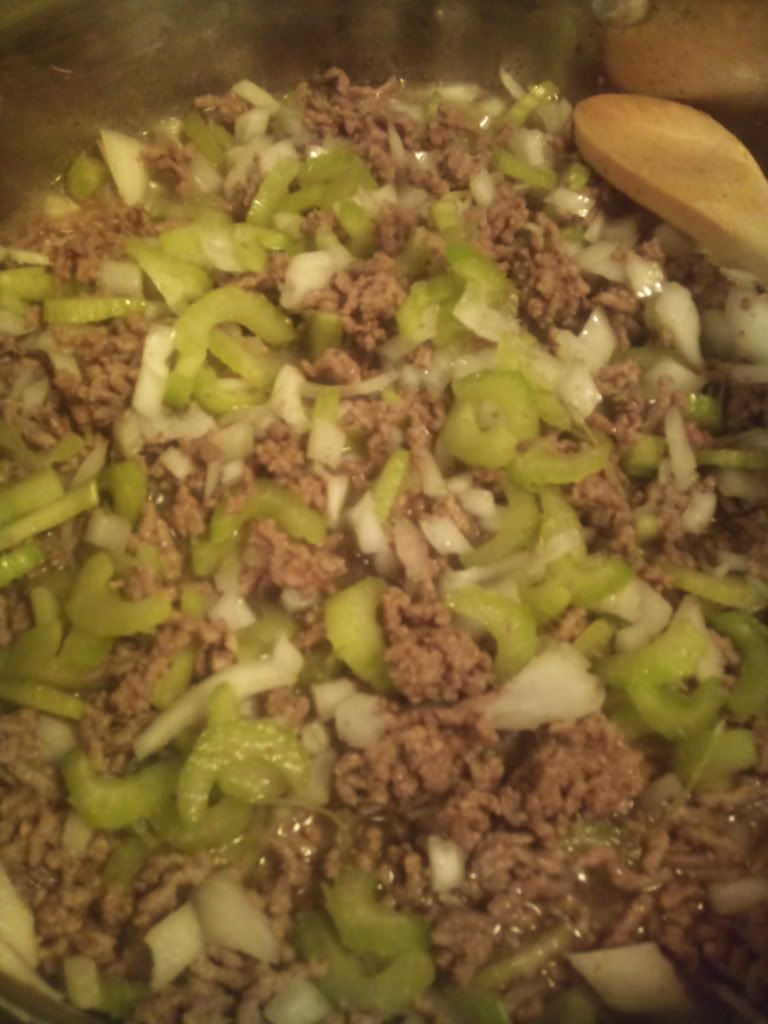
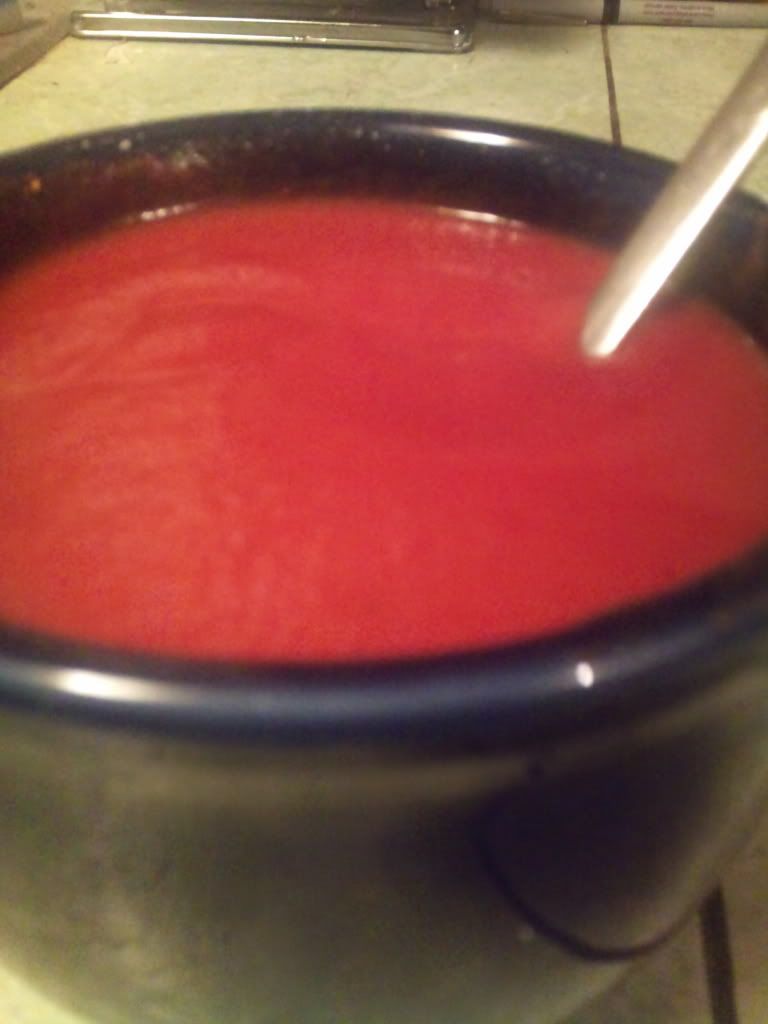
If you're using tomato soup, you can skip to the next paragraph, unless of course you want to know how to save yourself a little money next time. The substitute for condensed tomato soup in any recipe is 1 8-ounce can of tomato sauce, 1 tablespoon of cornstarch, 2 tablespoons of sugar and 1/2 teaspoon of salt. So, if you're not using tomato soup, mix that up in a small bowl and add in the other can of tomato sauce and the chili powder.
By this time the liquid should have evaporated and the vegetables should be tender. You'll want to turn the burner down to low. If the vegetables aren't quite tender let them simmer a little longer on low and put the lid on the skillet.
Add the sauce. If you're using tomato soup, add it, the tomato sauce, the chili powder and the salt. Stir it in and let it simmer on low for about 10 or 15 minutes or as long as you can stand it.
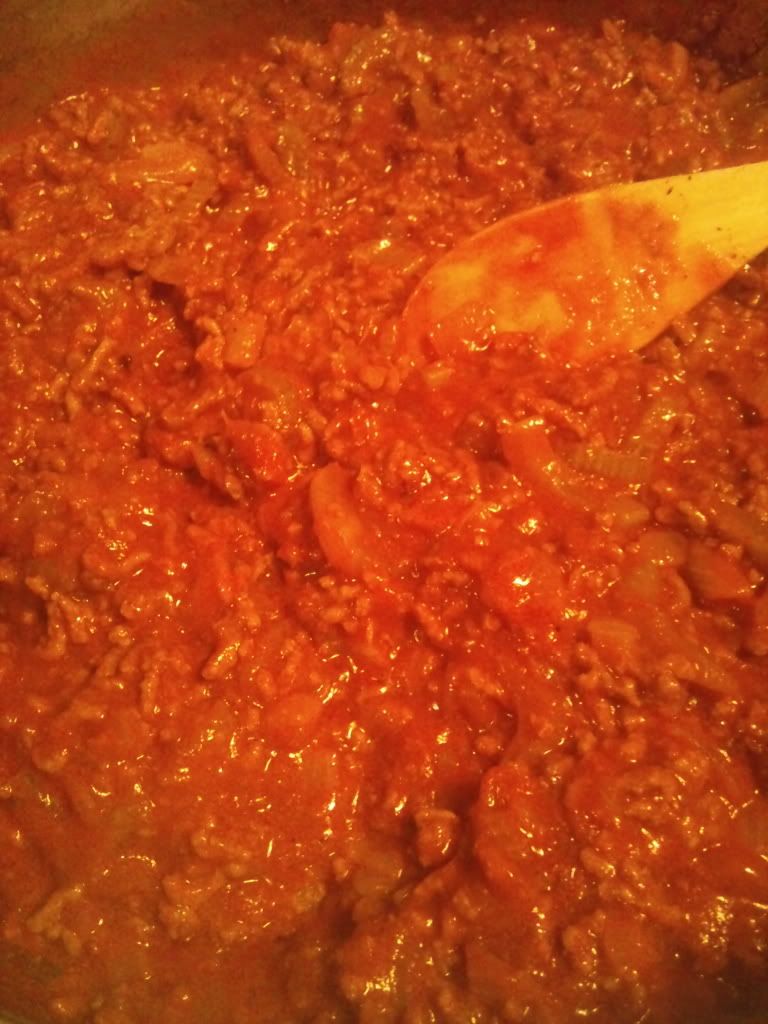
Spoon the skillet burgers on some buns and top with a slice of cheese.
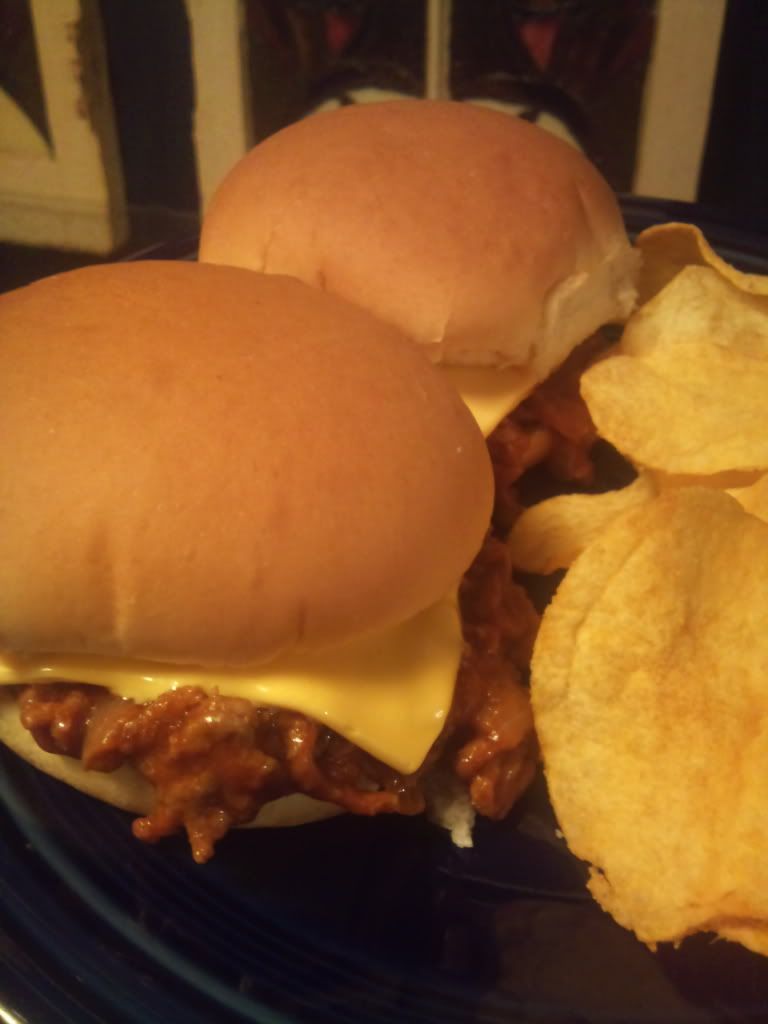
Hubby gave this a three helping rating! He said they were better than whatever that other stuff is called. It made enough for about 8 to 10 burgers. You know the leftovers are going to be even better!
Wednesday, July 27, 2011
Mud Pie a.k.a. Chocolate Cobbler and an Award!
So, I was having an amazing craving for chocolate and I asked my foodie friends on Facebook to suggest their best chocolate _____ recipe. I was drooling so much I couldn't decide what to make. Some of them would involve a trip to the store, so I decided to go for the one that I was promised I would have all the ingredients on hand. Sure enough, I had everything and I bet you will too!
I was sent over to southernplate.com on a mission to find her chocolate cobbler and found out if you ask Christy for this recipe, you'll probably get it alot quicker if you ask for Mud Pie instead. While I was making this it reminded me of being a kid making mud pies. Yep, it's the perfect consistency for it. Matter of fact, I've tasted a mud pie before. I think it was the only thing that saved my behind when my brother and cousin went and told on me for making them eat one. In all fairness I had eaten one too, but I bet this one is going to taste alot better!
Of course, for detailed instructions and the complete recipe, you'll have to go visit Christy over at southernplate.com. It'll be worth the visit. You'll walk away with a whole lot more than just this and I'm sure you'll go back for a second helping of her recipes. Okay, on to the Mud Pie!
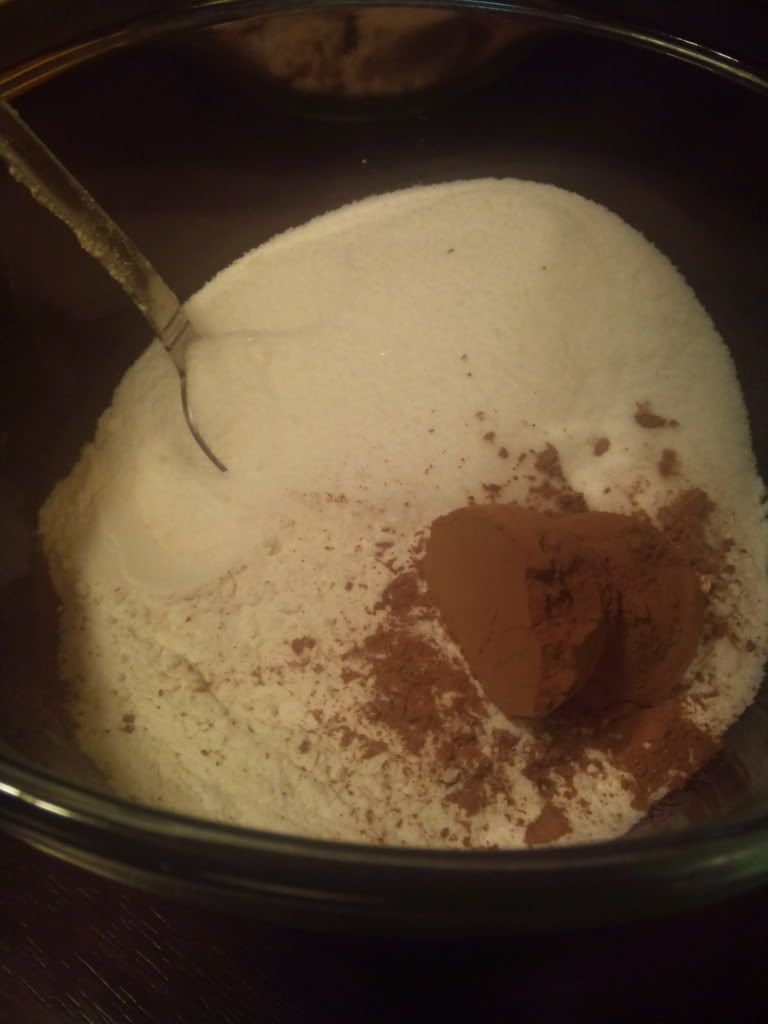
This is so, so, so easy! Put flour, sugar and cocoa powder in a bowl and mix it up.
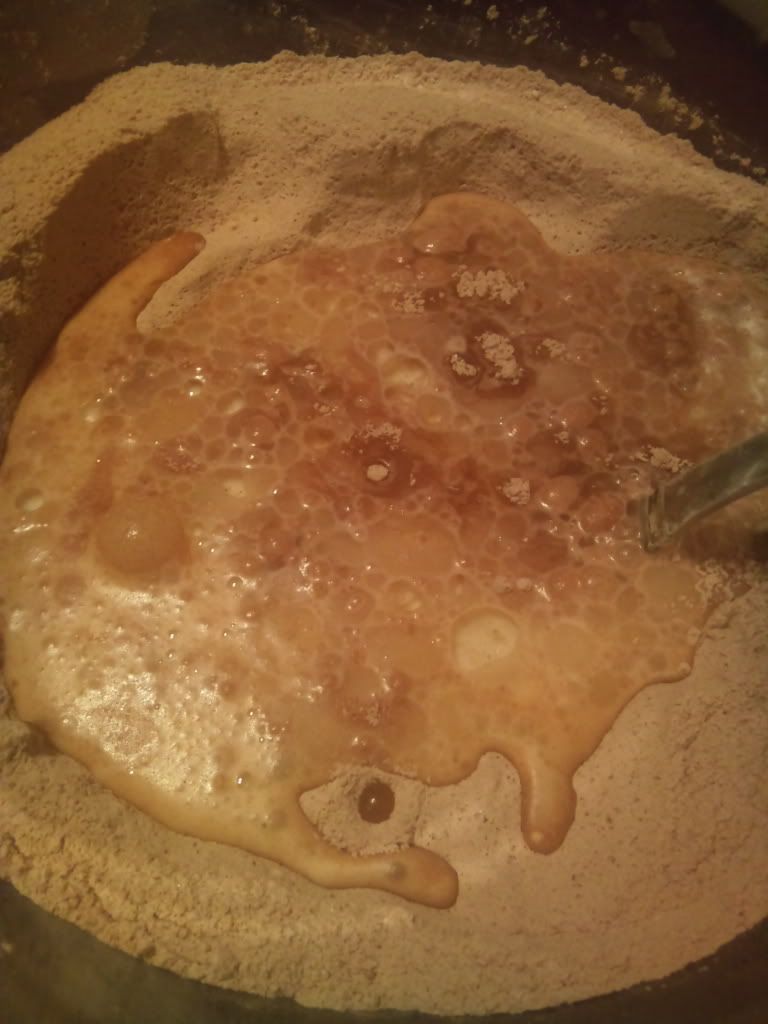
Add milk, oil and vanilla and mix it up.
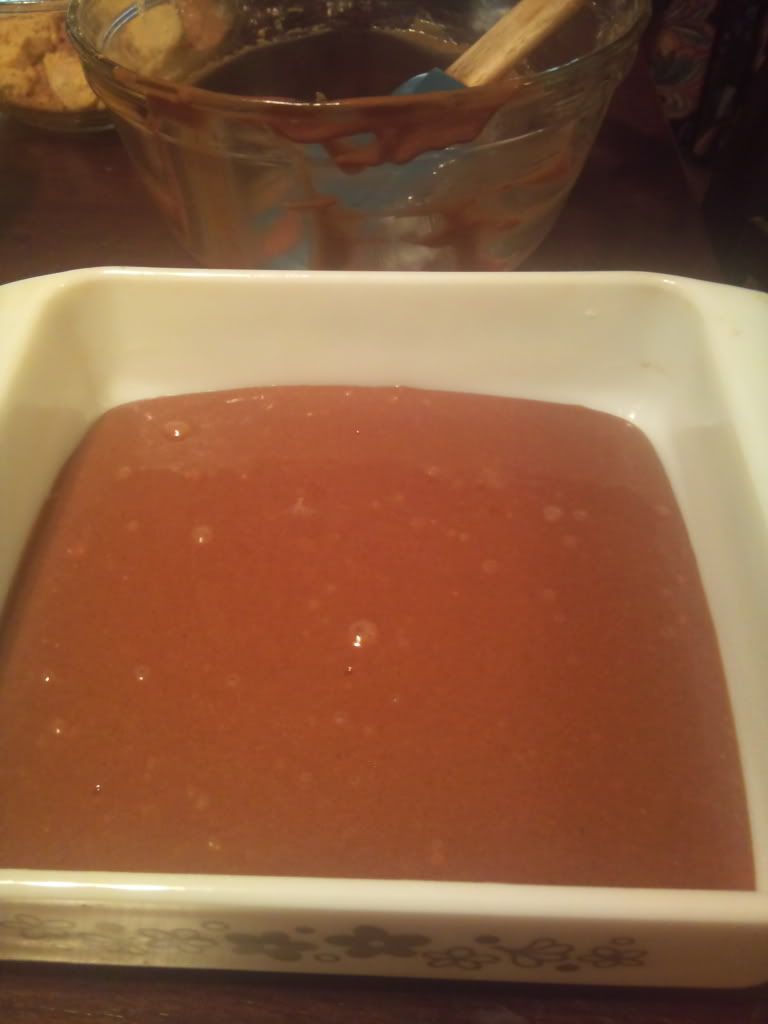
Pour the batter in a greased 8x8 square pan.
In another bowl, mix together brown sugar and cocoa powder.
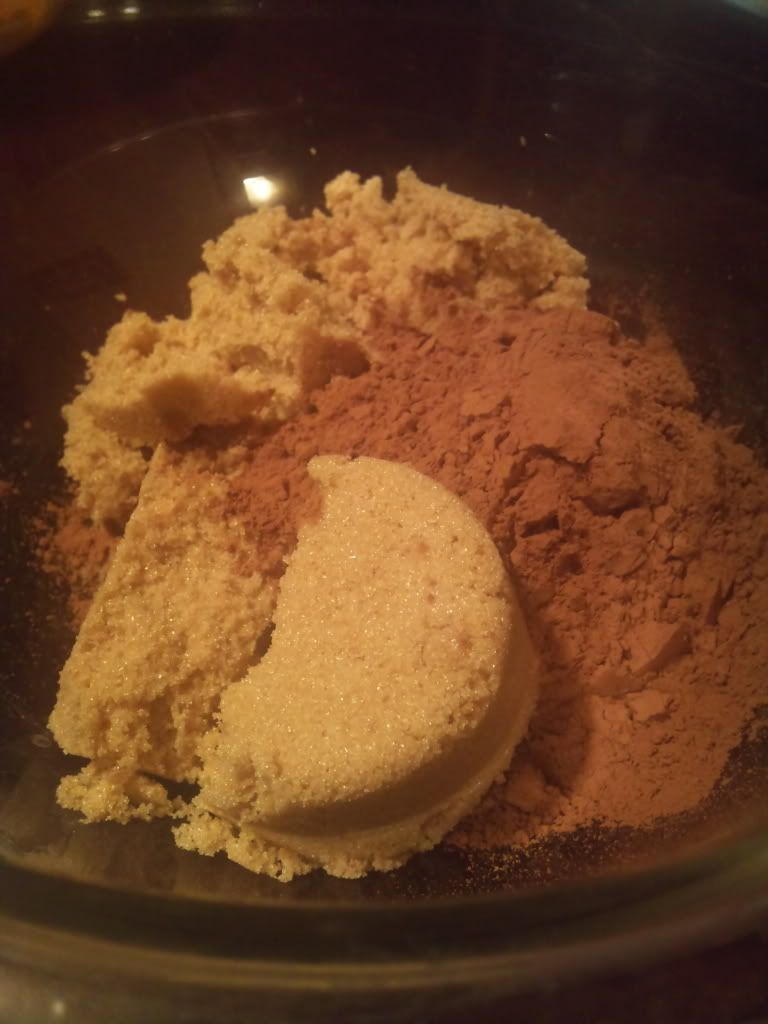
Now, this isn't in Christy's recipe, but I vividly remember the mud pie I ate as a kid had chunks of something in it. It was probably gravel or chunks of mud, I can't be sure, but the perfect mud pie must have some kind of chunks of something in it so I added a cup of chocolate chips that I floured.
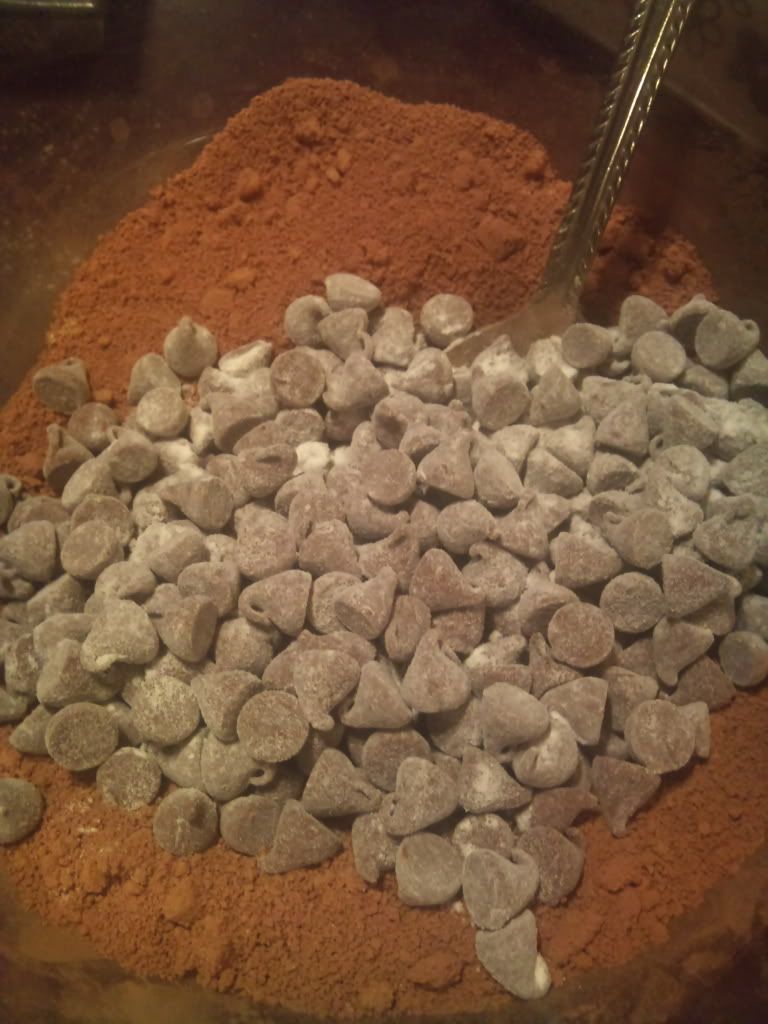
This is the first time I've floured my chocolate chips and I really don't know if I should have put them in with the batter or the topping, but I know as a kid I mixed the chunks in with the dirt before I added the water so I'm going to hope this works. To flour them, I just put them in a bowl with a little less than a tablespoon of flour and shook it to coat the chocolate chips. It's supposed to keep them from sinking to the bottom of the cake. So just keep this in mind when you're baking with chocolate chips. Oh! Now sprinkle all the dirt and chunks over the batter.
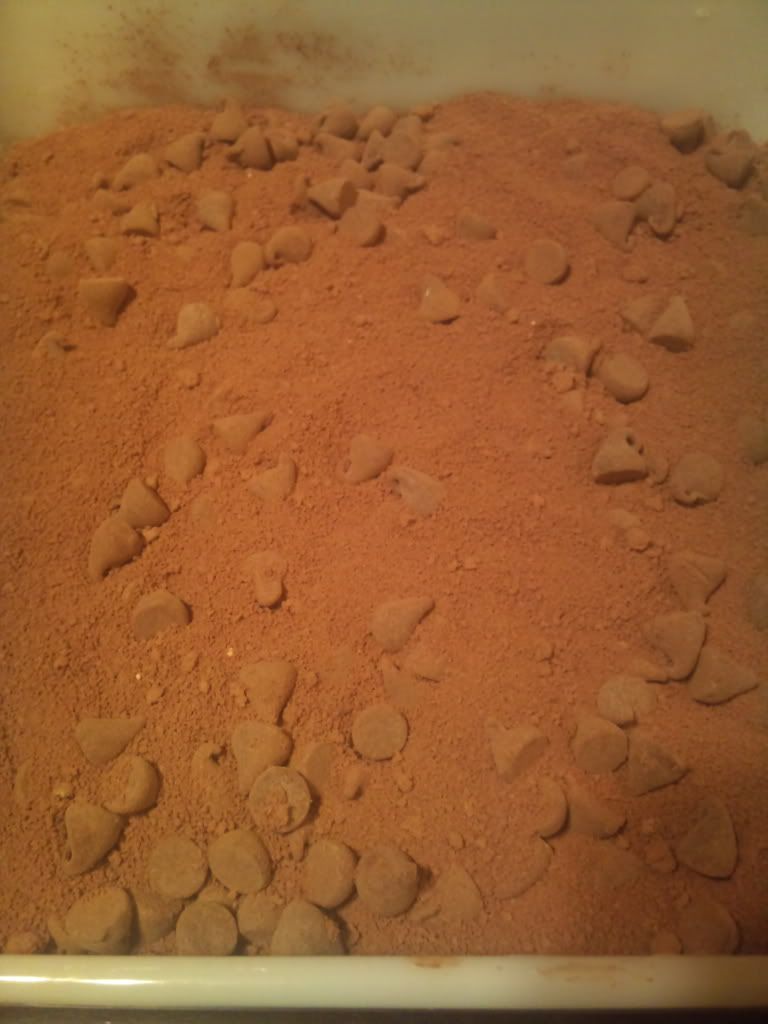
Slooooowly pour hot water over the top.
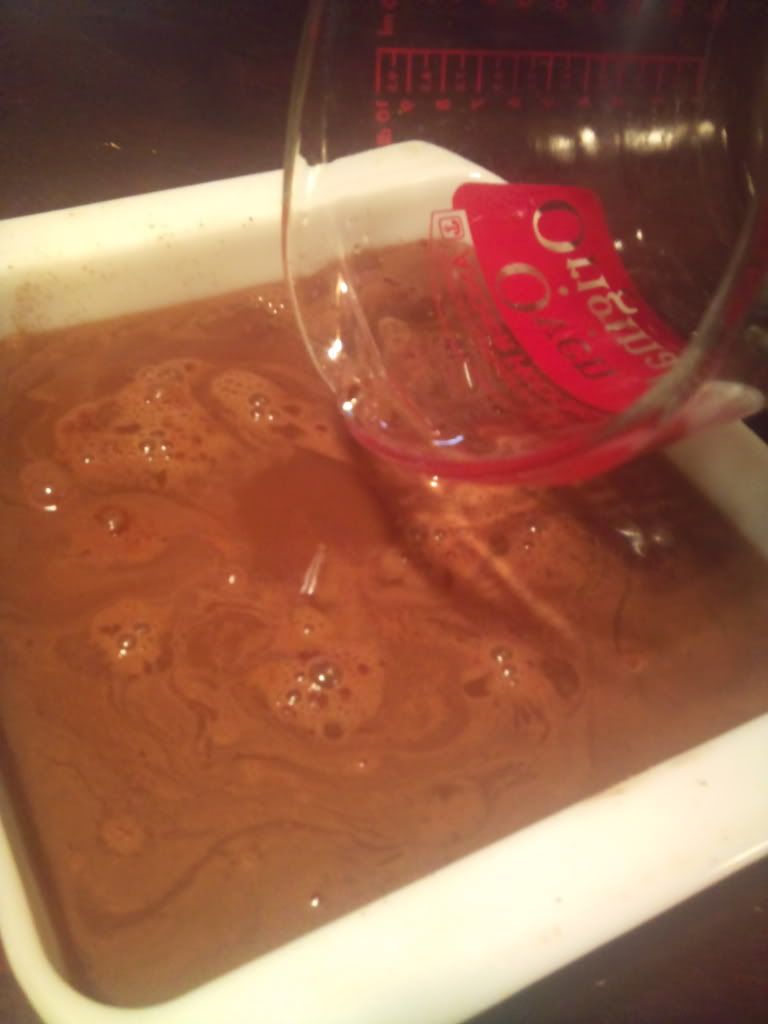
And then pop it in the oven. Now, while we're waiting for it to bake, seriously, as I type my mud pie is in the oven, look at this...
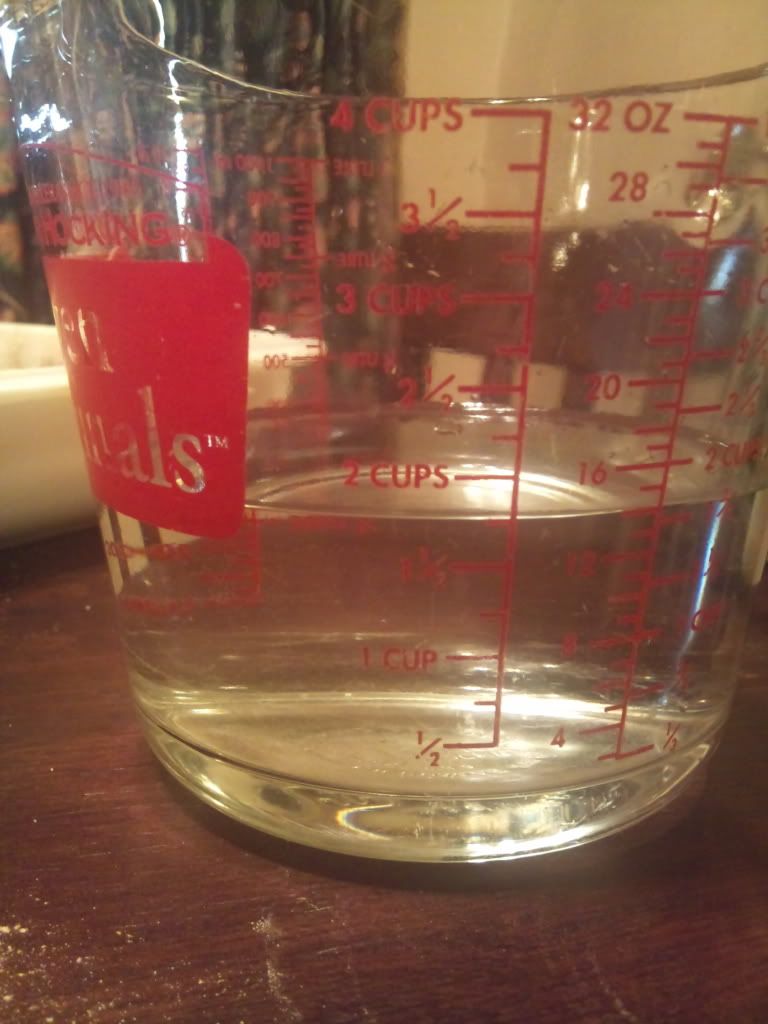
On my measuring cup 1/4ths are not marked. Well, I didn't think they were anyway, but that little mark in between the 1 1/2 and 2, that's 1 3/4 cups! Yeah, so I thought I'd pass that piece of newly acquired knowledge on to you if you have one of these measuring cups. I smell chocolate! Be right back with the results of our hard labor....
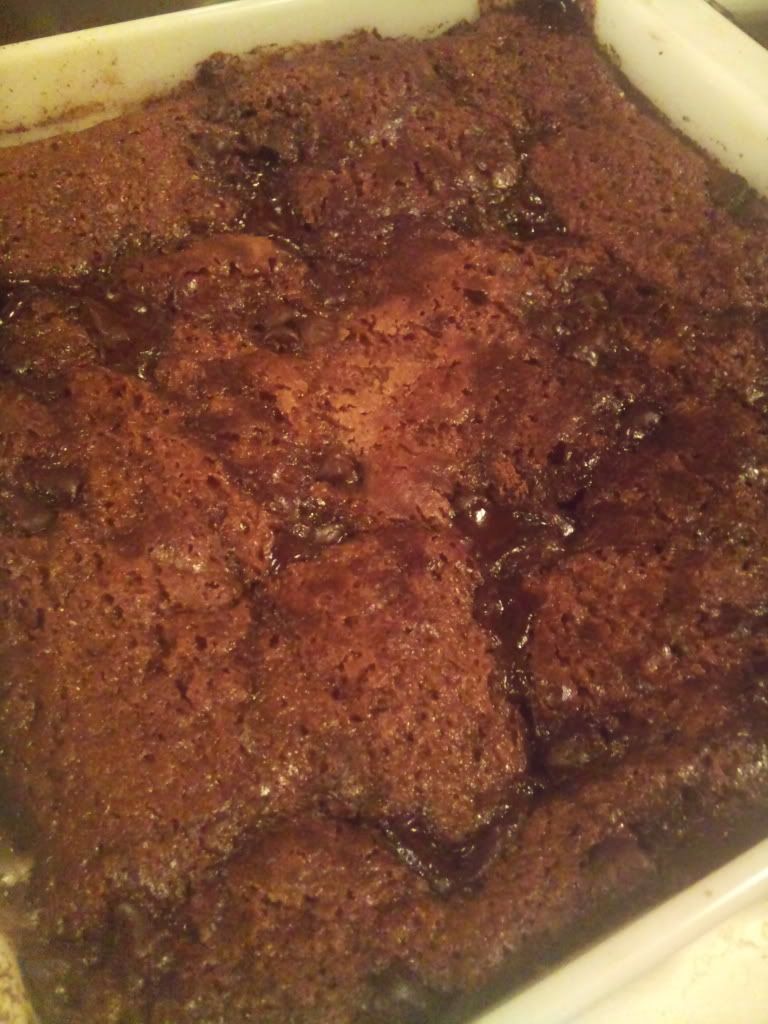
I bet my brother and cousin would be begging me for a bite of this mud pie!
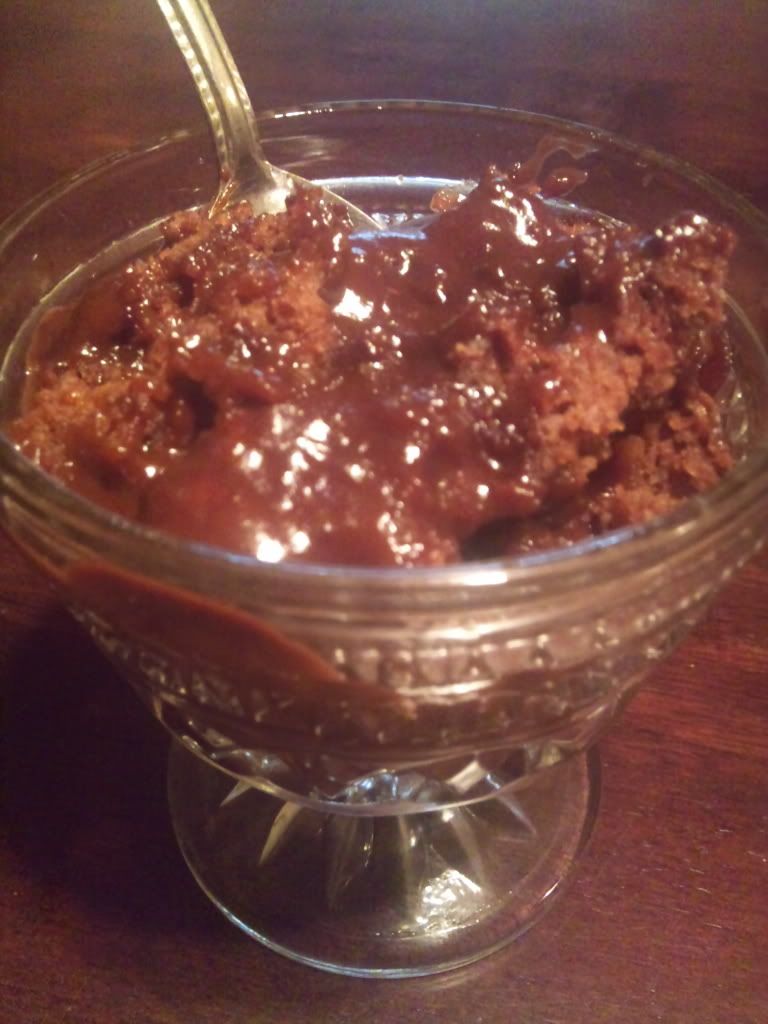
F.Y.I. don't change a thing with the chocolate chips. It's Perfect!
Now, onto something special!

Yesterday, Mel passed on the Blog On Fire Award to me and 9 other blogging foodie friends and today I get to pass it on to 10 of my blogging foodie friends! Now, don't be upset if you didn't get it. I wish I could give one to each and every one of you because I know what kind of time and dedication it takes to blog, especially about food! Needless to say it was a hard choice to just pick 10, but here are the winners:
The Crockpot Challenge
Alison's blog was one of the first blogs I connected with when I started my food blog. She let me know that she tried one of the recipes I posted and that was a great boost for me! Whenever she's commented on my blog, I always knew it was because she wanted to, not because she felt obligated to return a comment.
Learn, Laugh, Cook
Mandy's blog was also one of the first blogs I connected with. She always has a positive attitude and you can't help leaving her blog with a smile on your face! She always has a menu plan for the week, which is something I wish I could do. One of these days, one of these days... I know she'll be proud of me when I finally do it... on a regular basis.
My Catholic Kitchen
Veronica's roots run deep in her food and her faith. Even though I'm not Catholic, she's a reminder for me to keep God in everything I do, including cooking. Her pictures are always so awesome and so is her food. I always leave her blog feeling a little more southern.
The Hill Country Cook
Katie's blog started out as Lucky Girl's Sweets and Treats and if I remember right she was one of my first Facebook fans that wasn't family or someone who knew me. I have no doubt that if we each moved 200 miles closer to the other you'd see one of us in the other's kitchen!
Frieda Loves Bread
Frieda, Frieda, Frieda....I cannot tell you how much she has taught me. Thanks to her I can make bread that comes out decent (I'm still practicing!), but I thank her most of for teaching me how to properly use my pasta maker to make the most wonderful pasta and that has earned her a very special place in my heart, as well as this award!
Anny's Blog
Anny's blog was one of the first blogs that I left a comment on. She has one of those personalities that really comes through in her writing and you can't help but to like her! Plus she cooks things I would never dare to try until I've seen her try it and say it's good.
Mayree's Deep South Cakery With A Side Of Life
Mary is another friend I found on Facebook. I have no doubt that no matter what I ventured to do, she would cheer me on. She makes the most wonderful cakes I've ever seen and makes me yearn to decorate cakes again. She always has the best stories to tell. I can still see her momma chasing down armadillos.
Simple Fare, Fairly Simple
Valerie is just Valerie plain and simple. One of the first things I realized about her is she doesn't put on airs, she is who she is down to the bone. She's one of the sweetest, most gracious and humblest people I know. You've got to see her cookbook. If I was going to publish a cookbook, it would be exactly like hers. Well, not the same recipes of course, but, well, just go see it and you'll see what I'm talking about!
Food Is Love
Laurie's blog is one I can't help but to think about when I'm driving by a fast food restaurant and wanting to turn in. I swear I hear her on my shoulder saying, "it won't take but a minute to cook a burger at home and it'll be better for ya." She also let me do a guest post on her blog and I'll always remember her for that.
Sweet Tea With Cindy
Cindy's blog has more to offer than just sweet tea. I know I can always go there for a dose of encouragement, a recipe for something sweet and a big ole glass of southern sweet tea.
Okay, that's my 10! Again, I wish I could give a reward to each and every one of you because I know you pretty much have to put every ounce of your soul into blogging about food! I've learned with foodie bloggers you get a double dose of love in their cooking because they not only put it in their food, they put that same love on here for the rest of us!
Monday, July 25, 2011
This is a Sponsored post written by me on behalf of Diageo for SocialSpark. All opinions are 100% mine.
When I agreed to write this post, I thought I would be writing it on my other blog, but that's okay because rum can be used in cooking! Although, I think this premium rum might be best in one of those recipes where the directions are mix, pour rum in a glass, stir, drink rum, mix, pour more rum in glass. Well, you get the idea. So, let me tell you a little about Zacapa premium rum.

Zacapa premium dark rum is made a little different than other rums. Instead of being made with molasses as it's base, it is made with virgin sugar cane honey pressed from sugar cane grown in volcanic soil. The ageing process is done in a facility called The House Above the Clouds. I imagine it gets it's name because it's located 2,300 meters above sea level.
Now I'm not a connoisseur of rum, but based on everything I've read, this rum has it's own distinctive taste that cannot be imitated. During the ageing process, the rum passes through casks that were used for American whiskeys, Oloroso sherry and Pedro Ximenez wines.
While I'm not certain that it wouldn't be a bad idea to put this rum in a cake, after visiting their site, it seems it's best paired with dark chocolate. Now that I'm all for! You can learn more about this exceptional rum by joining the Zacapa Society at www.zacaparum.com. You might even get a reward for your participation in the society!
Well, that's all for now. Thanks for reading about this product. It's got me to wondering if I can substitute rum for whiskey in bread pudding. Hmmmm....do you use rum in your cooking or while you're cooking?

With it being so freaking hot this summer it's hard to get motivated to cook! I was sitting on the couch thinking about cooking supper and I remembered a dish I hadn't made in a long time that requires very little energy to make and no oven. So, if you're hot and tired and have to cook something for supper, Pasta Primavera has to be one of the perfect summer dishes to make.
Here's what you'll need:
16 ounces Rigatoni or other pasta
5 tablespoons Butter
1 teaspoon Minced Garlic
1 bag of Stir-fry Frozen Vegetables
1 cup Milk
8 ounces Cream Cheese
2 cups Cubed or Diced Ham
1/2 cup Parmesan Cheese
First, you'll need to cook your pasta. I used Garden Rigatoni, but I've used spaghetti, vermicelli, bow-ties, and penne pasta. Put a pot of water on to boil, add a little salt and when it's boiling, add your pasta.

While the pasta is boiling, put 3 tablespoons of butter and the minced garlic in a skillet and turn your burner on medium-low. Add the bag of frozen vegetables, give it a stir and put the lid on it.

Once the vegetables are thawed and tender, add the cream cheese and milk. I slice the cream cheese as I'm adding it to make it easier to stir while it's melting.

Next you'll add the ham. I buy diced ham and use about three-fourths of the package. You could use leftover ham cut up into small pieces. I wouldn't use lunchmeat because the thin pieces will stick together and won't get distributed evenly through the mixture. Trust me, I've tried it in a pinch and it's just not as good. So, stir in the ham and turn the burner down to the lowest setting. Put the lid on and let it simmer while you're checking on your pasta.
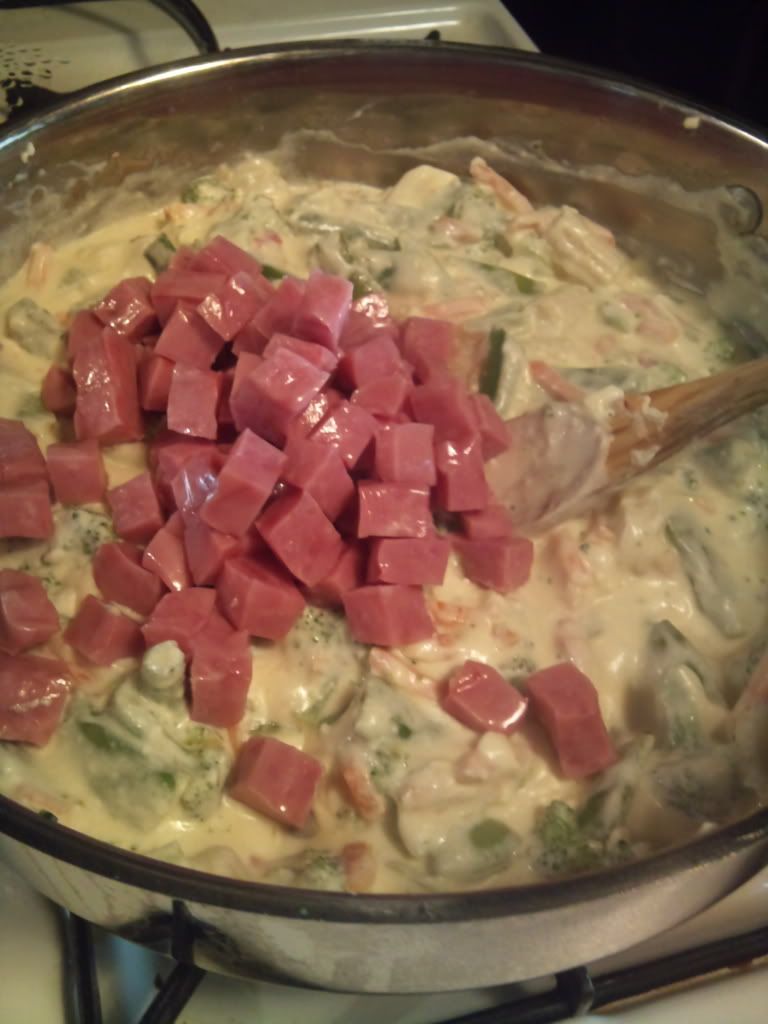
If you have to go chase down your phone or a kid before you get a chance to check your pasta, make sure you stir the sauce mixture when you get back so it doesn't burn to the bottom of your skillet. Regardless of what you're chasing or not chasing, once it's bubbling, give it a stir, put the lid back on and go ahead and turn off the burner. Now, if the pasta is tender it's time to drain it. I always test it by seeing how easily I can cut through it with my spoon against the side of the pan.
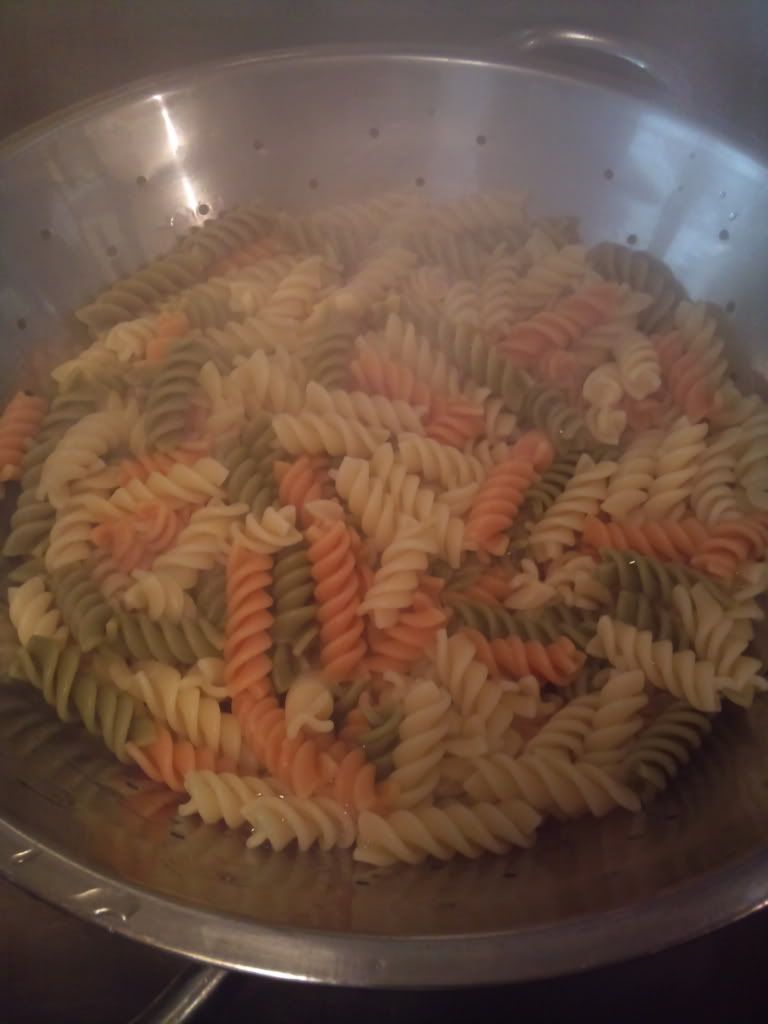
After the pasta is drained, pour it back into the pan. Mix in the last 2 tablespoons of butter and the Parmesan cheese.

Now stir the sauce mixture in with the pasta and viola, you've made Pasta Primavera. This made enough for 3 meals for me and the hubby. He didn't get a second helping, but it was because I put enough on his plate to equal two helpings so I wouldn't have to get up!

I'm pretty confident this would feed a family of eight. You would definitely have six very generous servings.
Monday, July 11, 2011
Orange-Pineapple-Carrot Marmalade
If you follow me on Facebook or Twitter, then you know I had a Strawberry Jam Canning Party a few weeks ago. Since then I've canned Corn Relish and today I canned Orange-Pineapple-Carrot Marmalade. In the next few weeks I'm planning on making Peach Butter. A fellow foodie from Honey, The Water's On Fire, just finished canning Dill Pickles. This canning stuff is awesome!
When I was looking up stuff on canning, I came across something that talked about why people can. Back when more people grew their own gardens, you could tell how someone's winter was going to go by how much stuff they were able to can. So, what's a girl to do in this day and time? Well, you try to grow a few things. You get to know people that do have gardens. You buy fruits and vegetables when they're in abundance and on sale. And you learn how to can. Of course, you're not going to sustain your family for the winter on jars of jams and jellies, but they are a good place to start when you're learning to can. Not to mention, they also will make really good presents and now is the time to start making them!
I found the recipe for Orange-Pineapple-Carrot Marmalade in the Ball Blue Book of Preserving. There are tons of recipes in there for different things that I'd like to try to make! But, for the marmalade, all I needed was:
1 Pineapple
3 Oranges
2 Lemons
3 Carrots
I also needed:
Allspice
Nutmeg
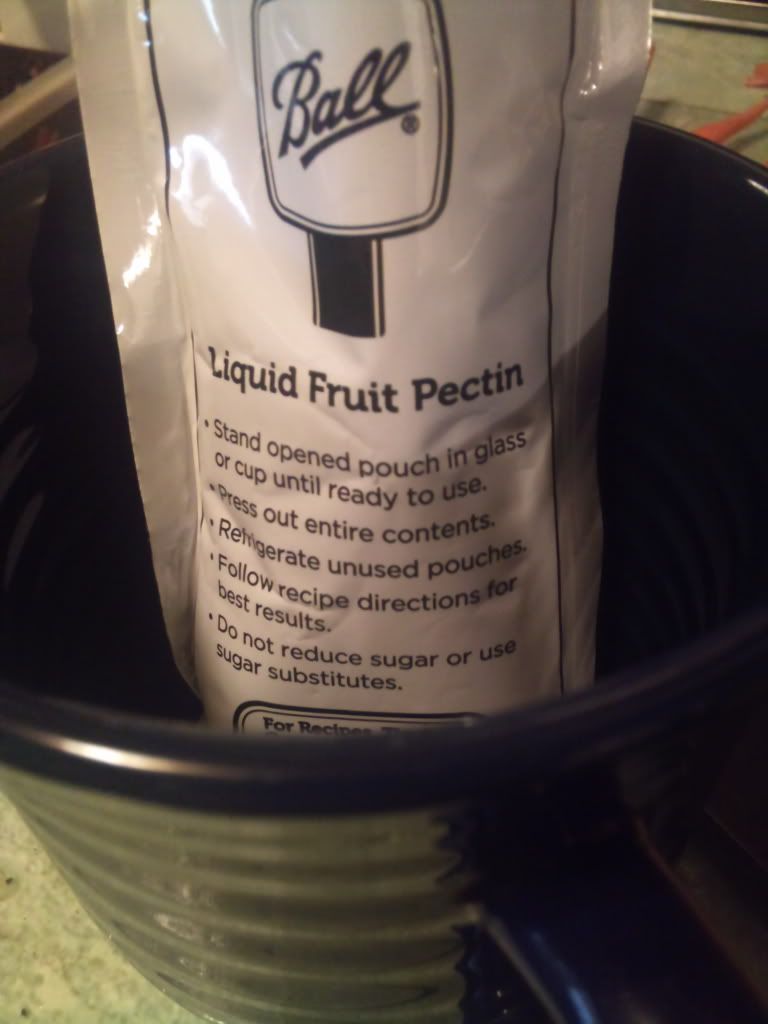
1 pouch of Liquid Pectin
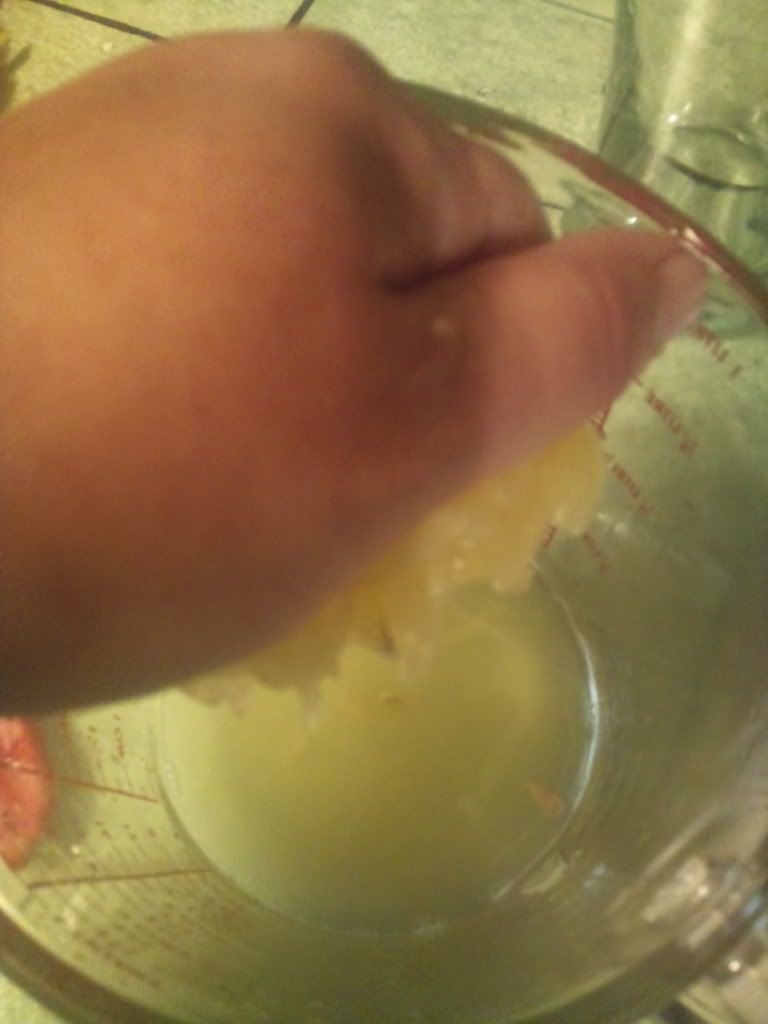
First, I peeled the lemons. To do this, I took a sharp paring knife and cut just through the skin all the way around the lemon and then made another cut all the way around so that the skin was divided into four sections. I cut the lemon peels into strips so this really helped to get it off in nice big sections.
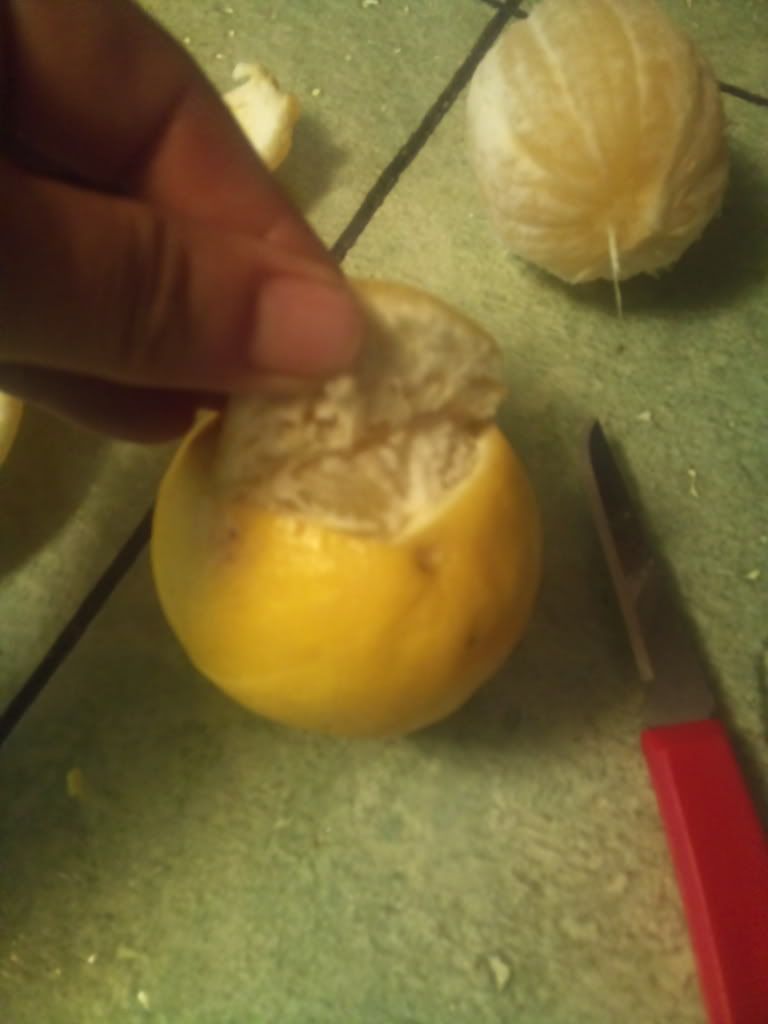
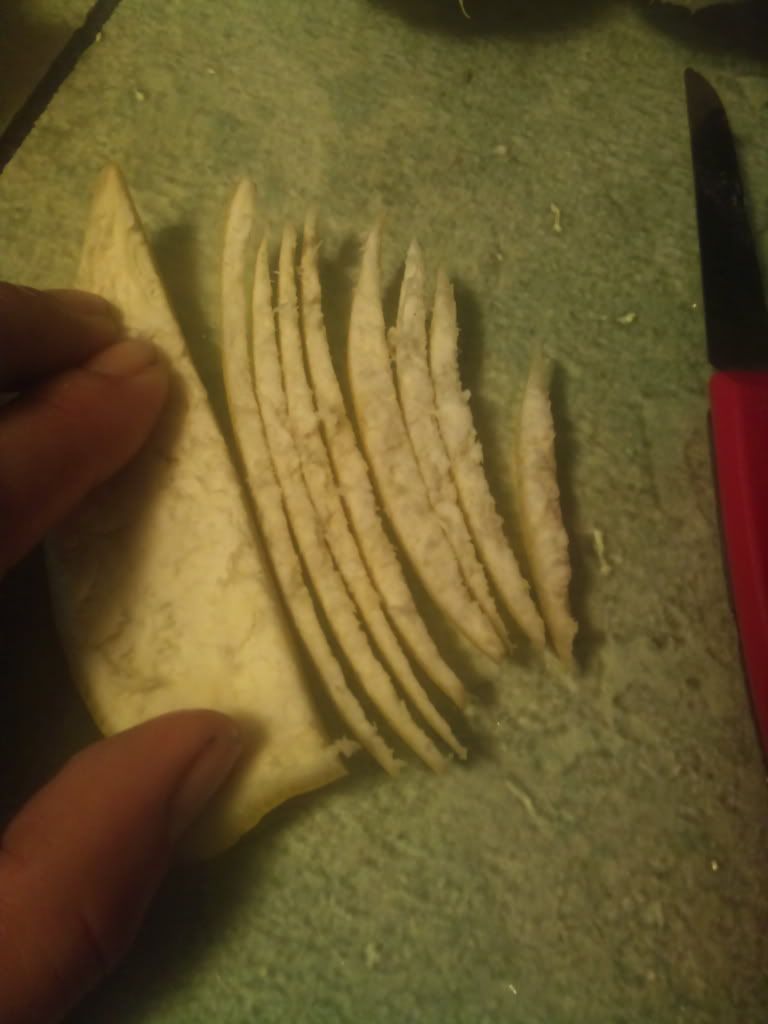
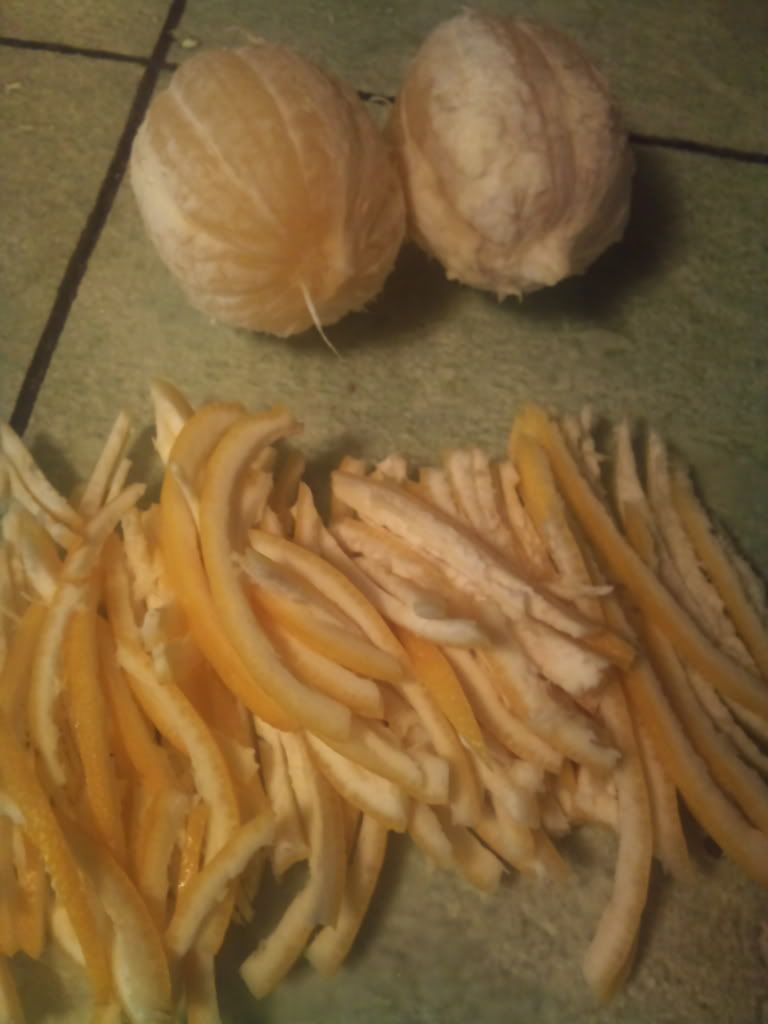
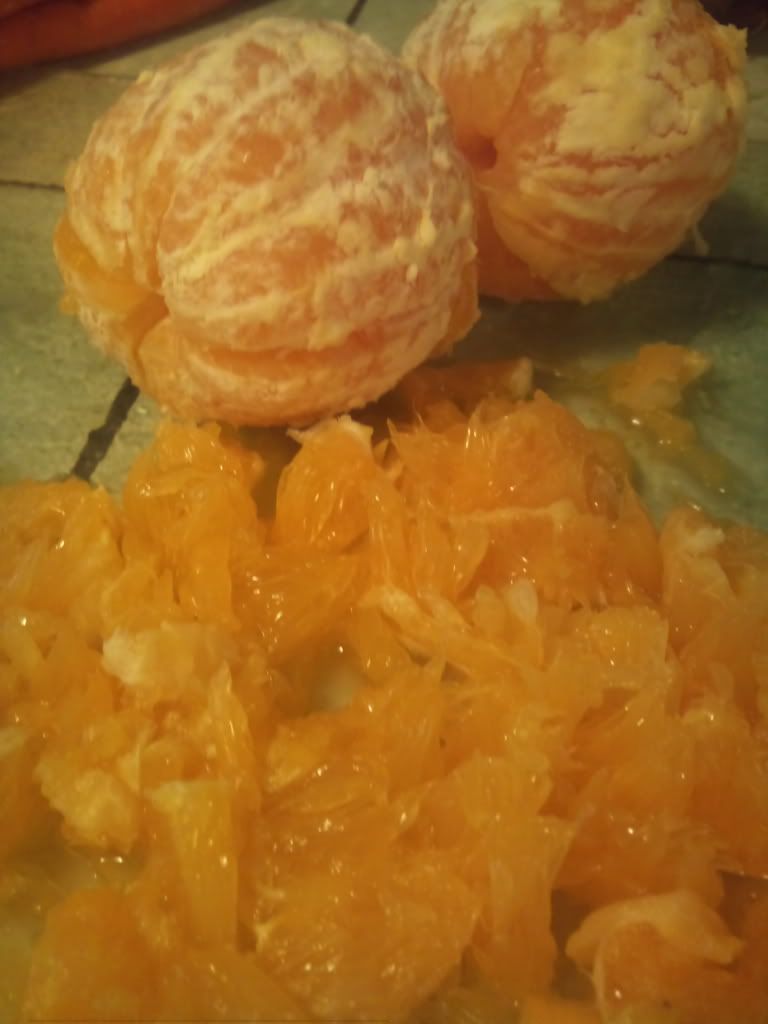
The orange peels weren't going to be used, so I just peeled them off and then chopped up the orange pulp.
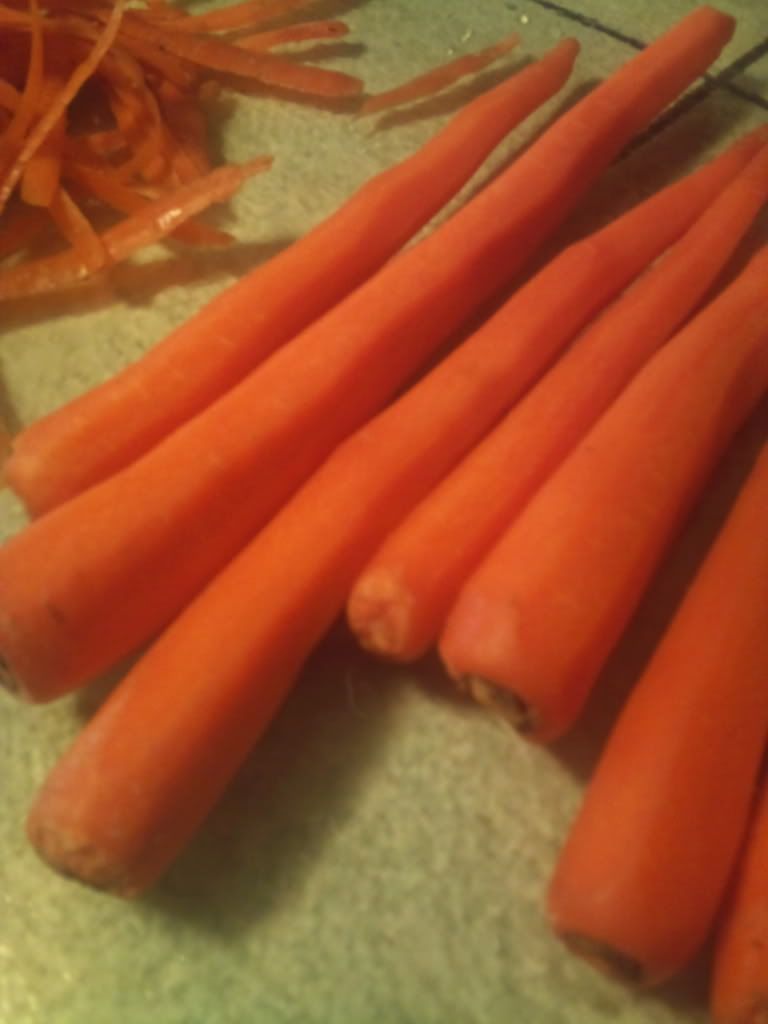
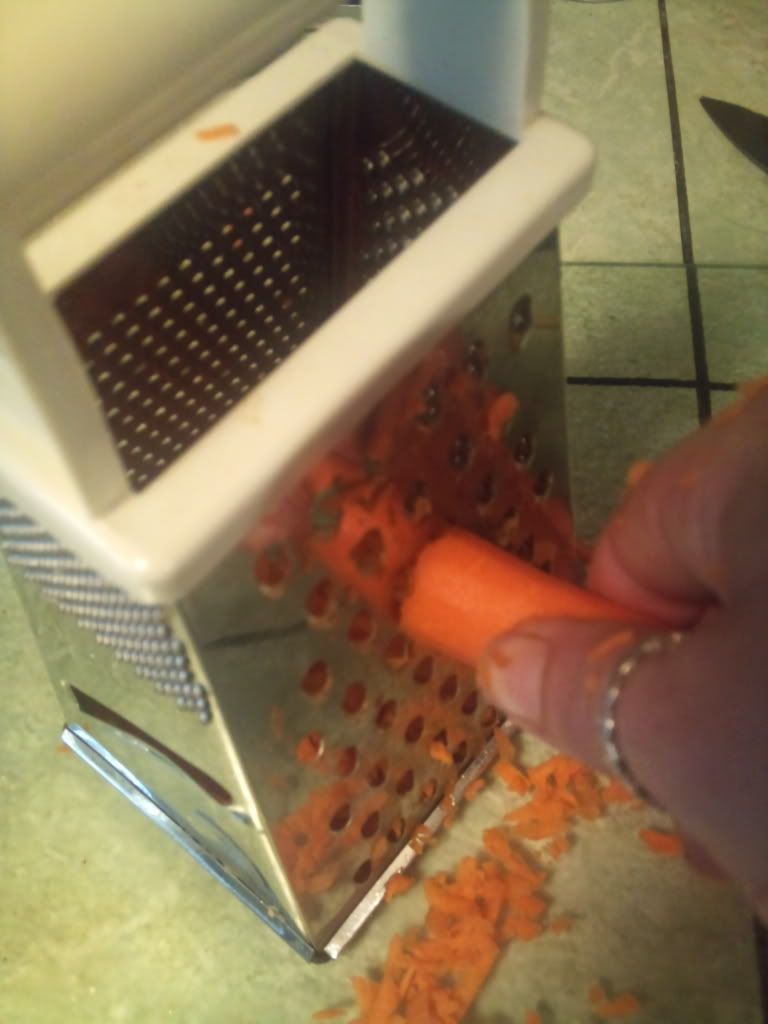
I peeled the carrots and then shredded them. I wasn't sure how many I would need, but it turned out I only needed three.
So, lets just skip to the part where I mix it all together!
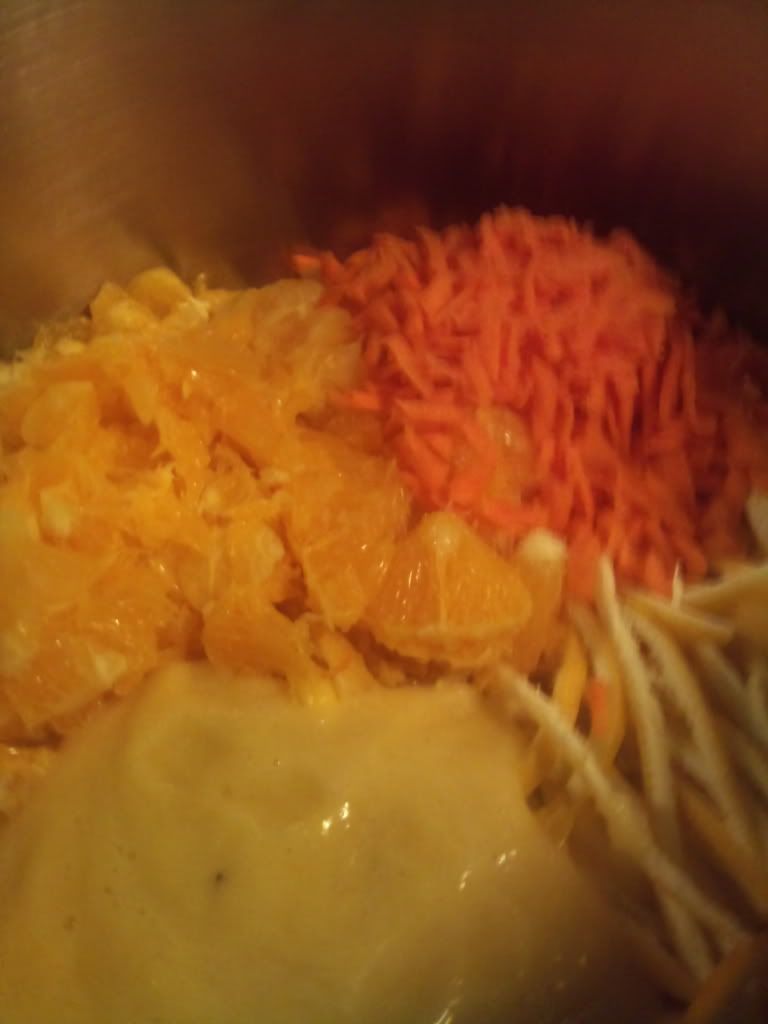
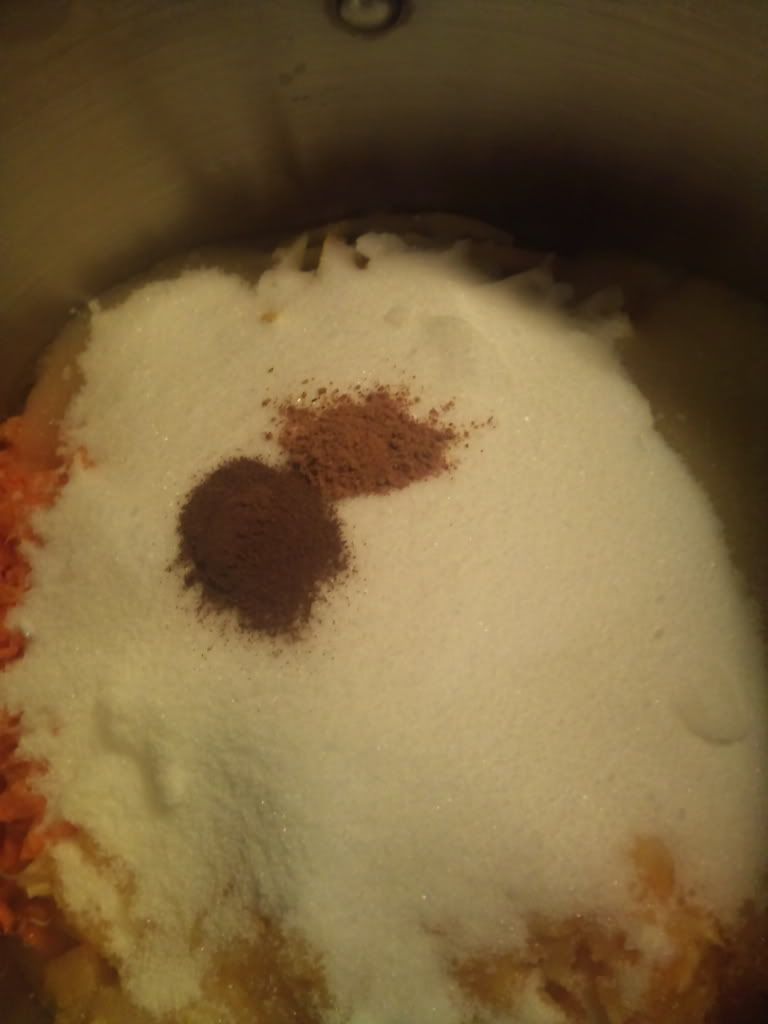
To the lemon juice, lemon peels, orange pulp, carrots and pineapple, I added sugar, allspice and nutmeg and stirred it all together.
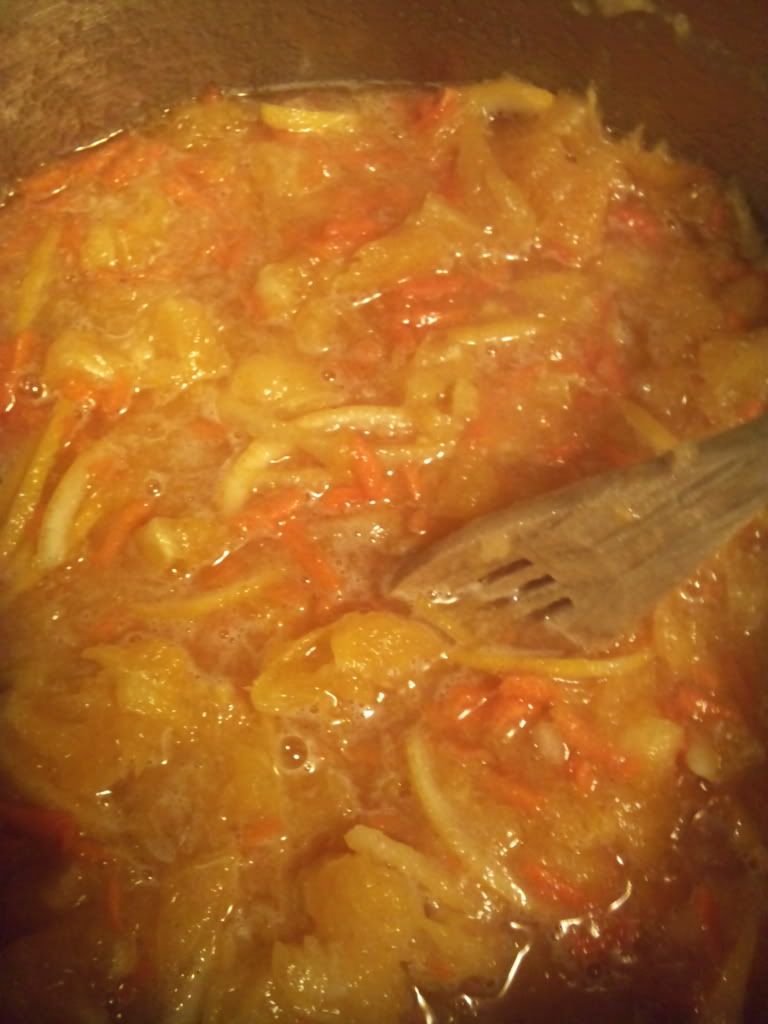
Then I let it come to a rolling boil and stirred it while it boiled for a minute, turned off the heat and stirred it slowly for two more minutes.
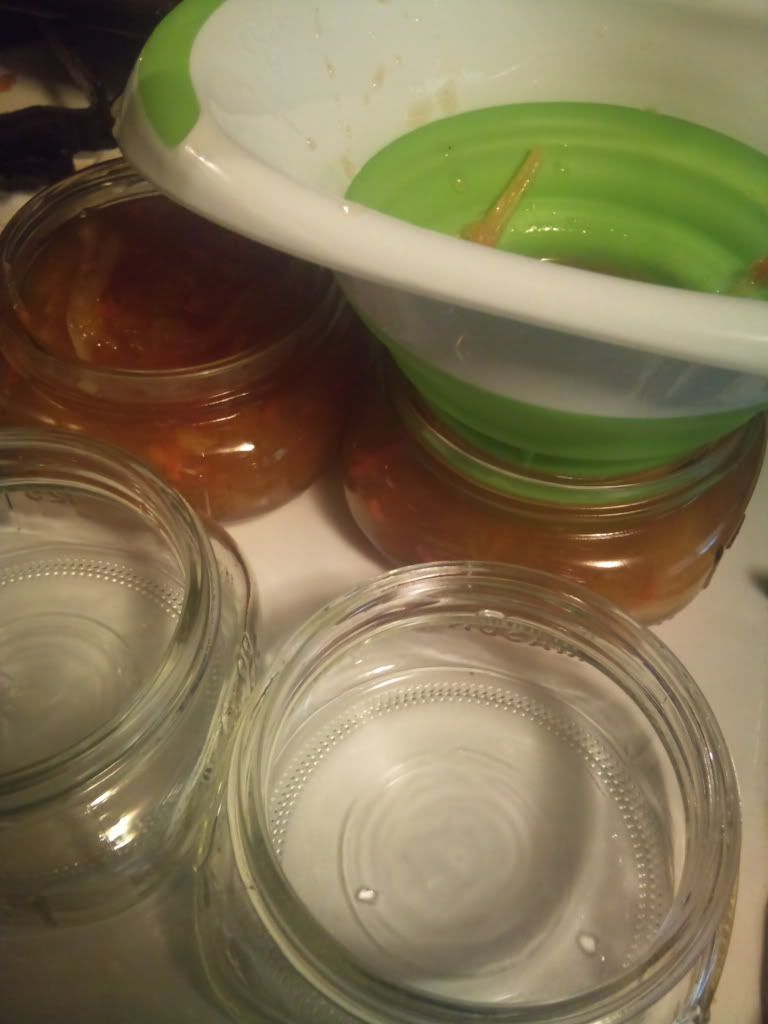
Since I had already washed my jars, lids and bands, I just rinsed them again with really hot water to get them ready to add the marmalade.

I ladled the marmalade in the jars and filled them up all the way to the top screw line.
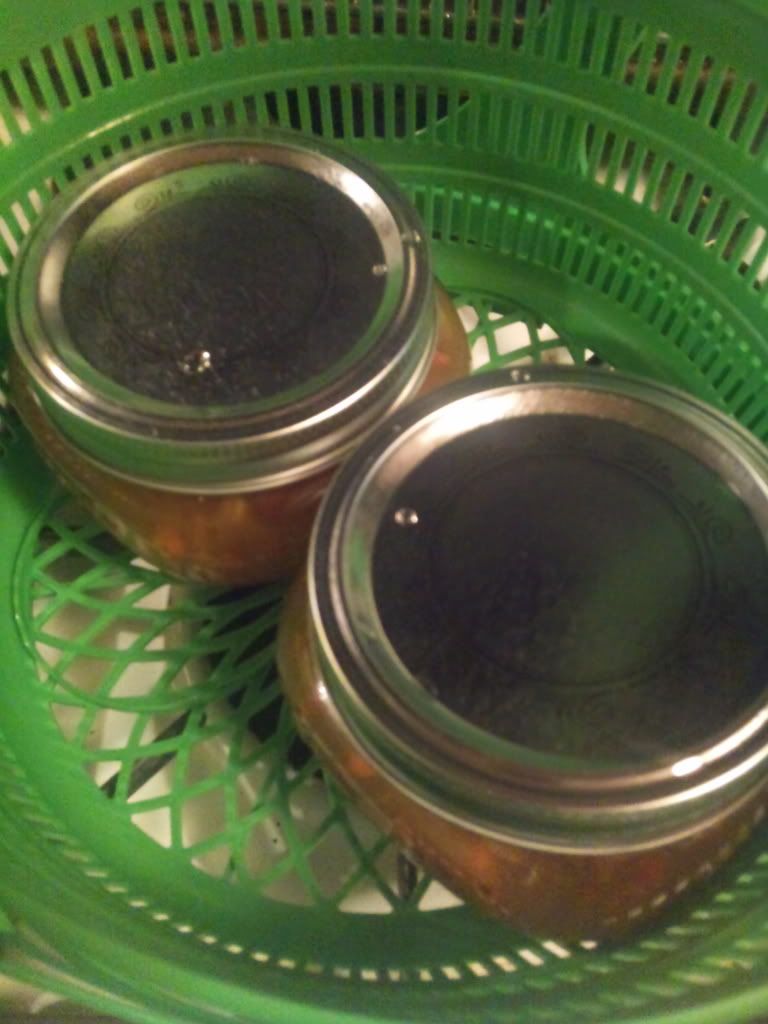
Next I put the lids and bands on the jars and put 2 of the jars in my canning basket and put it in the stockpot of boiling water. I put the lid on the stockpot and let it boil for 10 minutes.
Once the time was up, I lifted the canning basket out and put the jars on a towel and did the next batch. Now the jars are sitting on the counter and will be ready to store in 12 hours. Wasn't that easy!

It looks so yummy! I can't wait to try it!
Saturday, July 2, 2011
Baby Shower Cake
This past Saturday was a busy day. Not only did I have a Strawberry Jam Canning Party (which I promise I'll post about soon!), we also had a baby shower for Amanda. Baby Lainey Jay is going to be born sometime between now and the end of August. "Auntie Kiss" (that's me) made her cake.
Amanda found a version of the cake online and I just customized it to what we liked. So, while I'd like to say this was my original idea, it wasn't. The one she saw was on Creative Baby Shower Ideas.
First, I made a 2 layer white cake. You can use any flavor of cake you like, just make sure you have two layers.
I started to use frosting in between the layers, but I wanted it to make it just a little more special so I mixed up a box of instant chocolate pudding using 1 1/2 cups of milk. Don't spread it quite to the edges of the cake and when you put the top layer on, press it down gently so you have a thick layer of pudding in between the layers.
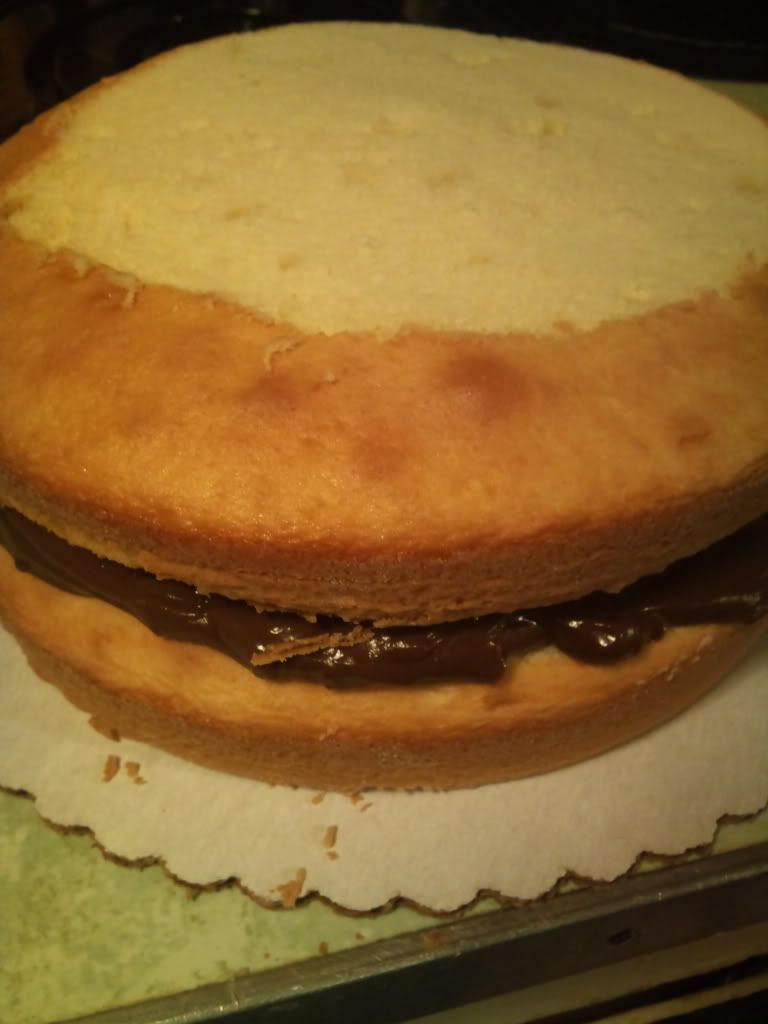
Next, I put a thin layer of frosting around the edge of the cake and a thick layer of frosting on the top making sure I spread it all the way to the edge so that the cookies will have something to hold on to.
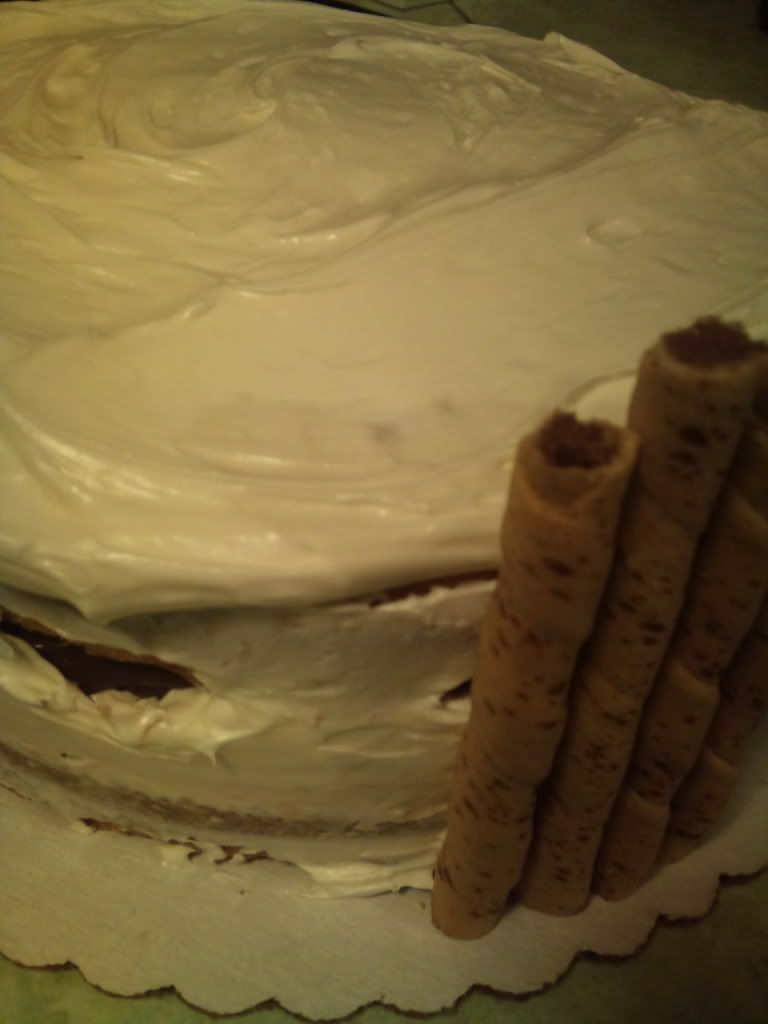
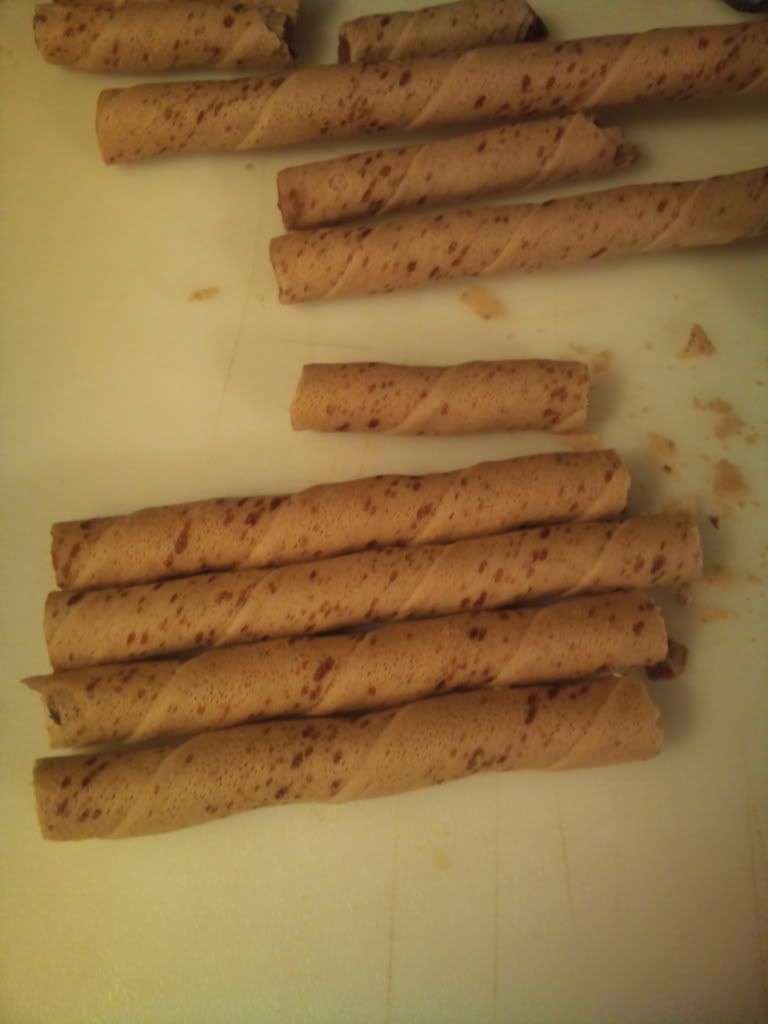
I used Piourette Pepperidge Farm Cookies to go around the edge. I cut them down to where they were just a little taller than the cake. Of course some of them were broken, but I just stacked the smaller pieces together to make a whole piece. Does that make sense?
To make the "water" on top of the cake, I mixed about 1/4 teaspoon of Wilton's blue frosting color with about a teaspoon of water (enough to make a very thin gel type consistency). Using a small paint brush, I painted in the water. We topped it with a rubber ducky we found in the baby section for $1.00.
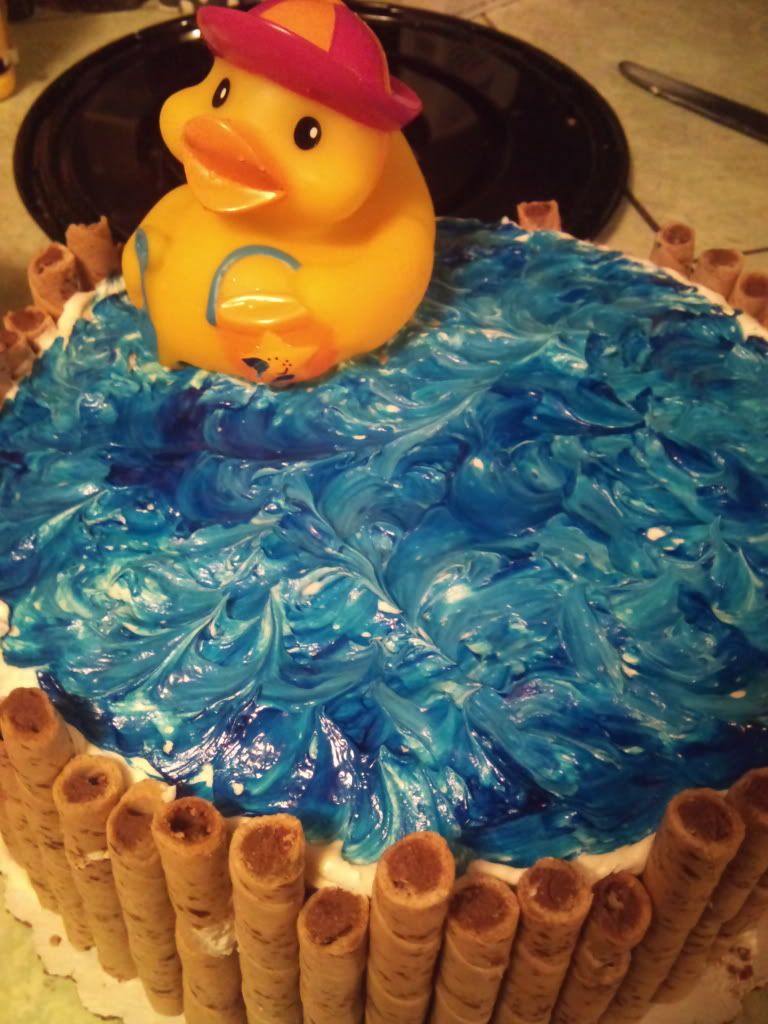
The bakery at Walmart was nice enough to give us a container for the cake. I've needed a cake box before and was able to buy one from the bakery at the neighborhood grocery store for about 50 cents. I didn't know they sold them until I asked!
We tied a pink ribbon around the cake and that was well, like icing on the cake! Perfect for a baby girl's baby shower. The cake turned out really pretty and tasted so good!


