

Wednesday, June 29, 2011
Honey Orange Barbecue Chicken
I knew I wanted to make barbecue chicken for supper. This weekend we went to our friends house and ate barbecue chicken cooked on the grill and that got me to thinking about a recipe I had. Mine was baked in the oven and had orange juice in the barbecue sauce. Now that I'm sitting here thinking about it, it's been a really, really long time since I've made it, which could explain why I misplaced the recipe.
After searching the web for a half hour, I couldn't find a recipe that was similar to the one I had. So, I came up with my own! During my search I ran across "how to brine chicken" and figured I would try it since I had the time. It's supposed to make it juicier and more flavorful and let me tell ya it definitely does! It's very easy. Actually, it's so easy, I can't believe I haven't done it before, but anytime I saw the word "brine" I just skipped right past it on to something else. Sheesh, what was I thinking!
Okay, to brine your chicken...
Put 4 cups of water, 3 tablespoons of salt and 2 tablespoons of sugar in a pan and stir until the salt and sugar dissolves. This takes a few minutes, just keep stirring and it will dissolve. Add your chicken to the pan, put a lid on it and put it in the fridge for an hour.
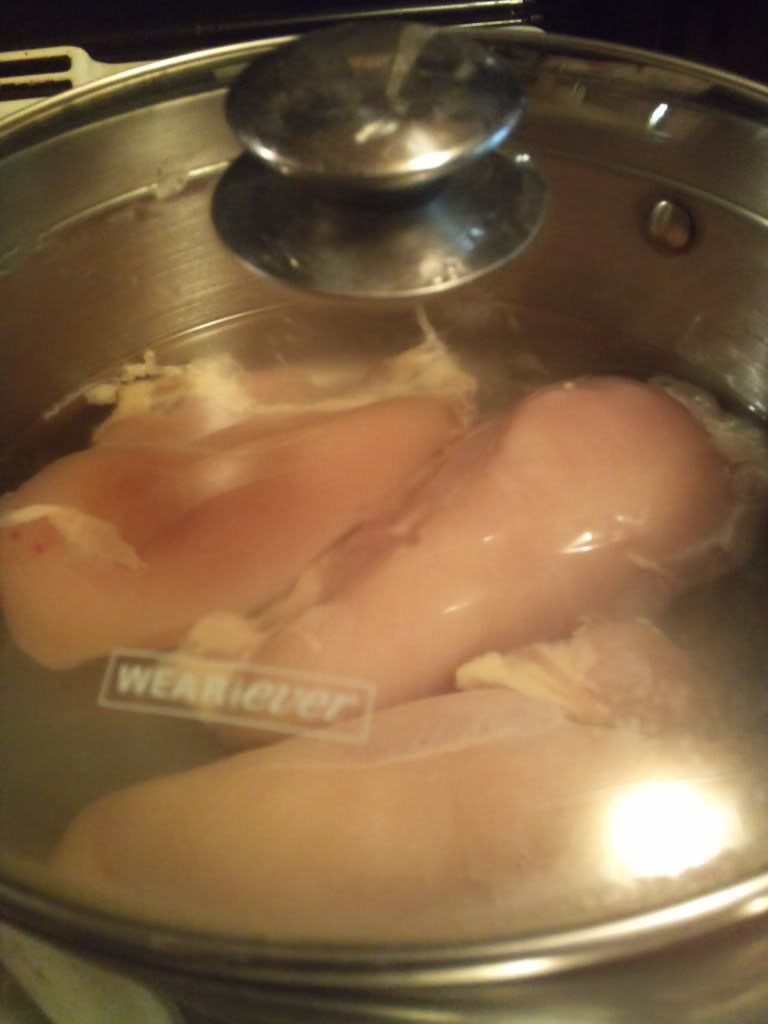
Once the hour is up and you're ready to cook the chicken, rinse the chicken off in cold water and then proceed with your recipe. That's it! Can you believe it?
If you don't have an hour before hand to do this, take your chicken out of the freezer the night before and put it in the water, salt, sugar. Put the lid on and put it in the refrigerator. It has to thaw anyway right? So why not brine it!
Now, for the best, moistest, juiciest, sauciest, barbecue chicken ever...
In a bowl, mix
2 tablespoons Worcestershire Sauce
1/2 cup Orange Juice
1/2 cup Honey
1/2 bottle Barbecue Sauce
1 tablespoon Corn Starch
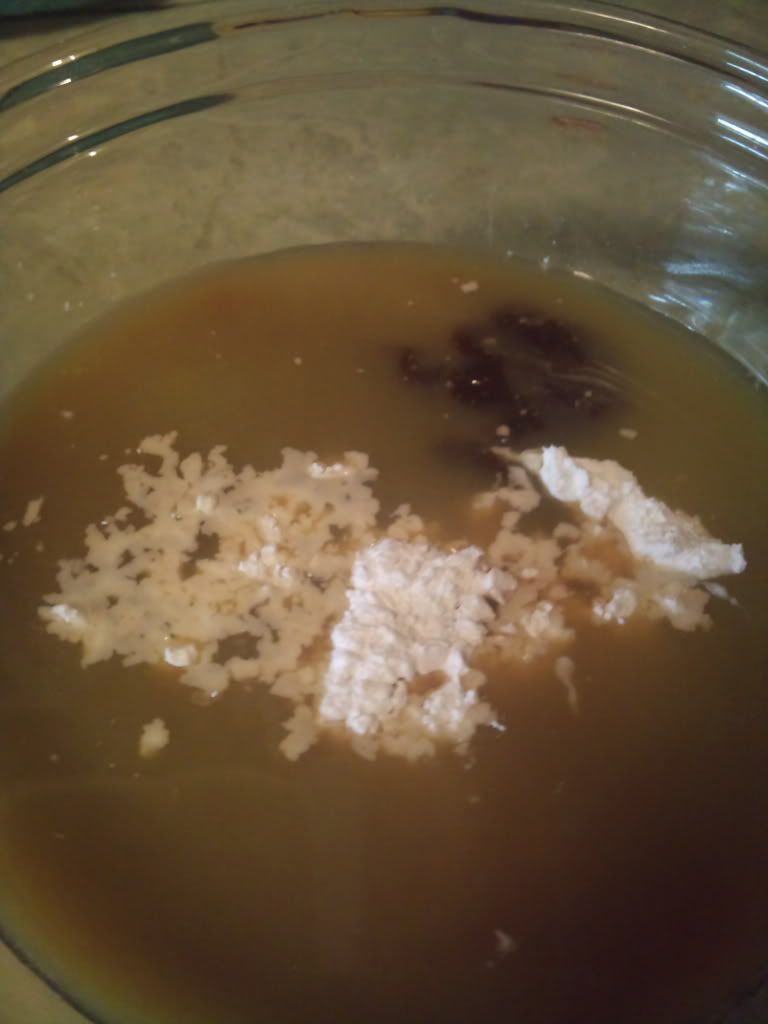
until the corn starch dissolves and set to the side.
Next you'll need:
2 or 3 boneless, skinless Chicken Breasts
Seasoned Salt (optional)
about 1 cup of flour
about 2 heaping tablespoons of shortening
If you've brined your chicken like I did, rinse it off in cold water and then cut it into strips.
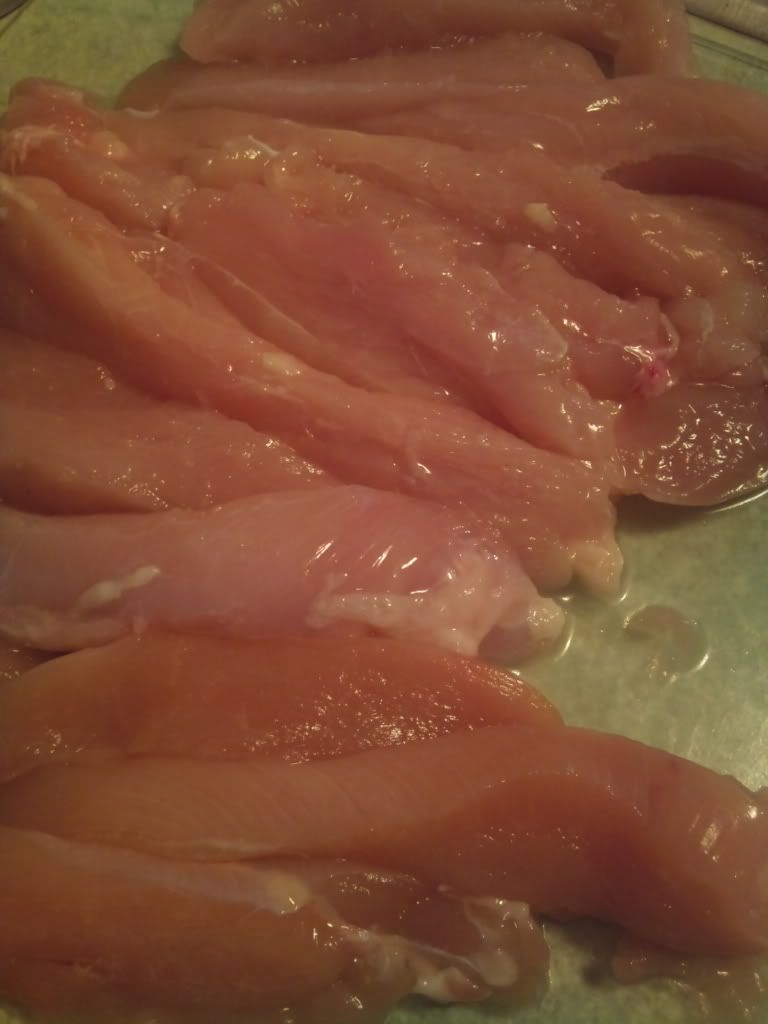
You can sprinkle some seasoned salt on the chicken if you want. I used Citrus Grill seasoning, but honestly, I'll probably just skip it next time. It added flavor to it, but it wasn't exactly what I was wanting. Don't get me wrong, it was good, but it had a flavor I couldn't put my finger on that I could have done without. If you want, try it both ways and see what you think. Sprinkle seasoning on some and not on others.
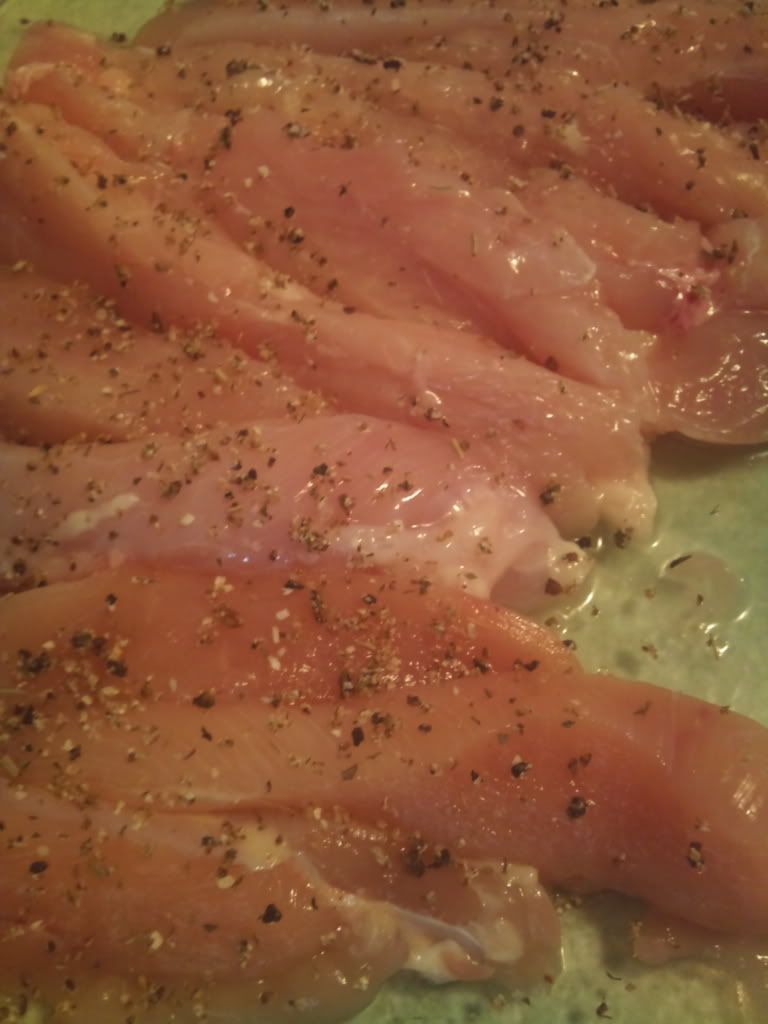
Put about 1 cup of flour onto a plate. No fancy measuring or anything, just scoop it up and pour it on there. Then coat your chicken strips with the flour.
While you're coating the chicken with flour, you might want to go ahead and put a couple of scoops of shortening in a skillet and turn the burner on medium high heat. I just LOVE the new skillet my mom got me! It's perfect for this. Oh, and turn your oven on 400 degrees. I know it's scorching outside and the last thing you want to do is turn on the oven, but trust me, we're only going to bake this chicken for 20 minutes. It'll be worth it, I promise!
Once the shortening is melted, add your flour coated chicken to the skillet.
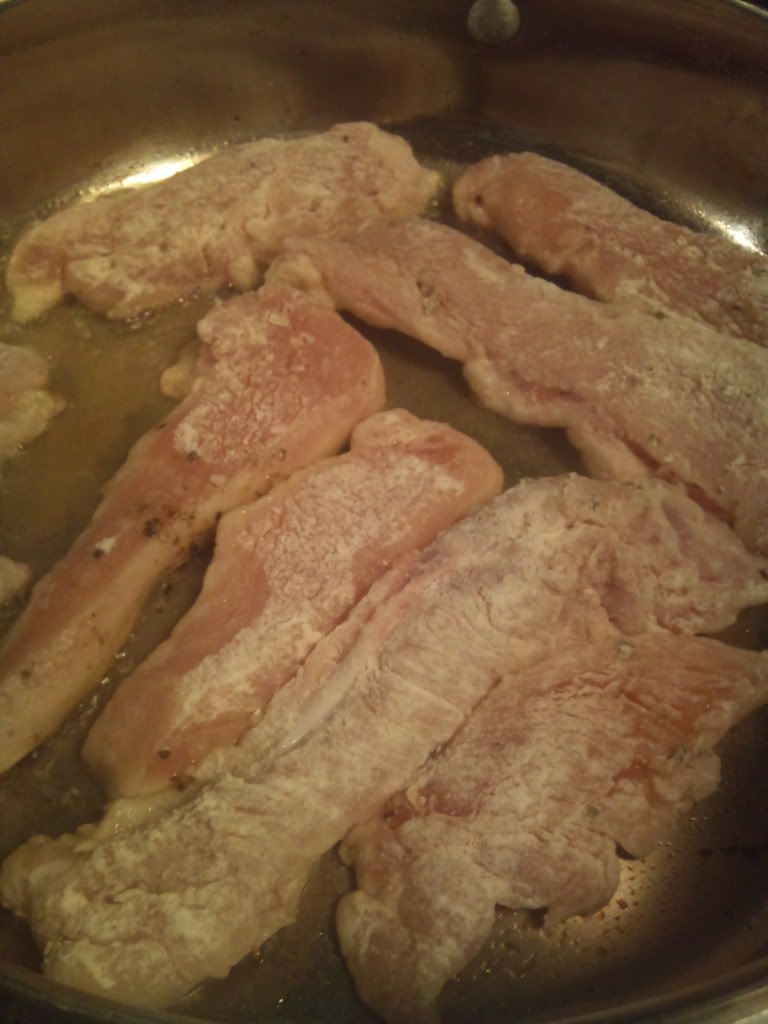
Fry it just until it is a light golden brown and then put the chicken in a baking dish.
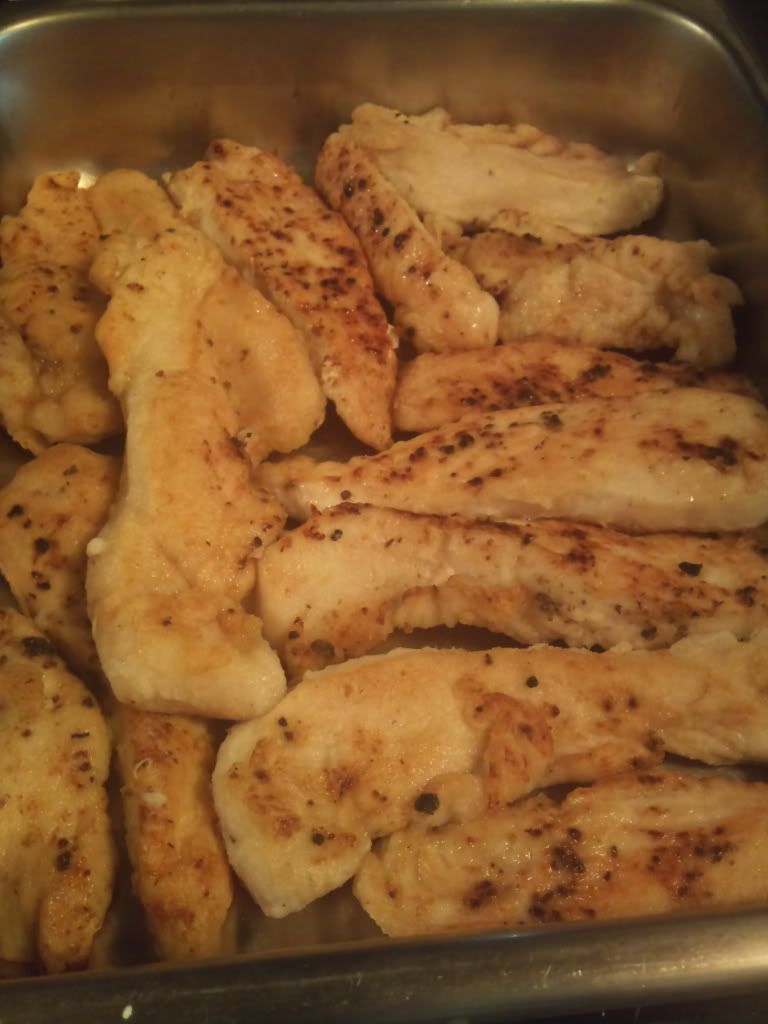
Now, pour the sauce over the chicken and put it in the oven for 20 minutes.
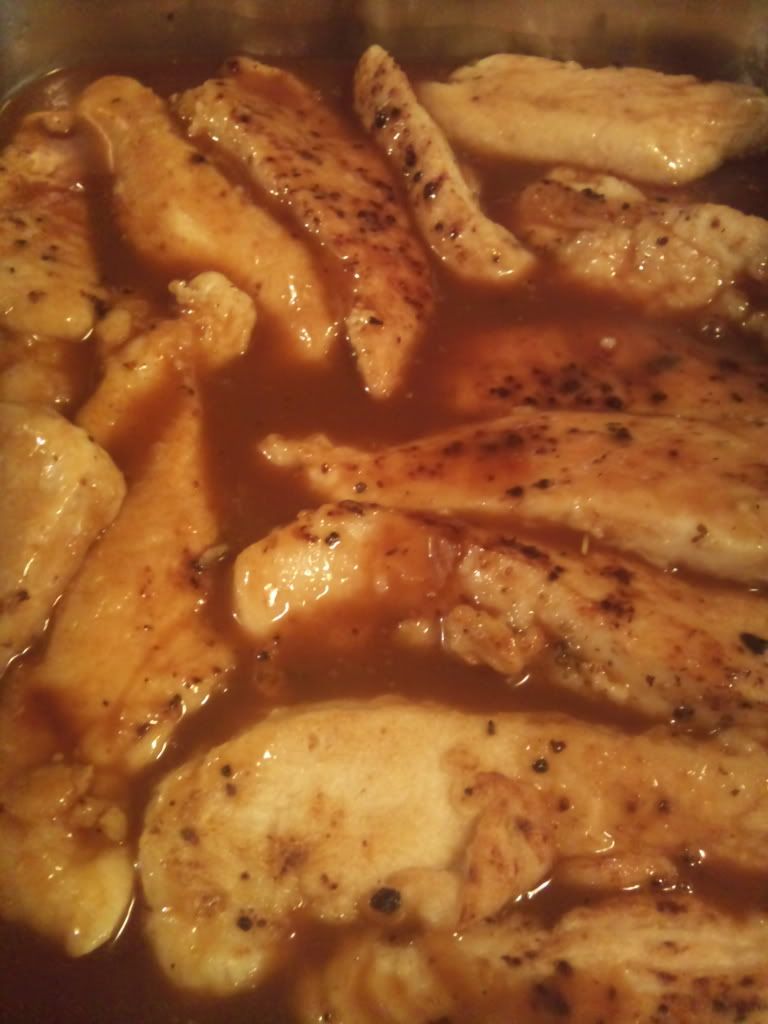
Once twenty minutes is up turn off the oven before you melt and try to resist the urge to dig in! Not only does it smell so wonderfully good, the sight of the bubbling thick sauce alone will make you drool. Ready for the plate?
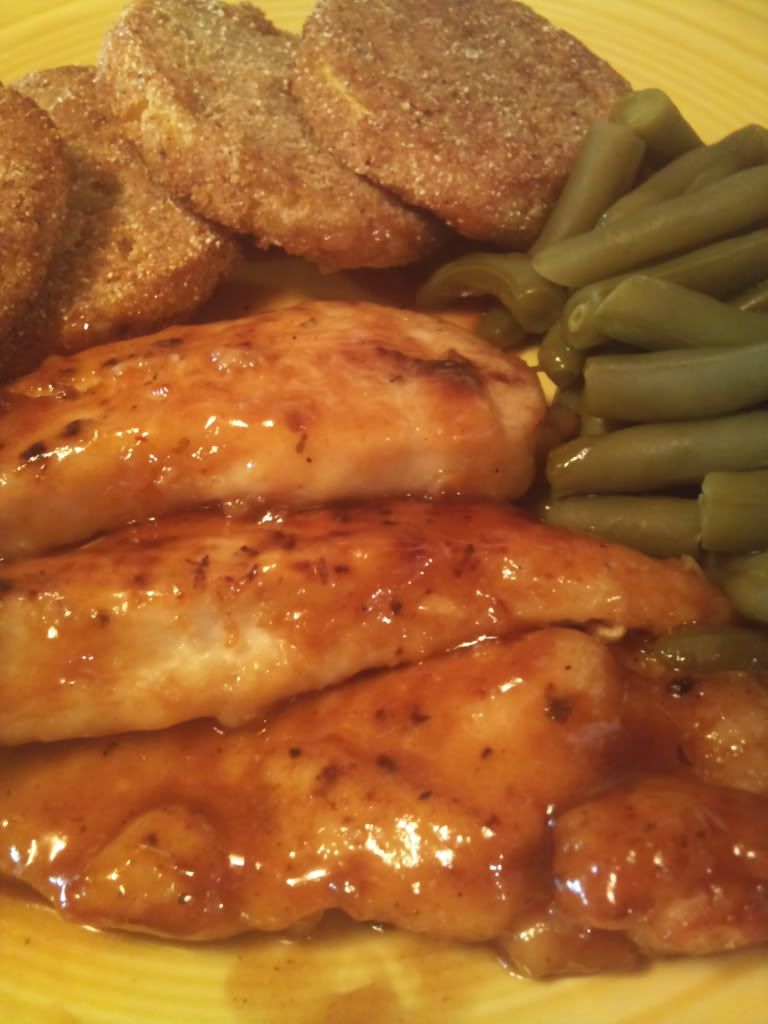
Hubby said if he could have eaten it he would've had thirds and possibly fourths. This is one of the highest hubby helping ratings yet!

Monday, May 16, 2011
General Tao's Chicken
My hubby loves rice. He also loves General Tao's Chicken. I've tried and tried to make it like the kind you find at the chinese restaurant and it came close, but I know that if I would rather eat it in a restaurant then it just wasn't close enough.
Last night he asked what I was planning for supper and suggested I make General Tao's Chicken. So I'm thinking he must have liked it okay the last time I made it, but my recipe is on the computer that crashed! A month or so ago, I was blog surfing and saw a different recipe for it and thought hmmm, I'll have to try this one. Then last night after he said that's what he wanted I had to go on a search for the blog where I saw that recipe. I found one blog that had a recipe, but it just didn't look right. I clicked on another and they said they got their recipe from someone else, but had changed it. So I thought well maybe it was the person they got it from. Well, come to find out they got their recipe from Frieda Loves Bread. Oh yeah! That's where I saw it!
I went ahead and started my rice. I used 2 cups of water, 1 cup of rice, 1 tablespoon of butter and 1 chicken bouillon cube. When it started boiling I put on the lid with a dishtowel under it, turned it down to the lowest setting for 8 minutes and then turned off the burner. For more details on making rice, scroll down to the middle of this post.
The one thing that I have perfected is the batter that I use to coat my chicken and I'm very reluctant to change that, but I did use her sauce with one change and we'll get to that in a minute. Now, while I was making this I was text messaging my little sister. She asked if it was hard to make. It's really not, it just takes a little time. From start to finish it took me about an hour, but I could have probably done it in less than 30 minutes if I wasn't taking pictures and texting :) If it's your first time making it, I'd plan on spending an hour, but it is so worth it! Oh yeah, the batter.
3 eggs
1 cup cornstarch
I cracked 3 eggs in a bowl and beat them with a whisk.

Then I mixed in 1 cup of cornstarch. It kind of had the consistency of glue...wood glue to be exact.

I cut up 2 large boneless, skinless chicken breasts into small chunks and dumped them in the bowl of batter and stirred it with a spoon to coat all of the chicken.


I heated up oil in the skillet on medium-high. It was probably about a cup of oil, just enough to go about halfway up the pieces of chicken. Using tongs, I picked up the pieces of chicken and dropped them in the oil spacing them apart so they didn't stick to each other. Once I had filled up the skillet, I pushed them closer together and then added a few more pieces.

Once they were a light golden brown on the bottom, I turned them over and let them get golden brown on the other side. I started out doing this with tongs, but after getting popped a couple of times I got my poker fork and used it to flip them over!

When they were done I put them on a rack on top of a cookie sheet to drain. If you're not quite sure if they're done, just pull out a piece, cut it in half and push down on it a little. If the middle is white and the juices are clear it's done.

This is where I started following Frieda's recipe for the sauce. I stirred all the ingredients up in a bowl except I substituted rice vinegar for the apple cider. Then I added 1/2 teaspoon of crushed red pepper flakes to the oil in the skillet. I also used my kitchen shears to snip off the tops of some green onions and added it to the skillet as well.

Following her instructions I poured in the sauce and stirred it until it was thick. Then I put in the cooked chicken and stirred it until every piece was thickly coated. My mouth was seriously watering at this point! I spooned the rice on some plates and then spooned the chicken on top.

I thought you might need an extra large picture of this yummy goodness! I finally did it. Now that I can make Honey Walnut Shrimp (my favorite) and General Tao's Chicken (my hubby's favorite), the only thing left to keep me from wanting to eat chinese out are egg rolls and crab rangoon!
Wednesday, April 13, 2011
Stir Fried Chicken
This Stir Fried Chicken was just a little sweet and a little spicy, but not enough to be called sweet and spicy. Jeff (my husband) said if he had some sweet and sour sauce, it would have made the vegetables go down easier! Anybody have a recipe for that red sauce you get at the Chinese restaurant? I know he liked it though because he got a second helping!
This is a really simple recipe and again, very economical. I keep oil, rice, soy sauce, honey, minced garlic, cornstarch and frozen stir fry vegetables on hand. I buy chicken breasts in bulk and put two or three pieces in freezer bags to pull out and use as needed. The only thing I had to buy that I don't normally buy was a can of pineapples.
2 large boneless, skinless Chicken Breasts
2 tablespoons Canola Oil
1 teaspoon Minced Garlic
2 tablespoons Honey
2 tablespoons Soy Sauce
1 8 oz. can Crushed Pineapples
1/2 cup Water
2 teaspoons Cornstarch
1/4 teaspoon crushed Red Pepper Flakes
1 bag Stir Fry Mixed Vegetables
Cooked Rice
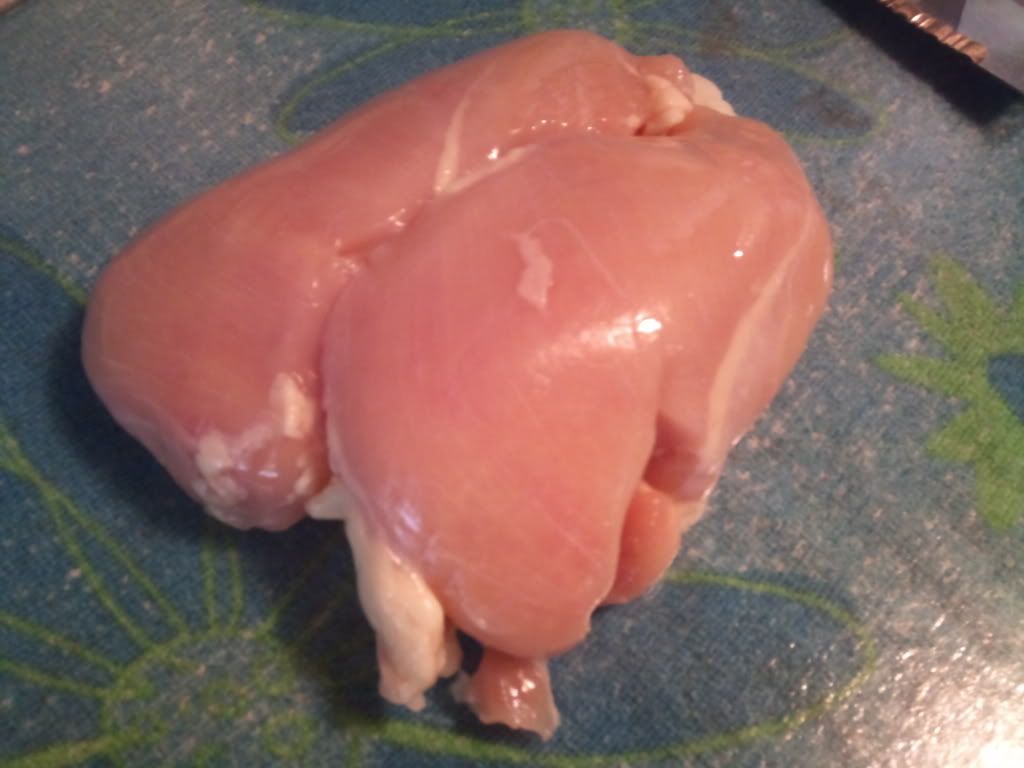
The chicken is easier to cut up when it's still partially frozen. I know people say you shouldn't thaw it on your counter, but I pulled it out of the freezer about 3 o'clock this afternoon and cut it up at 5 o'clock when I started supper. I didn't unseal the bag until I was ready to use it....just saying. I don't want anybody flipping out because I thawed chicken on my kitchen counter!
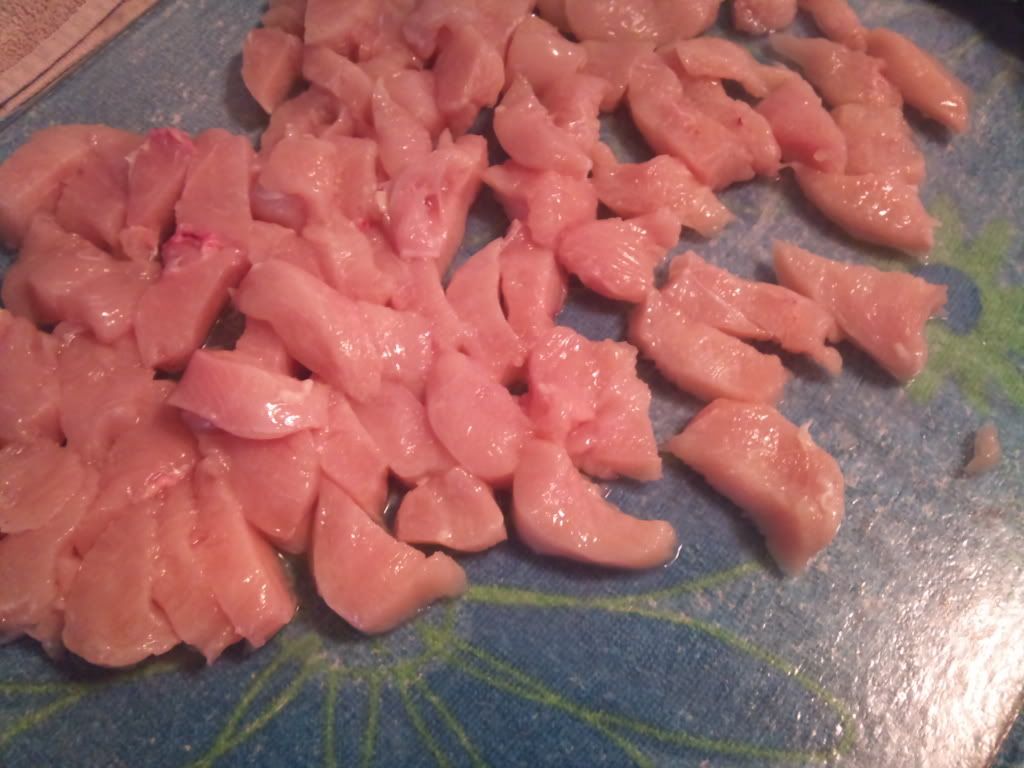
Cut the chicken into thin slices and then into small strips.

Put the canola oil in the skillet. If you don't have canola, vegetable oil is fine. I usually buy canola if it's on sale and vegetable if it's not. Add the minced garlic and turned the burner on medium-high.
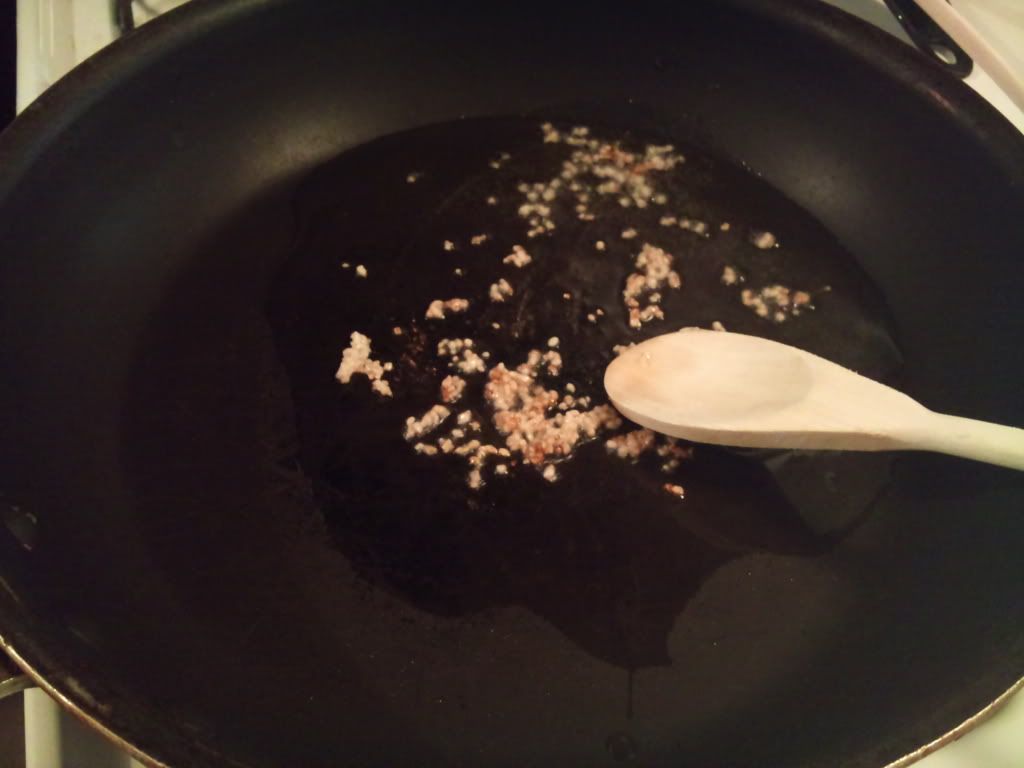
When the garlic starts popping the oil is hot, so add the chicken.
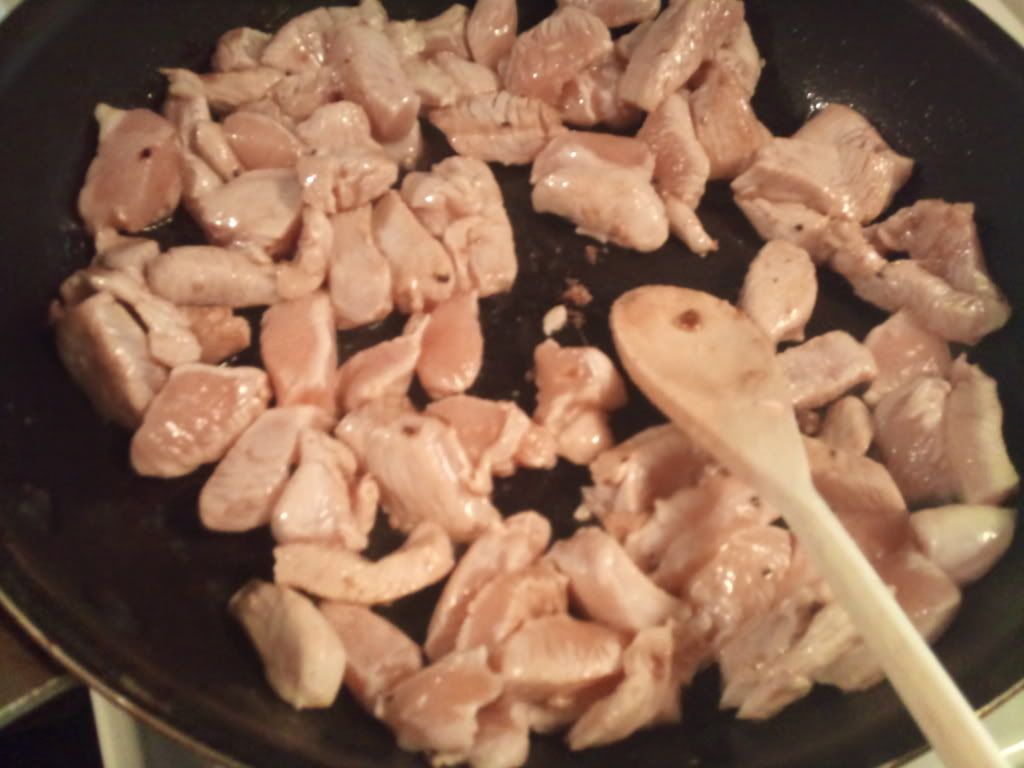
The chicken will cook fast. You don't have to stir it fast, but stir for a few seconds, let it sit for a few seconds and stir some turning over the pieces as you stir. It will only take about 3 to 5 minutes for the chicken to cook all the way through. You can check it by cutting one of the thicker pieces in half and making sure the middle is not pink and the juices are clear.
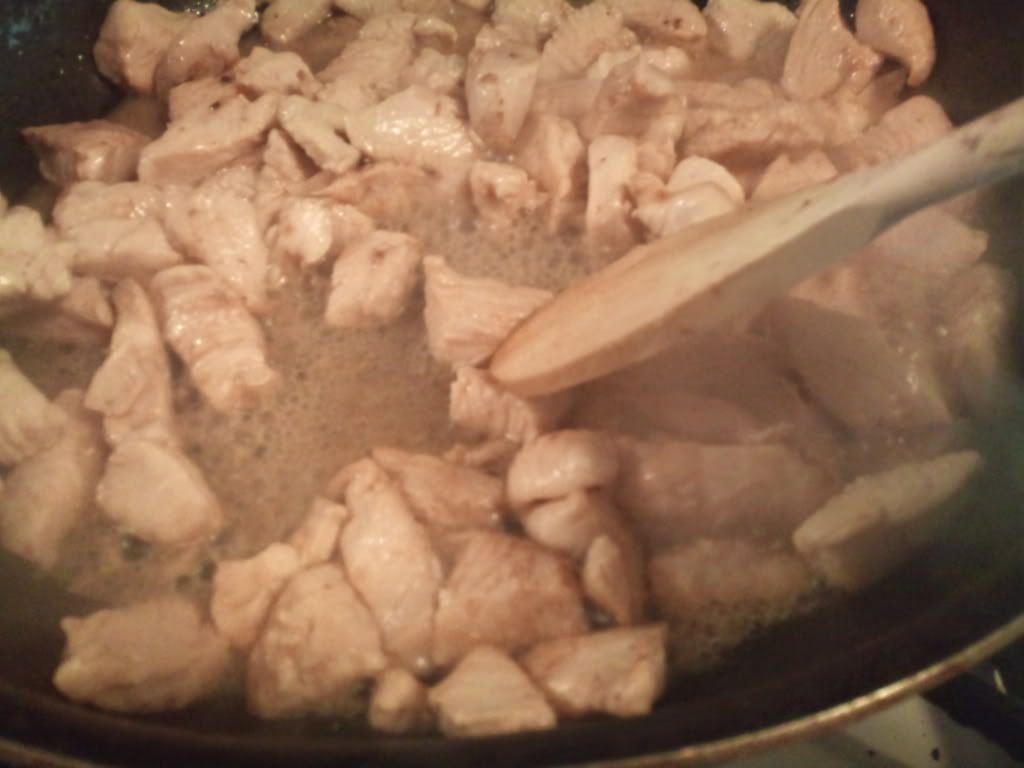
Turn the burner off. Put the cooked chicken on a plate and leave the juices in the skillet.
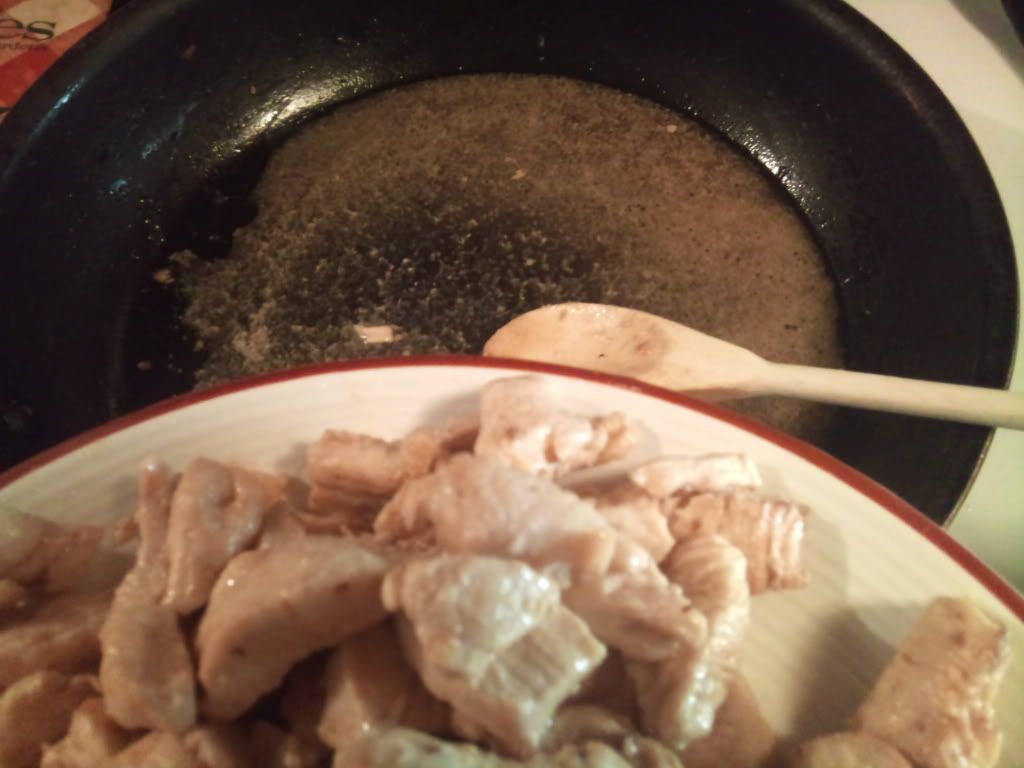
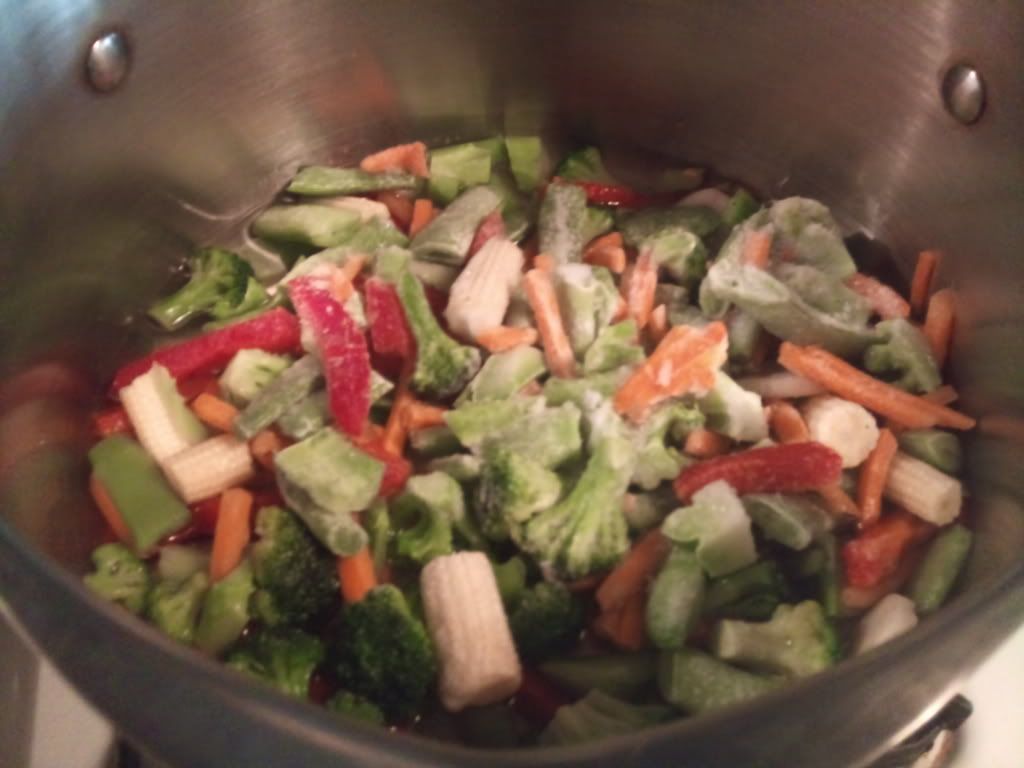
You can heat the vegetables up in the microwave. I put mine in a pan on the stove with a little bit of water and put the lid on and turned the burner on medium-high.
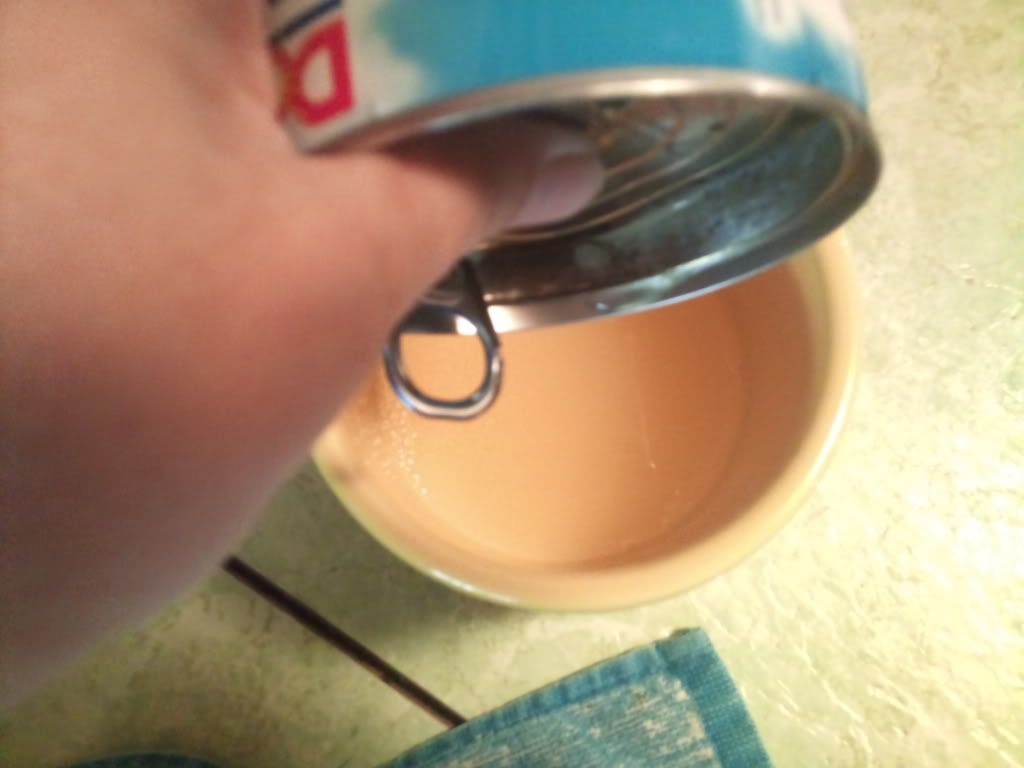
While the vegetables are heating up, open the can of pineapples and drain the juice into a small bowl.
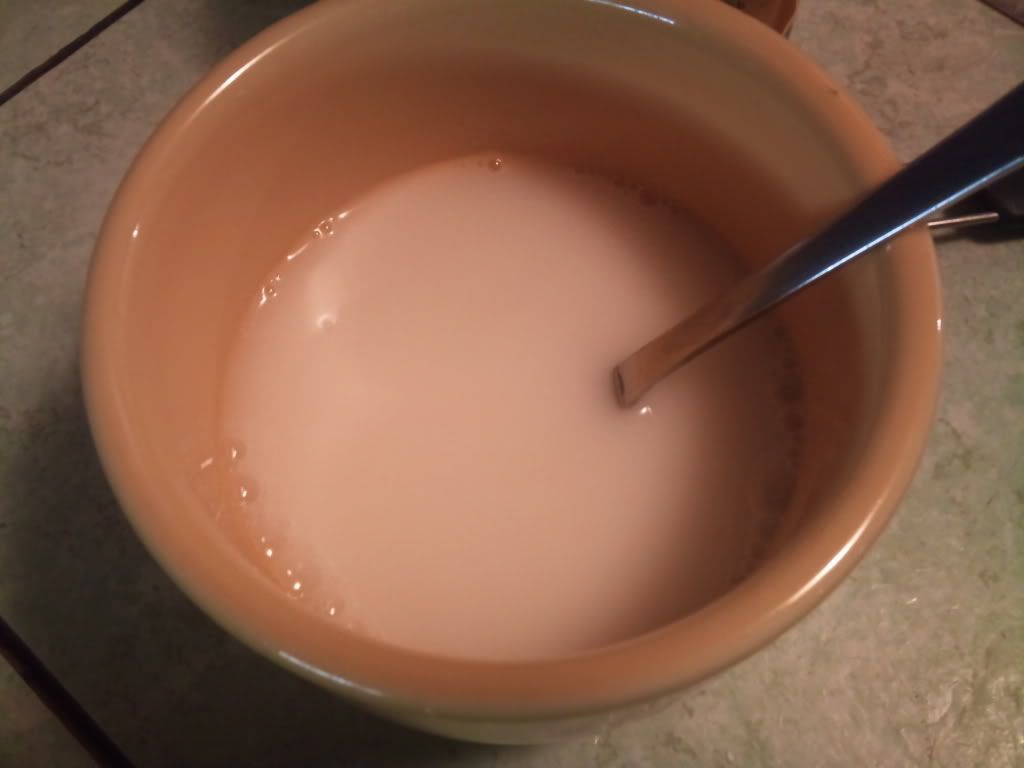
Add the honey and soy sauce to the skillet and turn the burner on medium. When it starts to bubble, add the pineapple juice mixture.
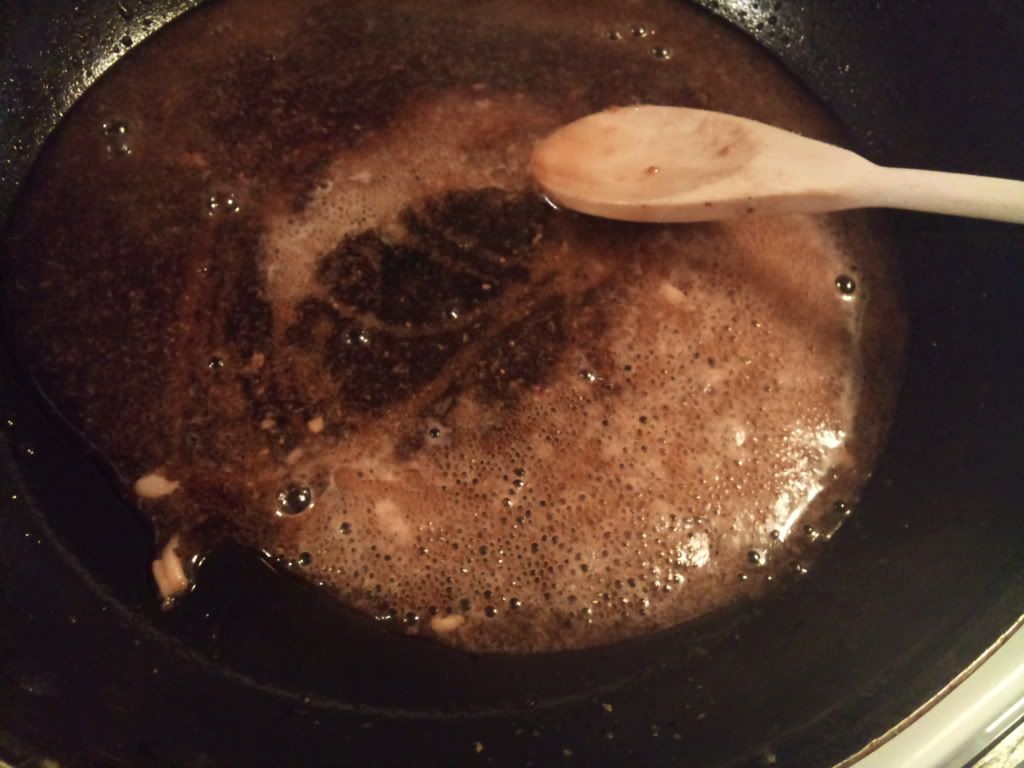
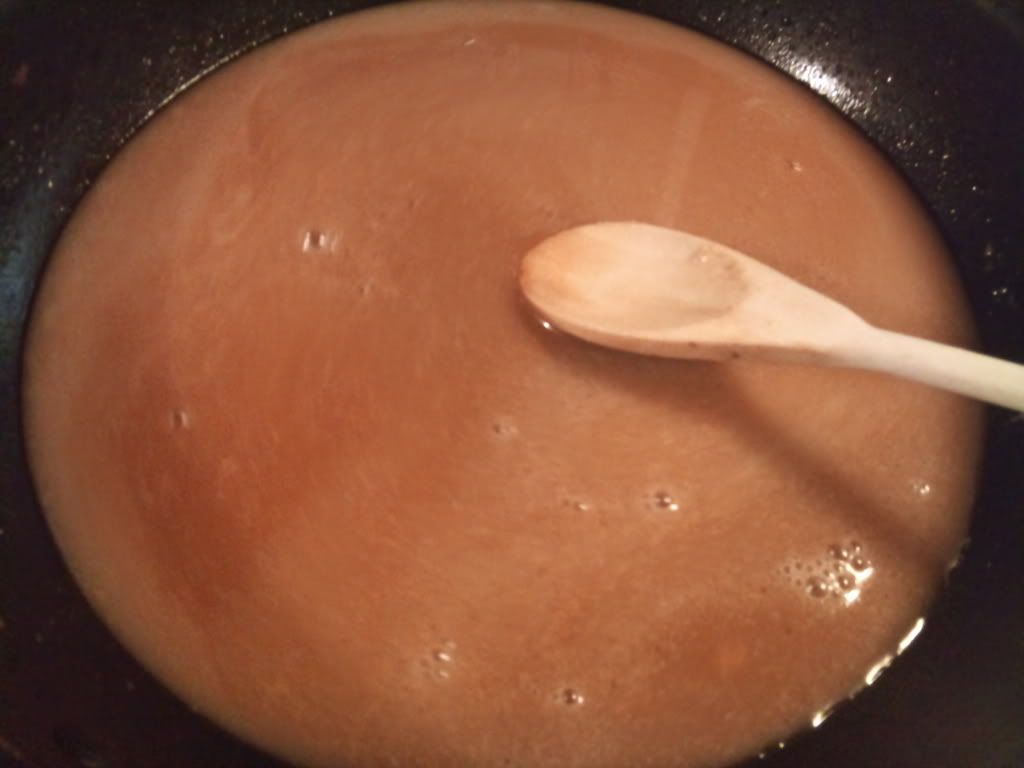
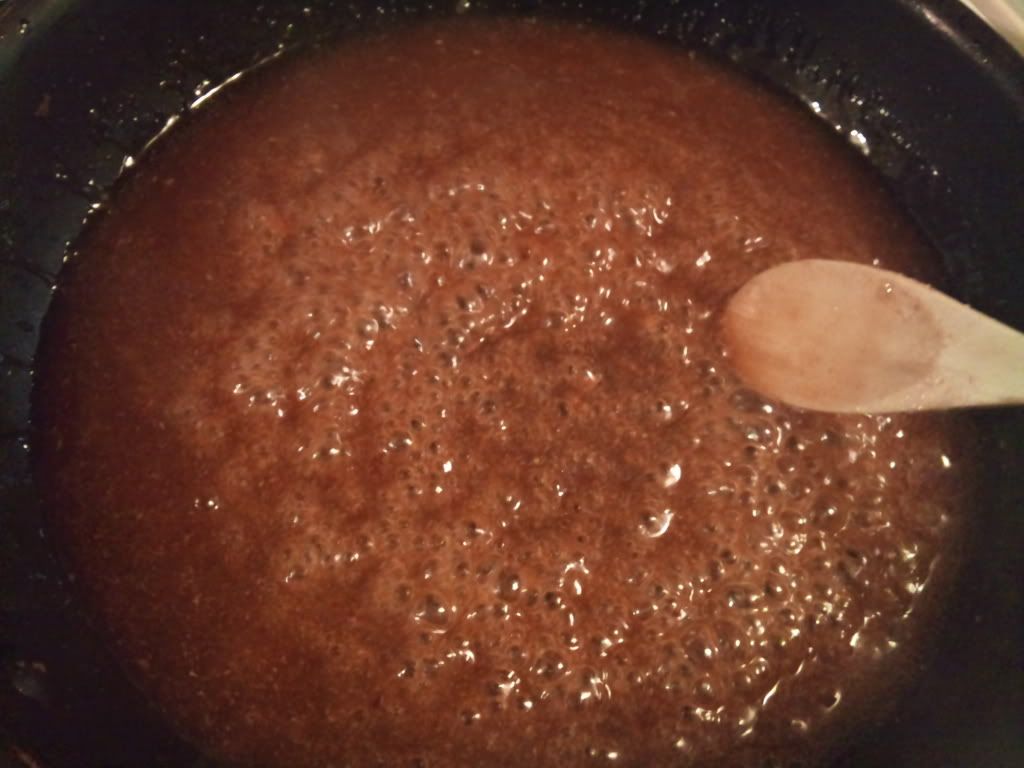
Stir the mixture until it starts to bubble and then turn the burner off. Add the crushed red pepper. This is the same stuff you get at the pizza place. I needed some for a recipe once and asked my brother if he would mind going by the pizza place and grabbing me a few packets! He brought me a bottle from the grocery store. I would have done it if I wasn't in the middle of cooking! If you like spicy, add 1/2 teaspoon. You really don't notice it if you only add 1/4 teaspoon, which is the way I like it.
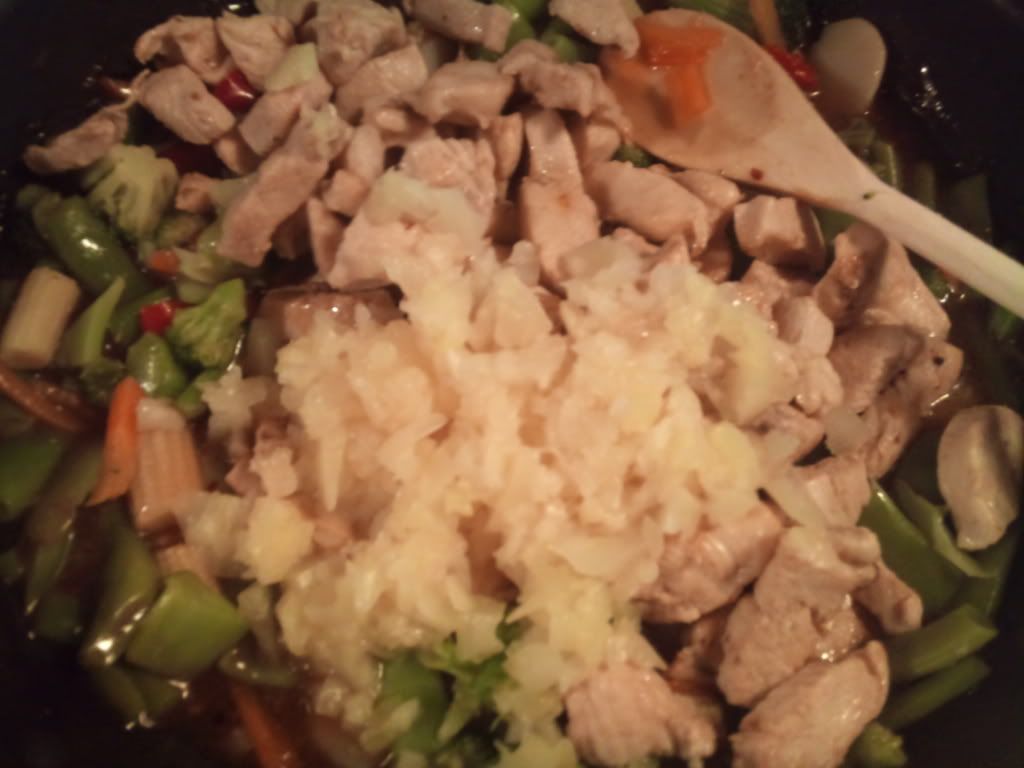
Drain the water out of the vegetables. Stir the vegetables, chicken and pineapples into the sauce. Since everything is cooked you don't have to turn the burner on, but since I like my food to be piping hot when I serve it (just ask Jeff. He would prefer it to be room temperature, but I just can't!), I turned the burner on medium-low while I stirred the chicken and vegetables into the sauce.
I started my rice about 4:30 this afternoon so it would be done and I wouldn't have to worry about making it while I was cooking (and photographing :). I added a chicken bouillon cube to the water and turned it on to boil. A friend dropped by unexpectedly and I was sitting talking to her when I smelled it boiling. I ran in the kitchen and put a towel and lid on the pan (see my post on how to cook rice) and turned the burner off. I checked it before I started cutting up the chicken to make sure I didn't need to make more. It turned out perfect!
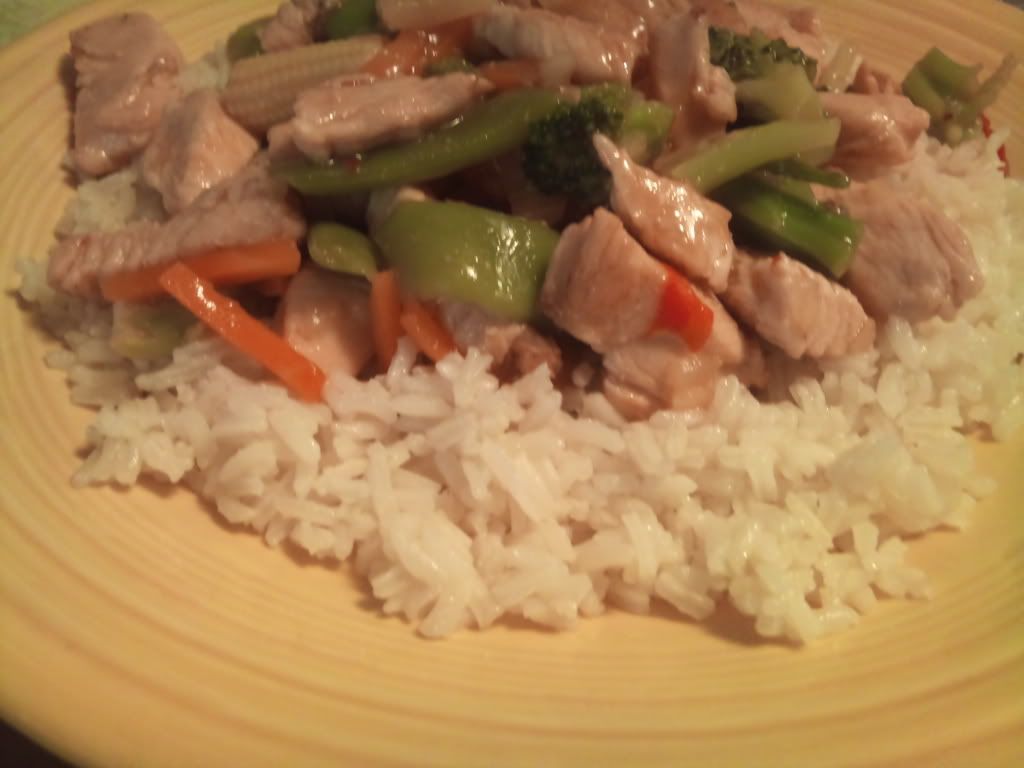
Serve the piping hot chicken, vegetables and sauce over cooked rice and enjoy!
Thursday, March 31, 2011
Chicken Cordon Bleu With Kick!
This isn't your typical Chicken Cordon Bleu, but it can still be considered Chicken Cordon Bleu because it's chicken rolled around a pork meat and a soft cheese. I looked it up in Wikipedia to make sure the name would still work for it. I also found out it is actually French. The name that is. It translates to Chicken Blue Ribbon. The dish itself is American and was first referred to in 1967 in the New York Times. So, how's that for a lesson in French and history of chicken. Now I'll show you how easy it is to make!
Before I show you how it's done, I thought I'd share a little lesson in economics with you. I found my 8th grade teacher on Facebook yesterday, so I guess that's why I'm all the sudden feeling teachy. Well, we all now know I'm no teacher because teachy ain't a word, but I am a good food shopper. When I was at the grocery store buying chicken for this dish, I thought that boneless, skinless chicken thighs would be a less expensive way to make it. However, I found out that if I bought a family pack of boneless, skinless chicken breasts it was 20 cents less a pound. Also, the brand name chicken was $3.98 a pound, more than twice the price of the store brand that I paid $1.78 a pound for. If you're on a tight budget like I am, it pays to look around before you just grab what you need. Now I have enough chicken for at least two more meals. You know what that means, next week we'll be having a new chicken dish! Now on to the Chicken Cordon Bleu! (If you imagine Julia Child saying it, it sounds so French!)
Boneless, Skinless Chicken Breasts
Very Thin Sliced Ham
Shredded Mozzarella with an Italian Blend of Cheeses
Italian Seasoned Bread Crumbs
Butter
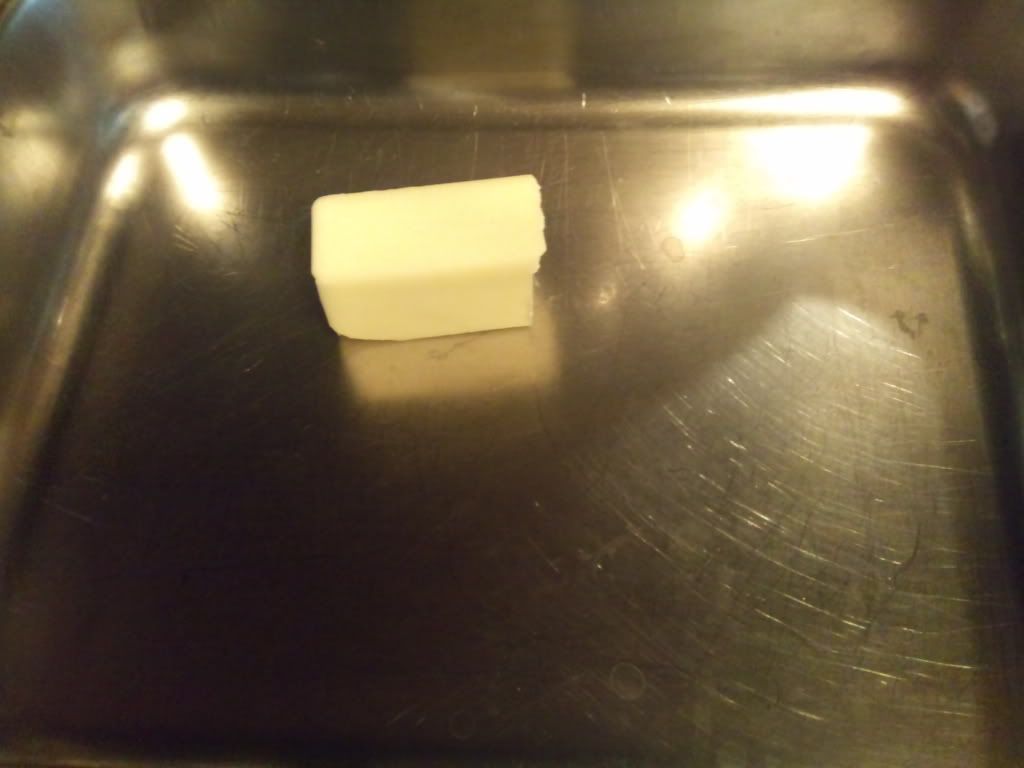
I turned the oven on 375 degrees. In a baking dish, I put 4 tablespoons of butter and then put it in the oven to melt.
Then I flattened my chicken. I used a meat mallet and my plastic cutting board instead of the glass one. Just a note, after putting chicken on a wood or plastic cutting board you want to use a little bleach and water when you clean it.
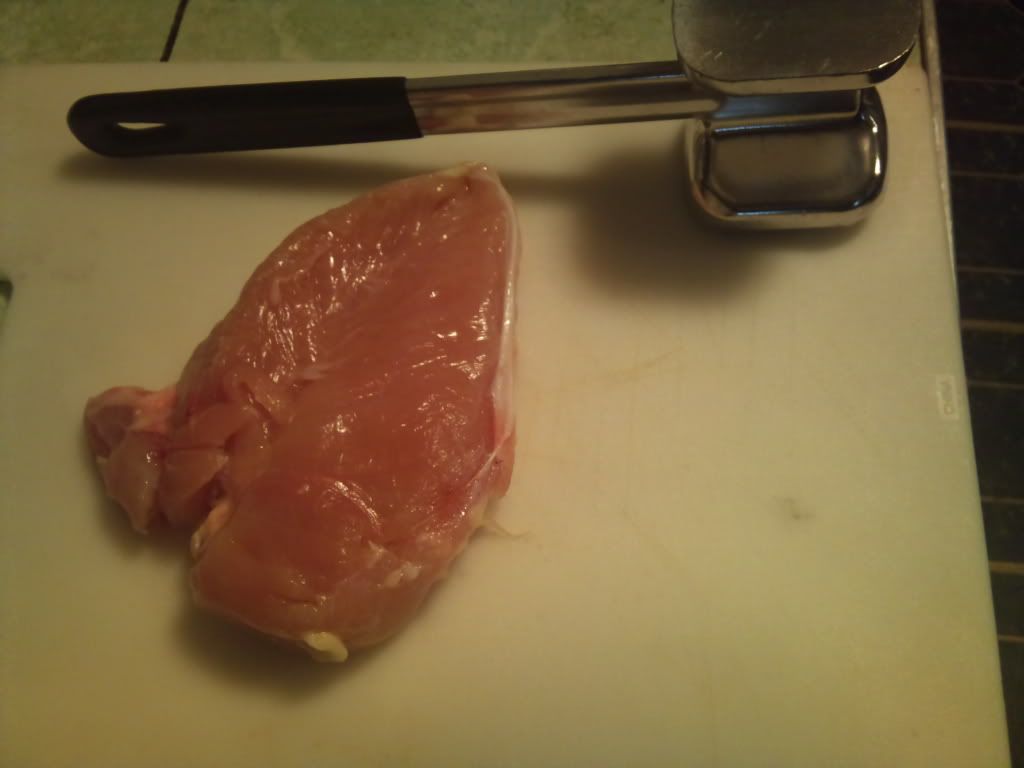
I started by pounding on the thickest part of the chicken. Then I flipped it over and pounded some more. Then flipped it back over and pounded some more until the thickest part was as thin as the thinnest part of the chicken. This takes the most time, but if you have any pent up anger, now's the time to take it out on the chicken. You'll feel so much better afterwards. Who knew cooking could be therapeutic?
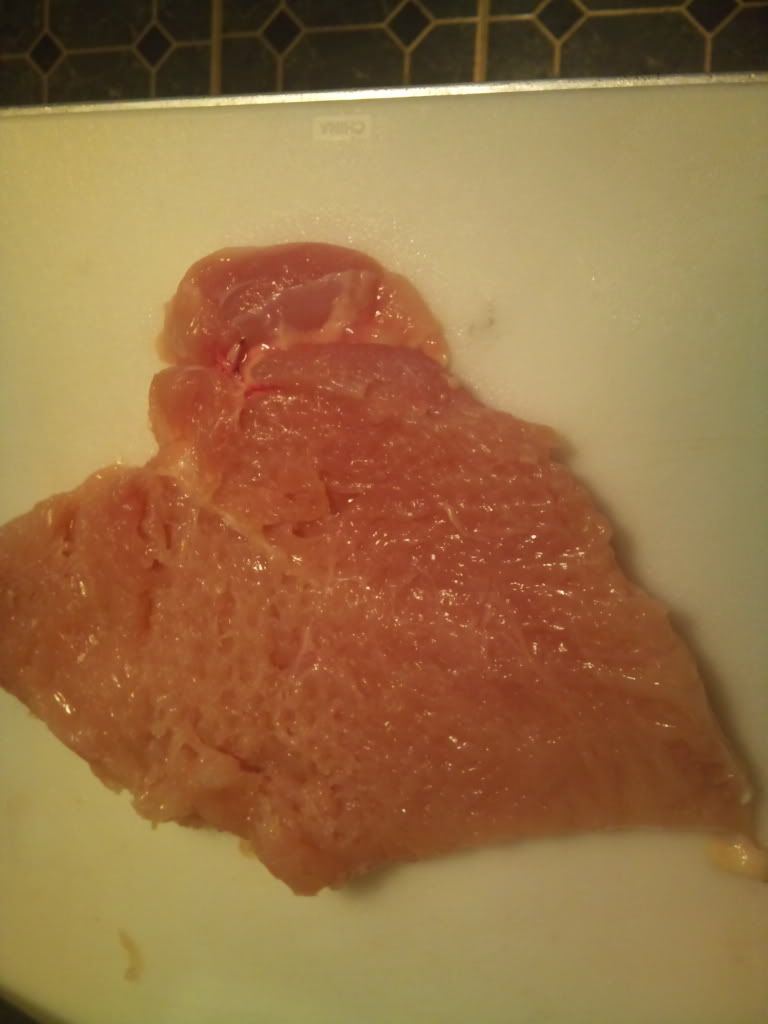
A friend was watching me make this and she said, "now that's one flat piece of chicken!" I pounded out all of my chicken breasts, washed my hands and then pulled out about three slices of ham for each piece of chicken. I used Hillshire Farms Ultra Thin Ham. You can get it in the lunch meat section of the grocery store. I put the ham on top of the chicken.
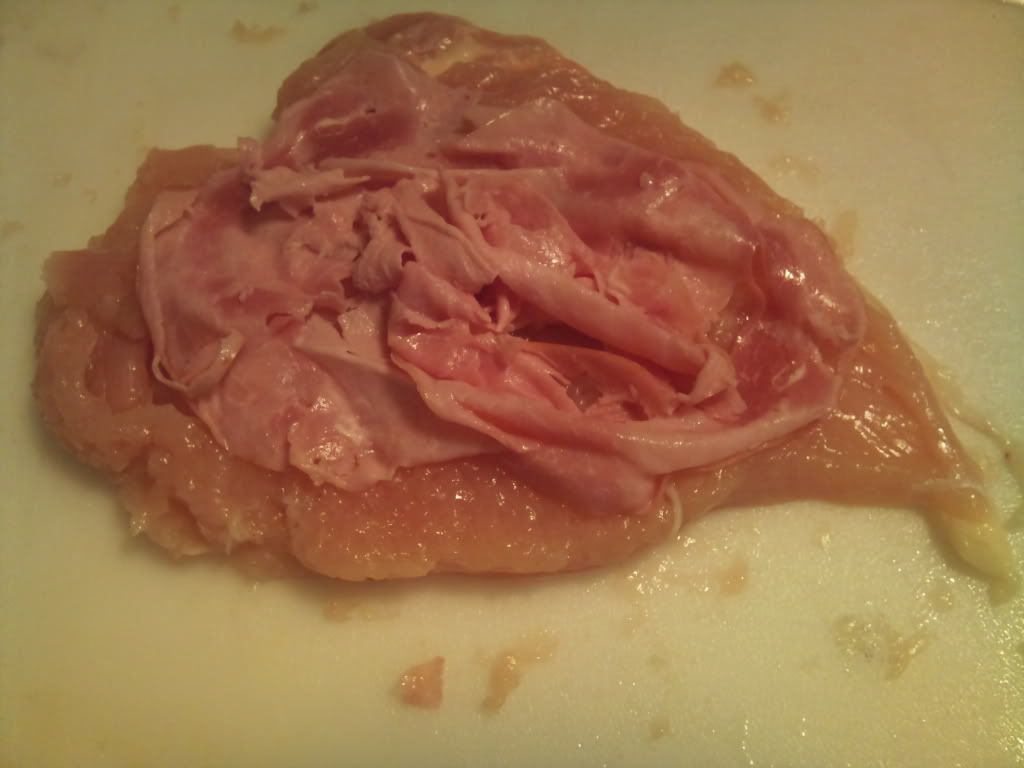
Typically this is made with sliced Swiss cheese, but I don't care for Swiss so I used finely shredded Mozzarella with an Italian blend of cheeses instead. In addition to the Mozzarella, it had Parmesan and Asiago cheeses in it as well. It was almost a dollar less than the sliced Mozzarella and it doesn't slide around when you're trying to roll up your chicken.
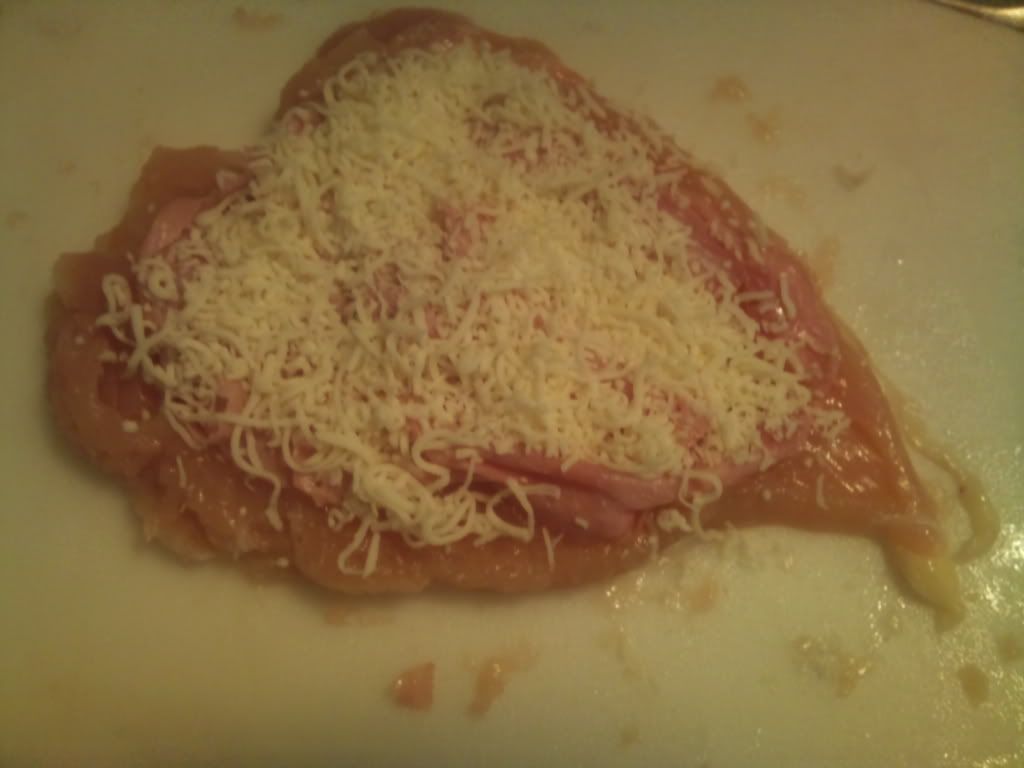
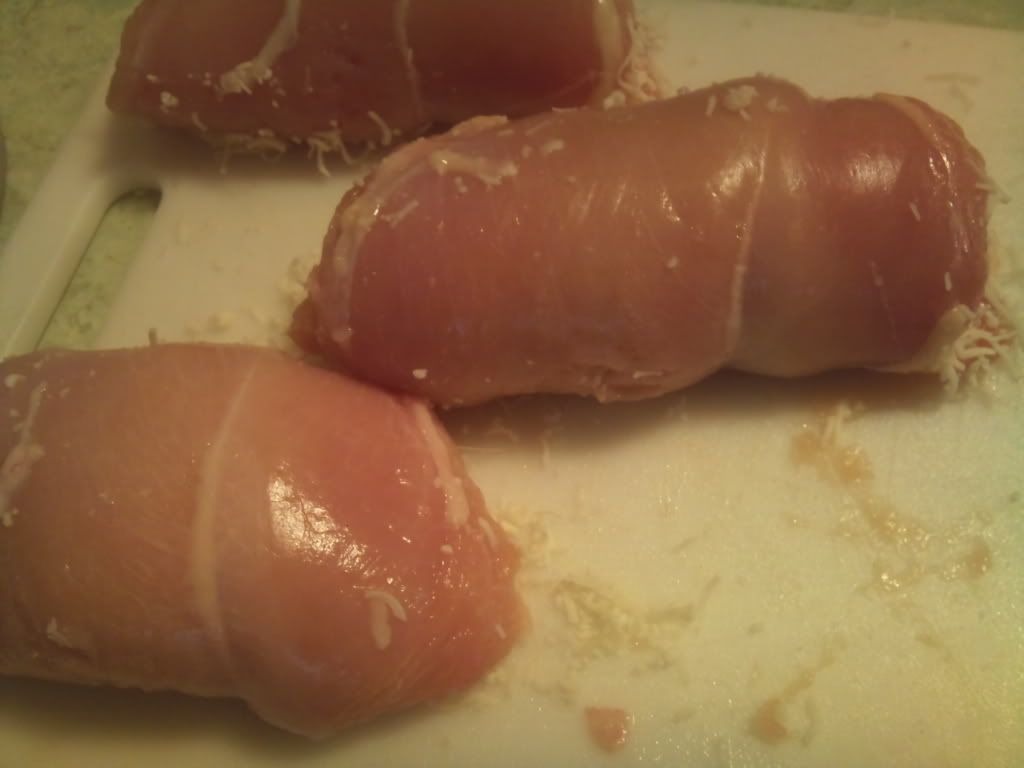
Starting from the bottom part of the chicken, where it makes the "v" shape, I rolled it up and then did the same with the remaining pieces of chicken. If your chicken is flat enough, it shouldn't unroll as long as the seam is on the bottom.
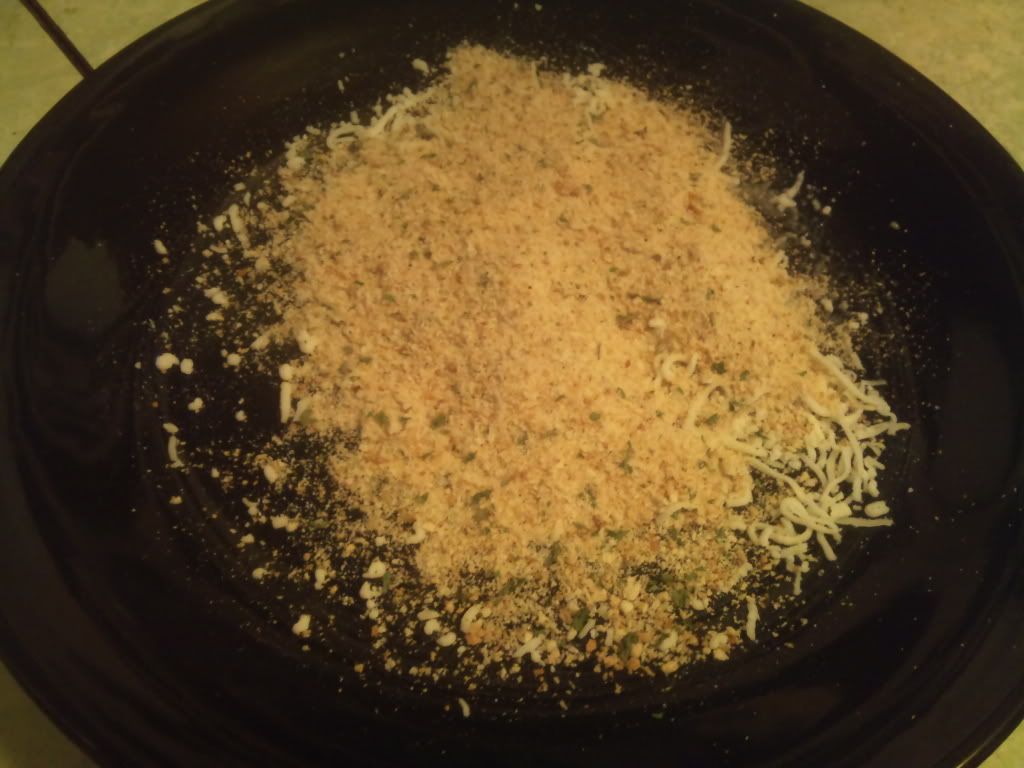
By this time the butter had melted and I took the baking dish out of the oven. I poured the bread crumbs on a plate and mixed in a small handful of shredded cheese with it.
Carefully, I rolled each piece of chicken in the butter and then in the bread crumbs. Make sure you roll the chicken as if you were still rolling it up and it will stay together. If you roll the opposite way, it will unroll. Just roll it back up and continue rolling it until it's coated with butter and bread crumbs. Then I put them in the baking dish and sprinkled a few more bread crumbs over the chicken.
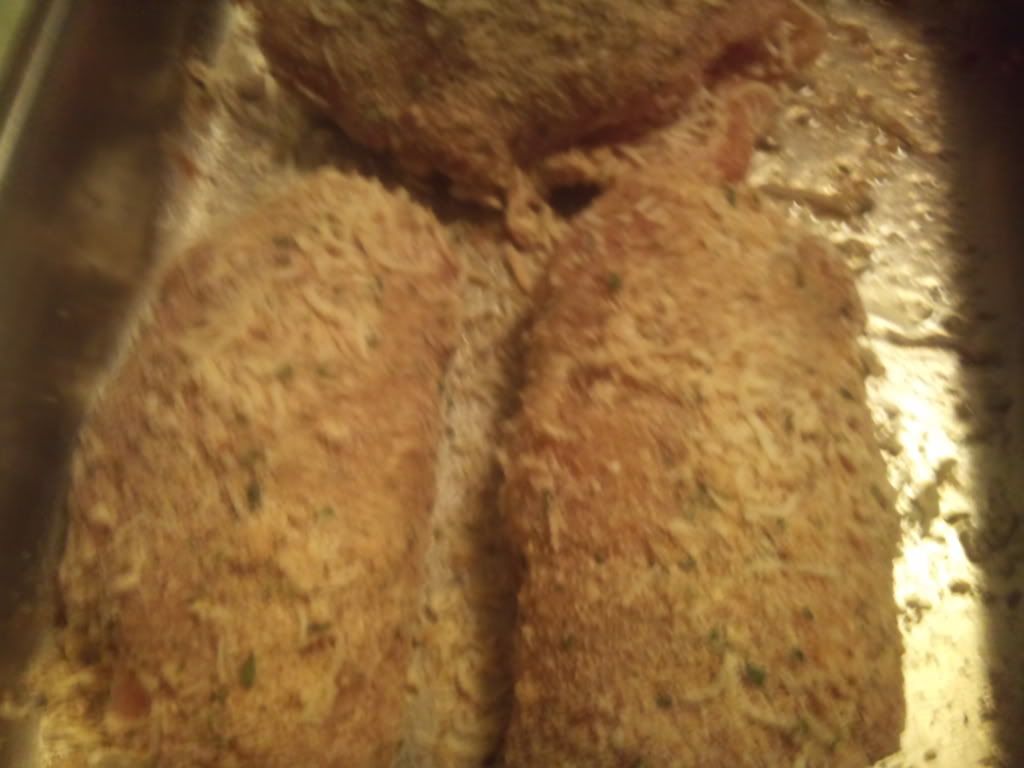
I put the chicken in the oven to bake for about 35 minutes.
While the chicken was baking, I started on the sauce. I was trying to decide what kind of sauce to use on top and decided on making a cheese sauce. You could use hollandaise, aioli or I even thought about spaghetti sauce, but figured I'd save that idea and use pepperoni instead of ham.
2 tablespoons Butter
1 tablespoon Minced Garlic
1 tablespoon Cornstarch
1 cup Milk
1/2 cup Mozzarella with Italian Blend Cheeses
Salt
Pepper
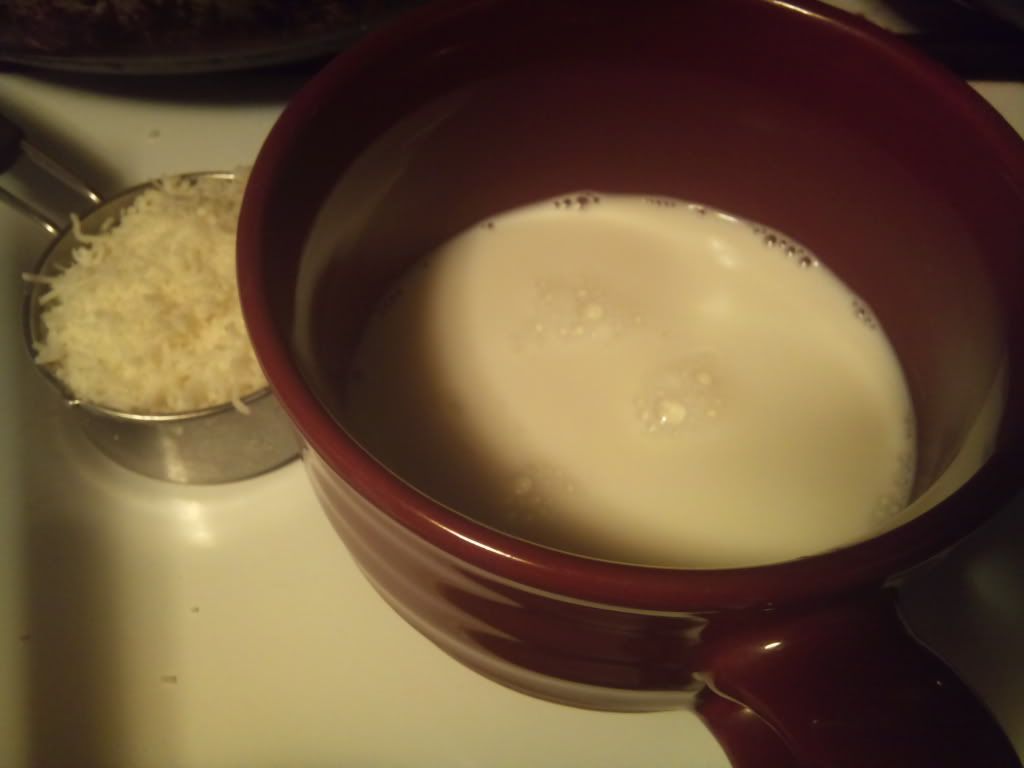
First, I mixed together the cornstarch and the milk in a small bowl and put the cheese in a measuring cup and set it within reach of the stove.
In a small saucepan, I melted 2 tablespoons of butter on medium low. As the butter was starting to melt, I added the minced garlic.
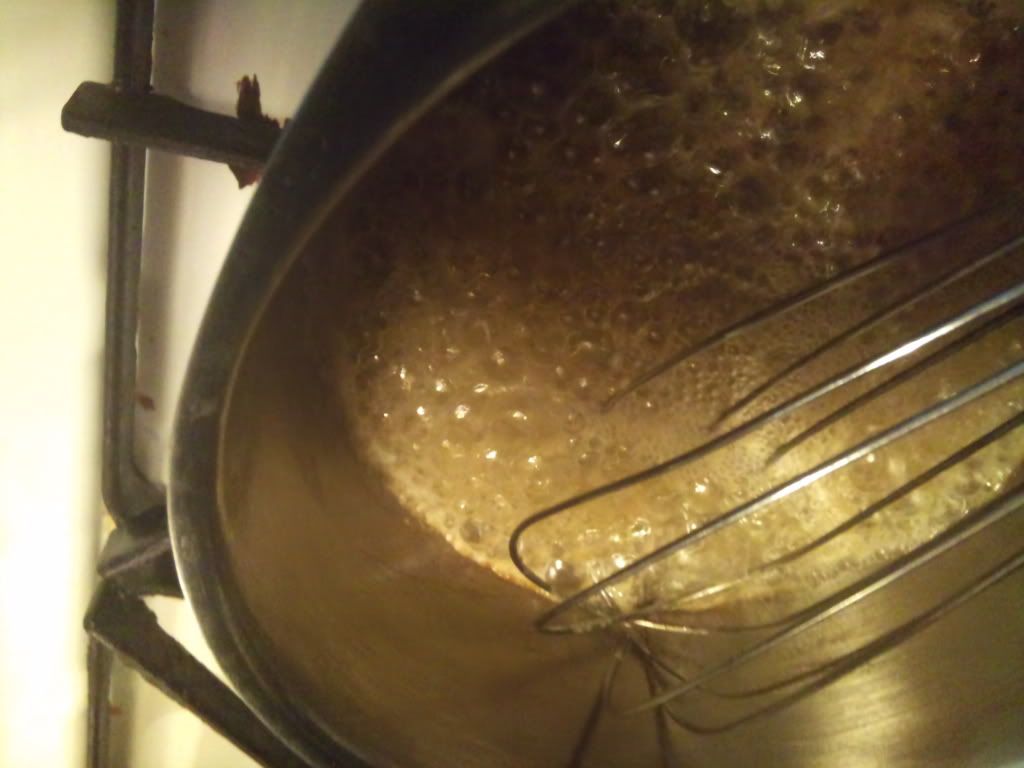
I'm not exactly sure how my picture ended up like this, but I was in a little bit of a hurry because I didn't want my butter to burn. Once it started bubbling it was time to add the milk and cornstarch. I stirred it with a whisk until it started to thicken and just started to bubble. Then I poured in the cheese and continued to stir it with the whisk for about 1 minute. I actually count 1-mississippi, 2-mississippi... Sometimes I get interrupted, but this isn't serious enough to where I would need to actually set a timer. Once the cheese was melted, I cooked it for just a little bit longer and then turned off the burner.
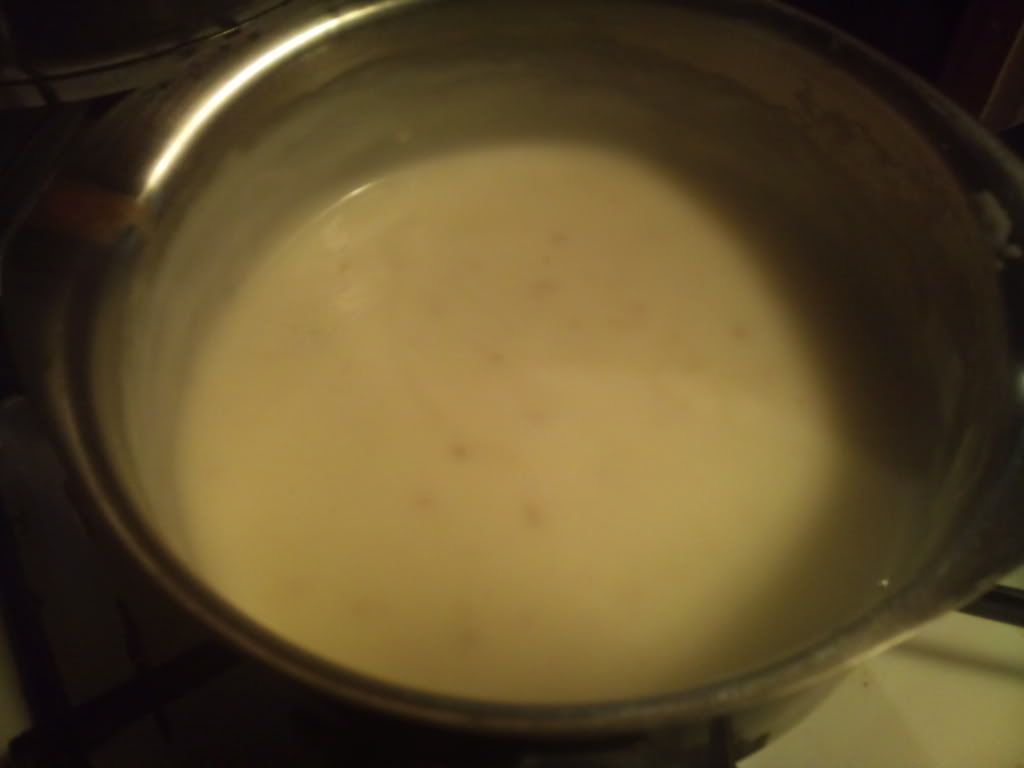
Then I added 4 pinches of salt and 2 pinches of pepper. If you've never measured a pinch, just pour a little bit in your hand and get a good pinch of it. By the way, my oldest daughter pronounces this p-EE-nch. She discovered that she learned it from me.
After about 30 minutes I pulled the chicken out of the oven and made a small cut down into the chicken in the middle to make sure it was done. The cheese sauce was going to cover where I cut into it so, it didn't ruin the presentation. It looked just a little pink to me so I put it back in for another 5 minutes. Once it was done, I put a piece of chicken on a plate and spooned the cheese sauce over the top of it.
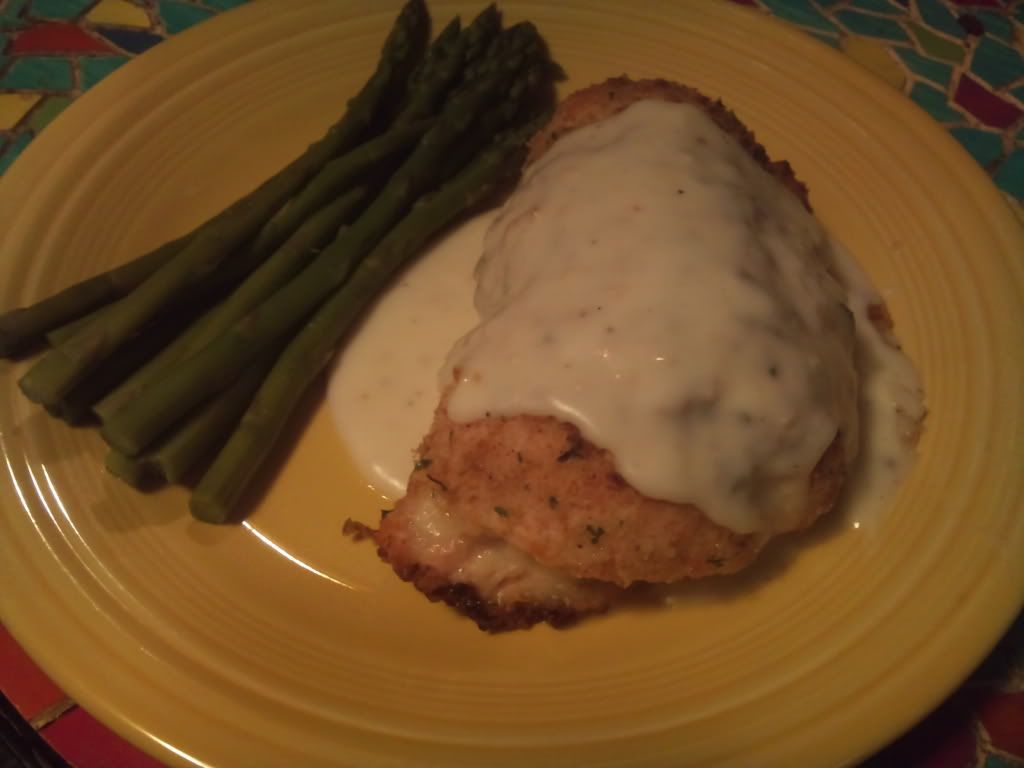
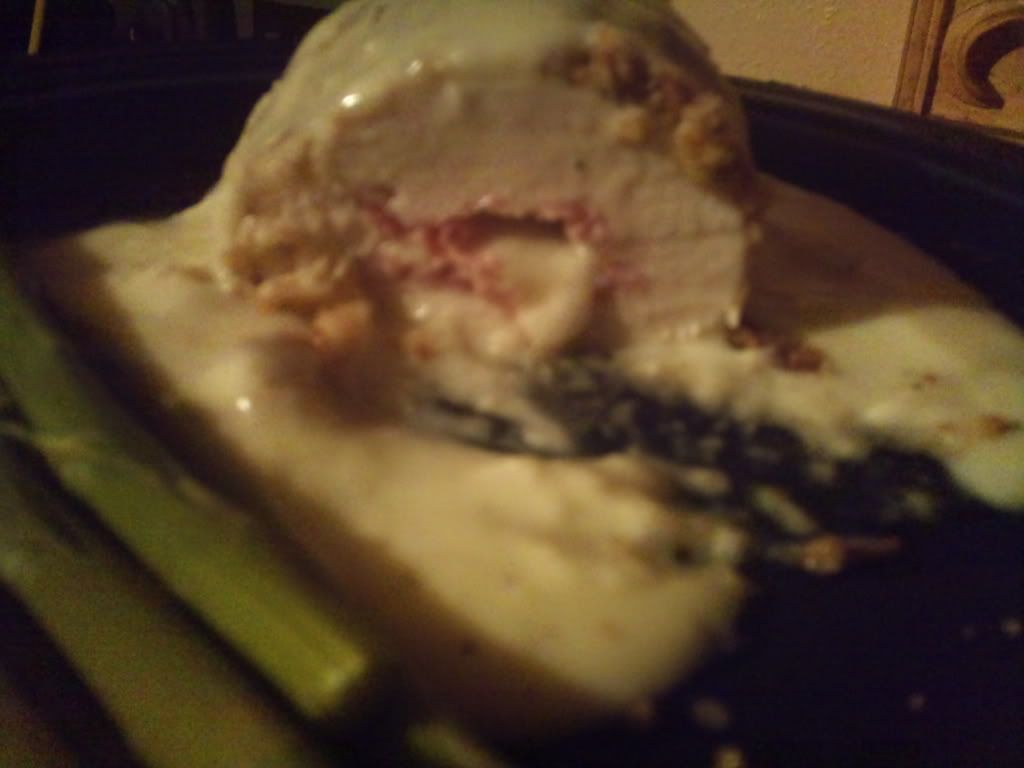
After I had taken a few bites I told my husband I needed to take a picture of the middle to post on here. He said, "mine looks just like yours" and I said, "give me your plate and I'll take a picture of yours instead ." Needless to say, his plate is pictured above and that was the last time I got my hands on it until it was empty.