




Sunday, June 12, 2011
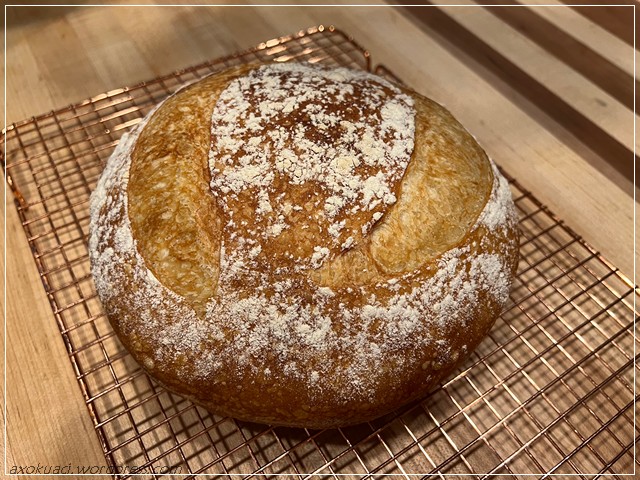
Southern Barbecue Hoppin' John
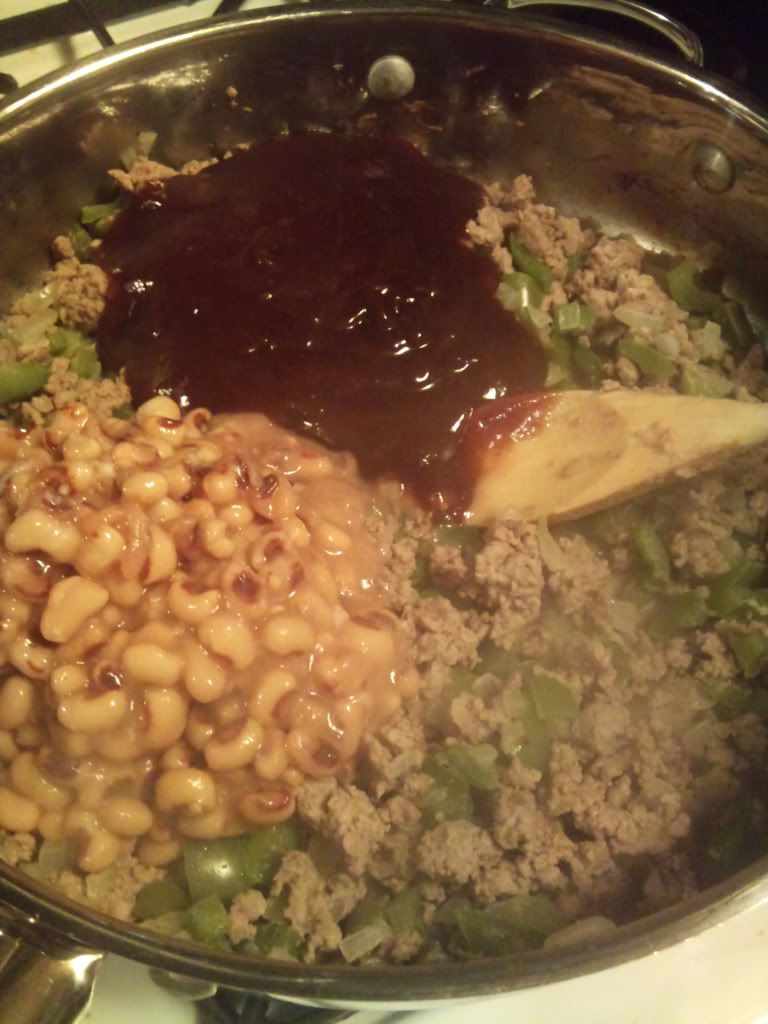
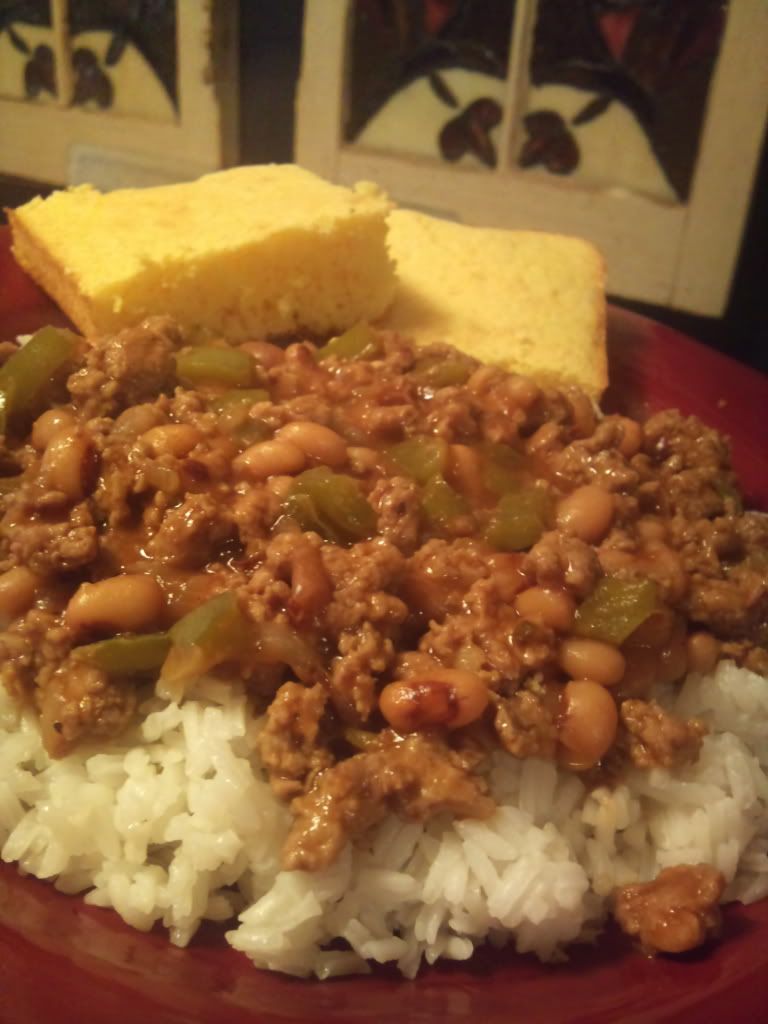
I sat there for about 15 minutes debating if barbecue sauce and black-eyed peas would taste good together. Finally, I convinced myself that it couldn't be that bad. Well, it wasn't bad...it was AMAZING! The best part was that it was so quick and easy.

Wednesday, May 25, 2011
Southern-style Red Beans and Rice
One thing my mom used to make for us is her own version of red beans and rice. It was basically rice, red beans, smoked sausage and cream of chicken soup. I remember the first time I ate "real" red beans and rice I was disappointed because it was soupy, not anything like hers at all. However, the spices were pretty good. So, I took a stab at making my own version and I can definitely say I got it right the first time! I wouldn't change a thing.
1 1/2 cups uncooked rice
1 tablespoon butter
2 chicken bouillon cubes
3 cups water
2 tablespoons butter
1 small onion
1 bell pepper
6 smoked sausages (hot dog size)
1 cup water
1 chicken bouillon cube
3/4 cup milk
2 tablespoons cornstarch
1 tablespoon creole seasoning
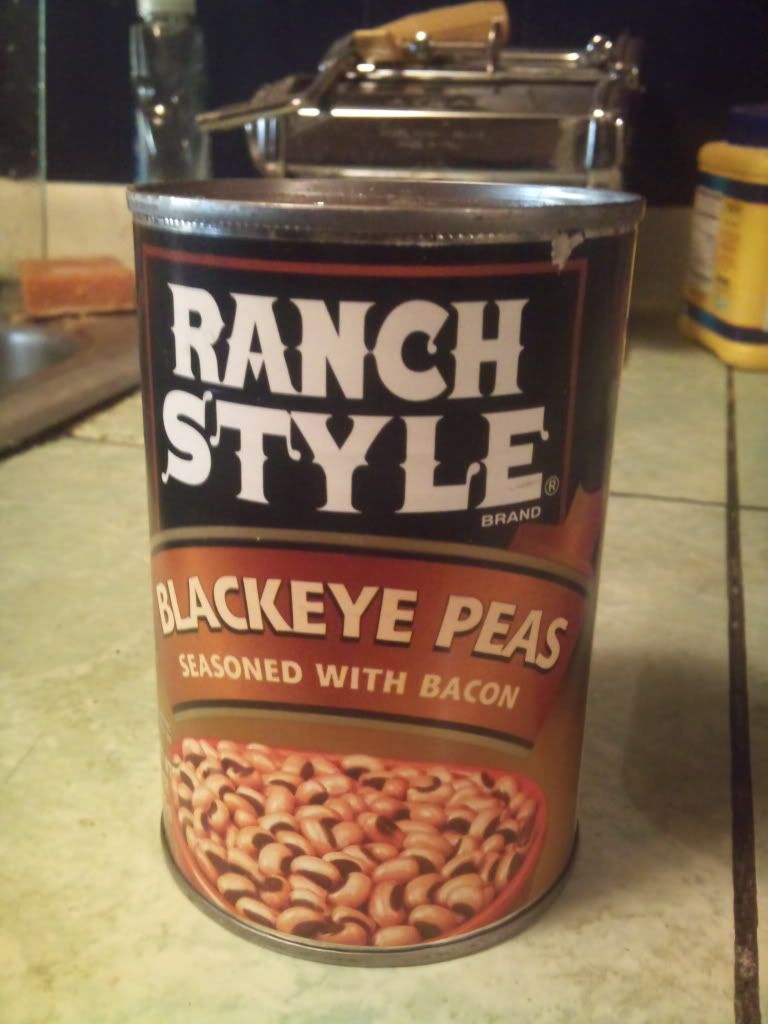
1 can of red beans
Okay, I know this looks like a lot of ingredients, but you'll be amazed at how quick and easy this will be. First, we'll put the rice on to cook. Put the rice, butter, bouillon cubes (just throw them in there), and water in a pan. Use a bigger pan because you're going to need the room to stir it all up when you add everything else to it.

Turn the burner on high and when the rice starts to boil, turn it down on the lowest setting and put a lid on the pan. I've heard the key to cooking rice is to have a tight fitting lid for your pan. If your lid doesn't fit tight, you can do what I do.
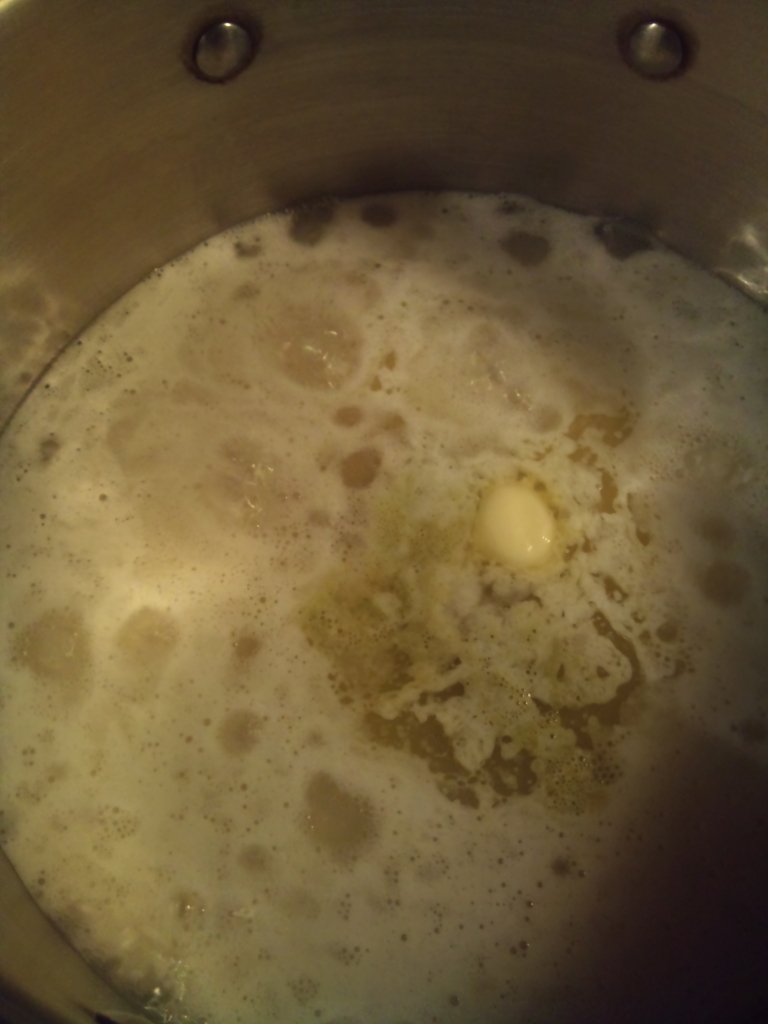


Put a small towel over the pan. Put the lid on the pan. Fold the edges of the towel up over the lid. I did all this with the burner on and my towel didn't catch on fire, but please, please, please be careful. If it makes you feel a little more comfortable, turn the burner off for a minute while you do this and then turn it back on the lowest setting. Also, don't use a good towel (see the stains on mine :) ...just in case. Let the rice simmer for 8 minutes and then turn the burner off and leave it alone while you finish making the rest of the goodness that's going in the rice.
While I was waiting on my rice to start boiling, I started cutting up the onion and bell pepper. Once I got the rice situated, I put butter in a skillet and turned the burner on low to start melting while I cut up the smoked sausages.

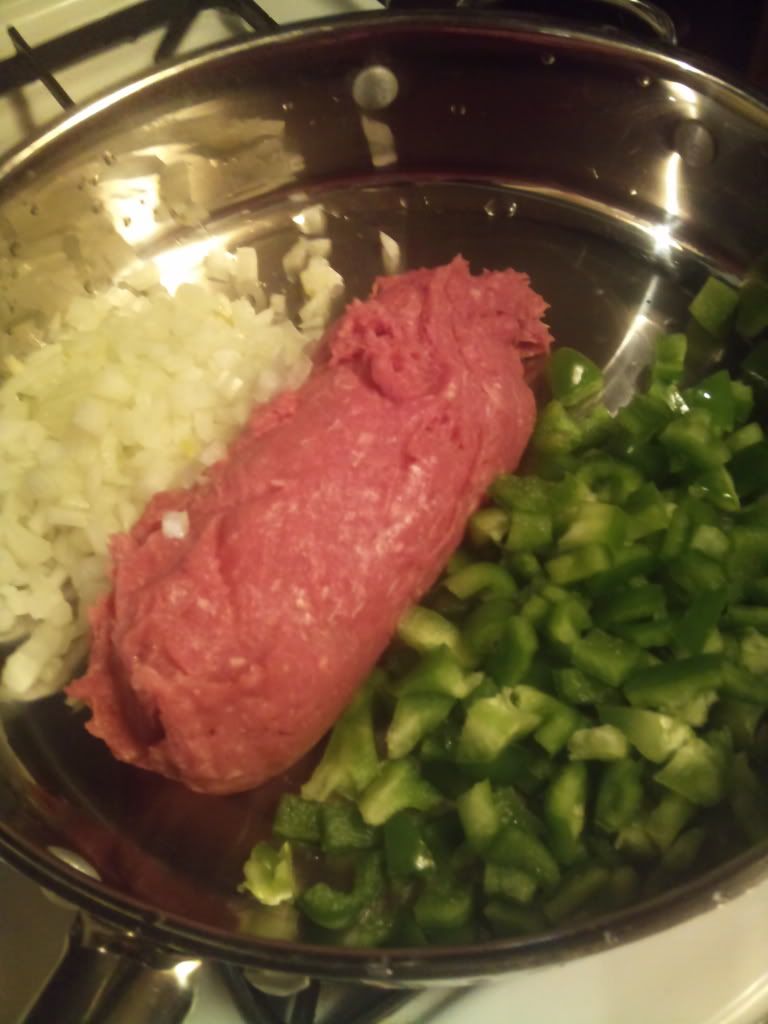
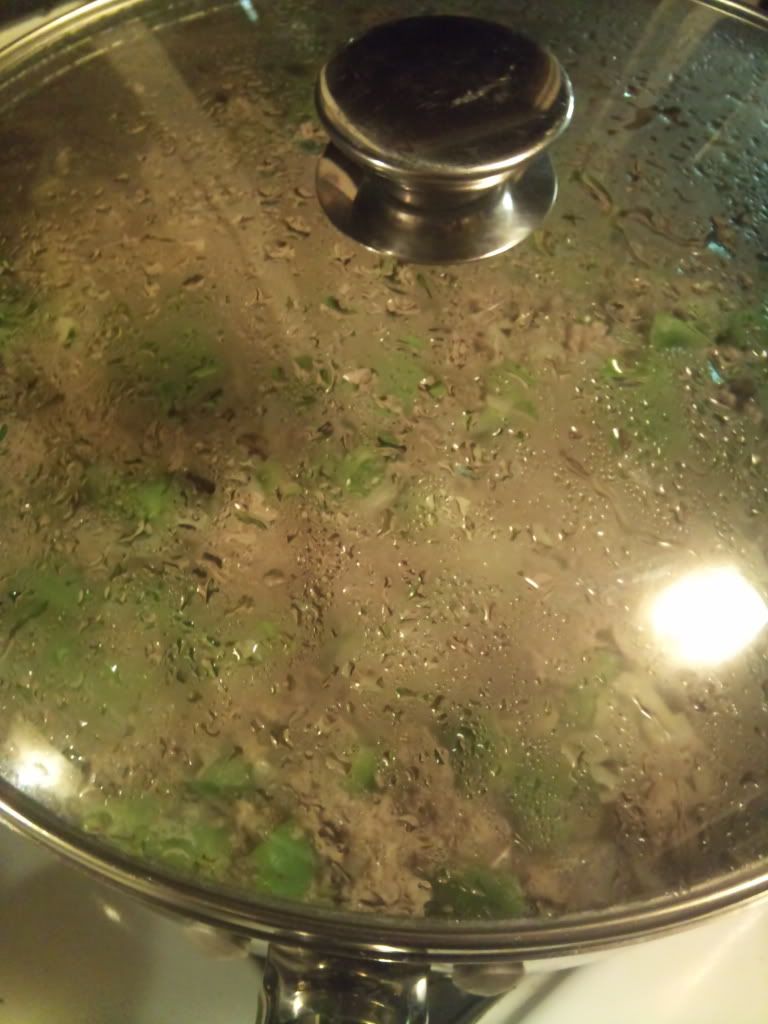
I turned the skillet on medium and added the onions, bell pepper and sausage. After giving it a quick stir, I put a lid on the skillet and started making the "cream of chicken soup". Now, you'll need to stir it every now and then and may want to turn the burner down a little if the onions are starting to brown before the bell peppers get tender. I think I stirred it a total of 3 times while it was cooking and I ended up turning the burner down on medium-low.

In a pan I put the water and a chicken bouillon cube and turned the burner on high to bring it to a boil. While I was waiting on this, I stirred together the milk and the cornstarch.

Once the water was boiling I poured the milk in and stirred it with a whisk until it started thickening and bubbling.

I'll be the first to admit I'm a whimp when it comes to spicy.

If you're not chicken you can add more, but if you're a bigger whimp than me you can add less. However, don't leave it out completely! At least add a 1/2 tablespoon of creole seasoning. I added a whole tablespoon! Now it's time to stir everything into the rice.


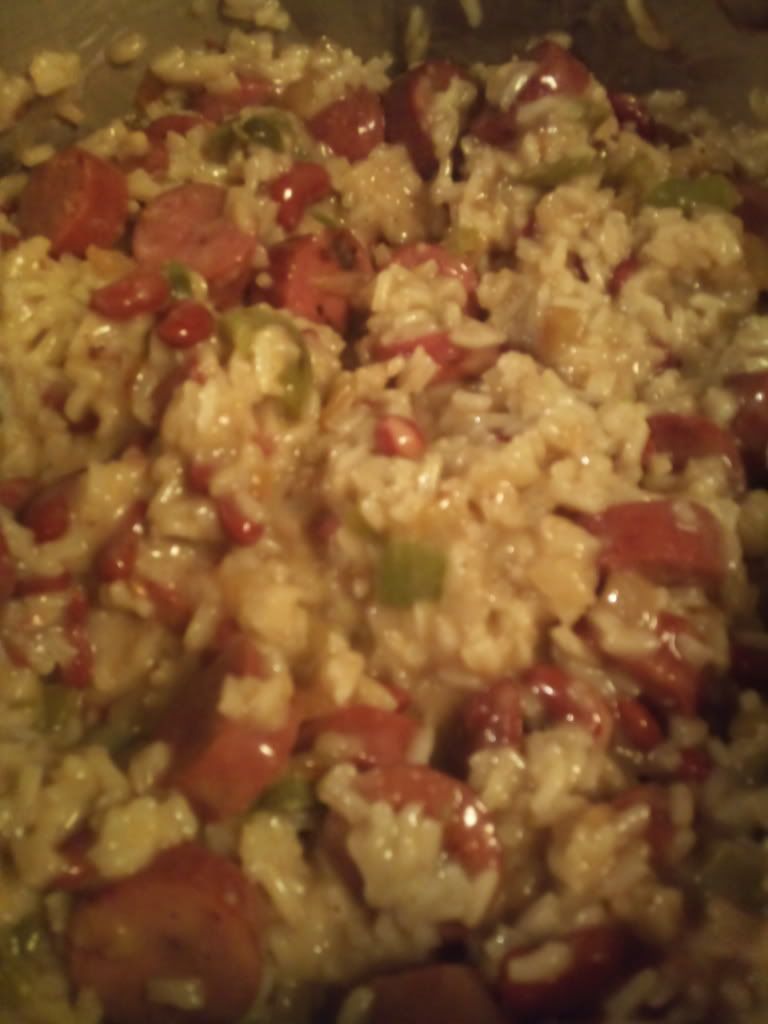
Then take a bite!

Monday, May 16, 2011
General Tao's Chicken
My hubby loves rice. He also loves General Tao's Chicken. I've tried and tried to make it like the kind you find at the chinese restaurant and it came close, but I know that if I would rather eat it in a restaurant then it just wasn't close enough.
Last night he asked what I was planning for supper and suggested I make General Tao's Chicken. So I'm thinking he must have liked it okay the last time I made it, but my recipe is on the computer that crashed! A month or so ago, I was blog surfing and saw a different recipe for it and thought hmmm, I'll have to try this one. Then last night after he said that's what he wanted I had to go on a search for the blog where I saw that recipe. I found one blog that had a recipe, but it just didn't look right. I clicked on another and they said they got their recipe from someone else, but had changed it. So I thought well maybe it was the person they got it from. Well, come to find out they got their recipe from Frieda Loves Bread. Oh yeah! That's where I saw it!
I went ahead and started my rice. I used 2 cups of water, 1 cup of rice, 1 tablespoon of butter and 1 chicken bouillon cube. When it started boiling I put on the lid with a dishtowel under it, turned it down to the lowest setting for 8 minutes and then turned off the burner. For more details on making rice, scroll down to the middle of this post.
The one thing that I have perfected is the batter that I use to coat my chicken and I'm very reluctant to change that, but I did use her sauce with one change and we'll get to that in a minute. Now, while I was making this I was text messaging my little sister. She asked if it was hard to make. It's really not, it just takes a little time. From start to finish it took me about an hour, but I could have probably done it in less than 30 minutes if I wasn't taking pictures and texting :) If it's your first time making it, I'd plan on spending an hour, but it is so worth it! Oh yeah, the batter.
3 eggs
1 cup cornstarch
I cracked 3 eggs in a bowl and beat them with a whisk.

Then I mixed in 1 cup of cornstarch. It kind of had the consistency of glue...wood glue to be exact.

I cut up 2 large boneless, skinless chicken breasts into small chunks and dumped them in the bowl of batter and stirred it with a spoon to coat all of the chicken.


I heated up oil in the skillet on medium-high. It was probably about a cup of oil, just enough to go about halfway up the pieces of chicken. Using tongs, I picked up the pieces of chicken and dropped them in the oil spacing them apart so they didn't stick to each other. Once I had filled up the skillet, I pushed them closer together and then added a few more pieces.

Once they were a light golden brown on the bottom, I turned them over and let them get golden brown on the other side. I started out doing this with tongs, but after getting popped a couple of times I got my poker fork and used it to flip them over!

When they were done I put them on a rack on top of a cookie sheet to drain. If you're not quite sure if they're done, just pull out a piece, cut it in half and push down on it a little. If the middle is white and the juices are clear it's done.

This is where I started following Frieda's recipe for the sauce. I stirred all the ingredients up in a bowl except I substituted rice vinegar for the apple cider. Then I added 1/2 teaspoon of crushed red pepper flakes to the oil in the skillet. I also used my kitchen shears to snip off the tops of some green onions and added it to the skillet as well.

Following her instructions I poured in the sauce and stirred it until it was thick. Then I put in the cooked chicken and stirred it until every piece was thickly coated. My mouth was seriously watering at this point! I spooned the rice on some plates and then spooned the chicken on top.

I thought you might need an extra large picture of this yummy goodness! I finally did it. Now that I can make Honey Walnut Shrimp (my favorite) and General Tao's Chicken (my hubby's favorite), the only thing left to keep me from wanting to eat chinese out are egg rolls and crab rangoon!
Monday, February 14, 2011
Turkey Enchiladas
My plan this evening was to make supper with pasta and the chicken fajita meat I had leftover from Friday night. This afternoon I walked in the door and my brother, who lives with us, said "I was going to make a turkey burger for lunch (all three of us are on "the diet"), but I couldn't find any buns. So I made two wraps with the leftover chicken meat. I could only eat one. The other ones in the fridge if anyone wants it." I was hit with two emotions at once. I was so proud that he had taken the initiative to scrounge around the kitchen and make himself something for lunch that was on "the diet" and I was panicking wondering what I was going to make for supper. Obviously, my brother does not read my blog!
Fortunately, I had just gone to the store and picked up what I needed to make Turkey Enchiladas. Something that became a habit after being on "the diet" before was instead of eating ground beef, we eat ground turkey. I keep calling it a diet, but really it's a change in eating habits. If you've seen the movie "Supersize Me" then you know that the doctor recommends that you not eat at McDonalds more than once a month. Well, this way of eating recommends that you only eat ground beef once a week and that day being your cheat day. Other recommended changes are substituting wheat bread for white bread, whole wheat pasta for regular pasta, ground turkey for ground beef. Well, you get the picture. So most everything I make that would normally be made with ground beef, I make with ground turkey instead.
 If you've eaten at my house before, odds are you've eaten ground turkey and probably didn't know it until now. My brother lived here a whole week before I mentioned eating turkey burgers and he looked at me like I was crazy and said that he didn't know about eating any ground turkey. After I told him he had been eating it all week he was anxious to try it. If you've tried ground turkey before and didn't like it, I recommend trying the seasoned ground turkey. I think you'll be surprised how good it tastes. To make Turkey Enchiladas I use the Taco Seasoned ground turkey.
Turkey Enchiladas
1 lb. Taco Seasoned Ground Turkey
1 cup of Rice (brown or white, brown is better for you)
2 cups of water
1 tablespoon butter
1 16 oz. can of corn (you can use Mexi-corn, corn with red and green peppers, instead)
1 8 oz. can of tomato sauce
Shredded Cheese
1 16 oz. can of Enchilada Sauce
Flour Tortillas
Before you start browning your meat, you'll need to start your rice. In a saucepan add the rice, water and butter. When you cook rice, the proportions are always twice as much water as rice. On the package it says that butter is optional, but I've made rice with and without butter and I always opt to add it because it gives it a better texture. A little butter isn't going to hurt anyone.
Turn the heat up to high until the rice starts to boil. Once it's bubbling, turn the heat down to the lowest setting and put a lid on the pan. If you're lid doesn't fit tight, use a dishtowel to cover the pan and push the lid down. Make sure you fold up the sides of the dishtowel so that it doesn't catch on fire. Set your timer for 8 minutes and then turn the heat off. Let the pan sit for at least another 5 minutes before taking off the lid. It doesn't hurt to leave the lid on it longer.


Once your rice is cooking, start browning your meat. You brown it in a skillet just like you would ground beef. For added flavor, you can chop up an onion and a bell pepper and add it to the meat while it's cooking. After it's browned, drain the broth and put it back in the skillet. Make sure the burner is turned off before you put it back on the stove.
Drain the corn. Add the rice, corn and tomato sauce to the skillet and stir it until everything is evenly combined. Turn the oven on 350 degrees. Preheating is absolutely necessary when you're baking some dishes, but we're really just heating up this dish so it's not necessary to make sure the oven is preheated in this case. If you've noticed recipes that call for you to bake something in the oven, the first step is always to turn your oven on. That's so that by the time you're finished with all the steps, your oven is preheated.
Put two or three (depending on how big your spoon is) generous scoops of the meat mixture down the middle of a tortilla. I use wheat tortillas, which again, is a recommended substitution for regular flour tortillas. My personal recommendation is to try it and if you really can't stomach it, then just eat less of it. Add a little shredded cheese on top of the meat mixture and then fold each side of the tortilla up and lay it seam down in a baking pan. Repeat this with more tortillas. I usually use about 5 tortillas. You may end up using more if you use less filling than I do in each one.


Once all the tortillas are rolled, any leftover meat mixture can be pressed down the sides in between the pan and the tortillas. Pour the enchilada sauce over the tortillas. Use a spoon to spread it out making sure the tortillas are completely covered. Sprinkle shredded cheese over the top of the enchiladas and then put the pan in the oven for about 20 to 30 minutes. When it starts bubbling and the cheese is completely melted it's done.

Take the enchiladas out of the oven and serve. A portion for myself would be half of an enchilada. My husband and my brother will each eat a whole enchilada so this dish makes two meals for us. I refrigerate the leftovers and if someone doesn't decide to have enchiladas for lunch tomorrow then supper is already made for Wednesday or Thursday!


