


Wednesday, July 27, 2011
Mud Pie a.k.a. Chocolate Cobbler and an Award!
So, I was having an amazing craving for chocolate and I asked my foodie friends on Facebook to suggest their best chocolate _____ recipe. I was drooling so much I couldn't decide what to make. Some of them would involve a trip to the store, so I decided to go for the one that I was promised I would have all the ingredients on hand. Sure enough, I had everything and I bet you will too!
I was sent over to southernplate.com on a mission to find her chocolate cobbler and found out if you ask Christy for this recipe, you'll probably get it alot quicker if you ask for Mud Pie instead. While I was making this it reminded me of being a kid making mud pies. Yep, it's the perfect consistency for it. Matter of fact, I've tasted a mud pie before. I think it was the only thing that saved my behind when my brother and cousin went and told on me for making them eat one. In all fairness I had eaten one too, but I bet this one is going to taste alot better!
Of course, for detailed instructions and the complete recipe, you'll have to go visit Christy over at southernplate.com. It'll be worth the visit. You'll walk away with a whole lot more than just this and I'm sure you'll go back for a second helping of her recipes. Okay, on to the Mud Pie!
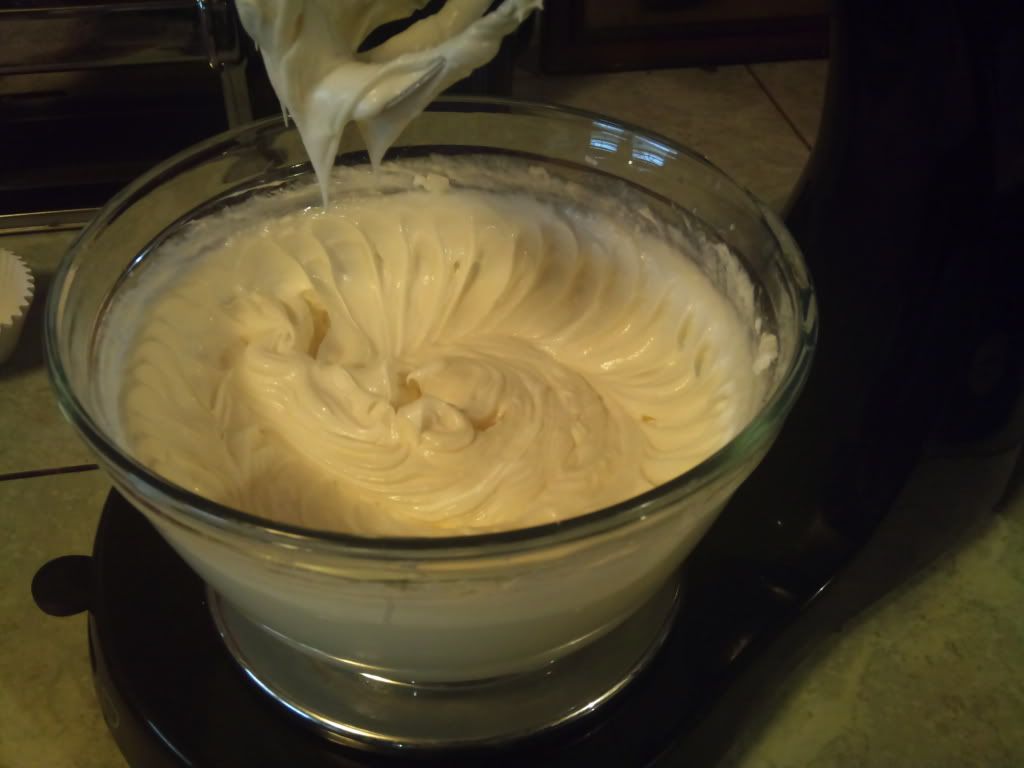
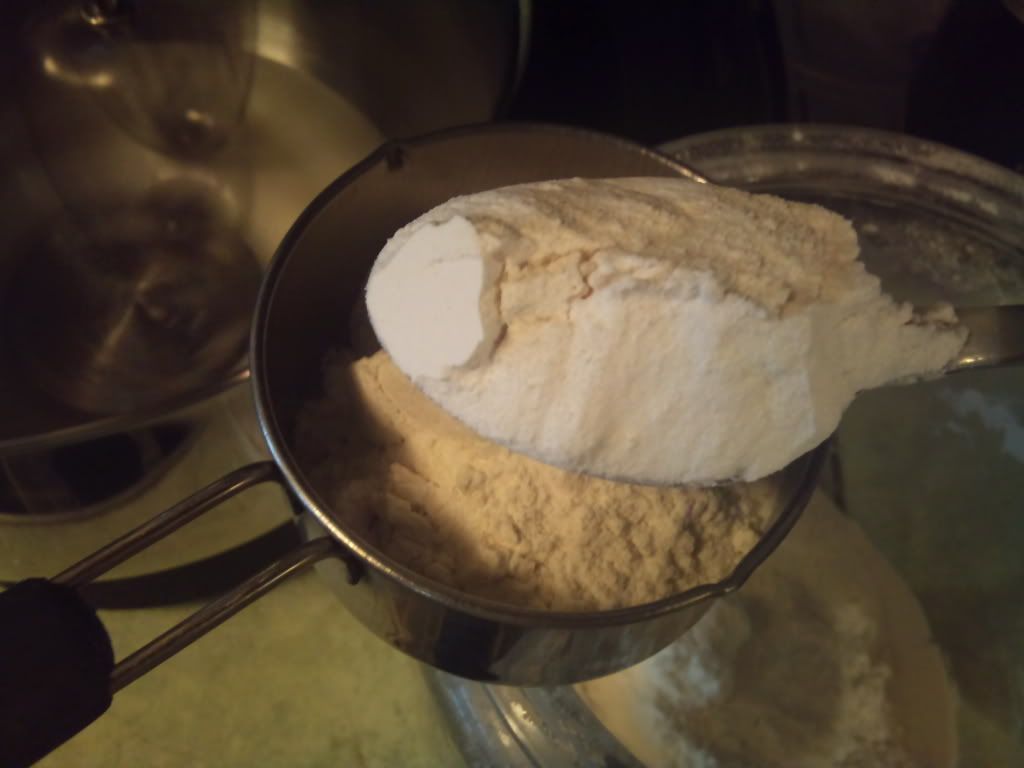
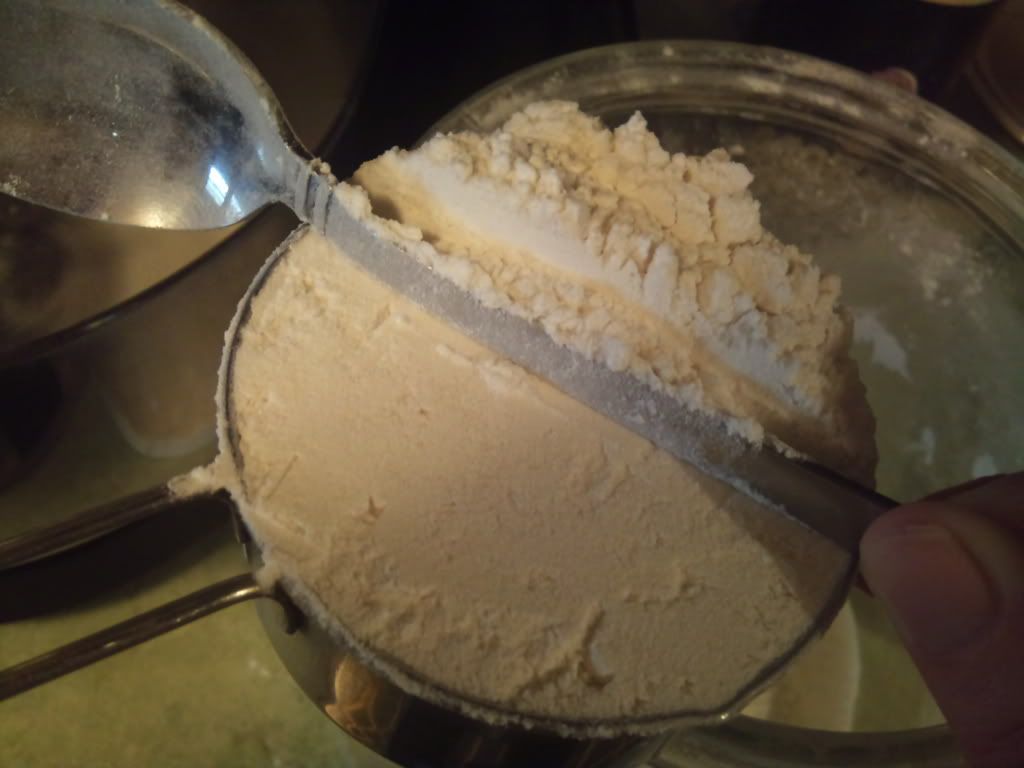
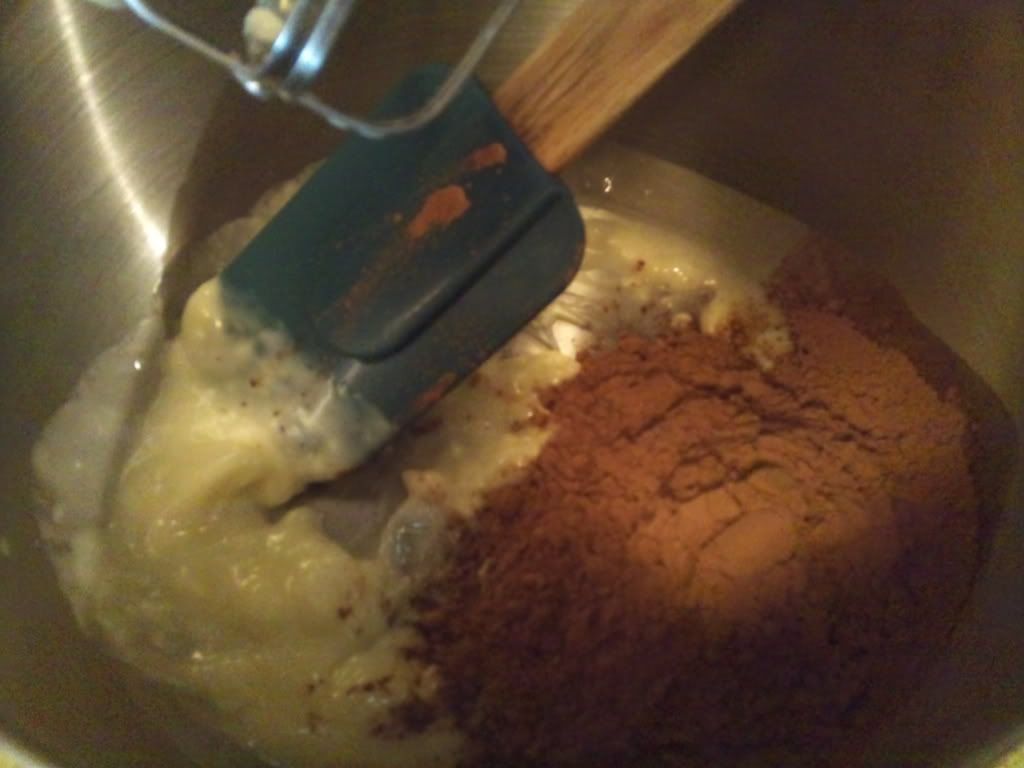
This is so, so, so easy! Put flour, sugar and cocoa powder in a bowl and mix it up.

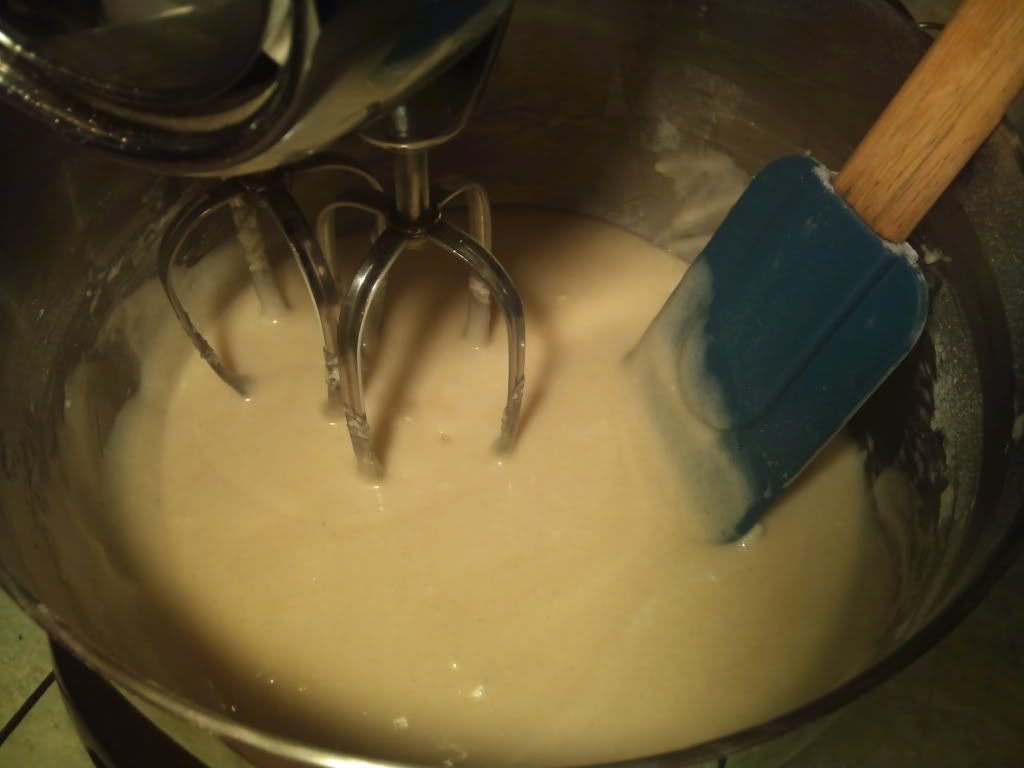
Add milk, oil and vanilla and mix it up.

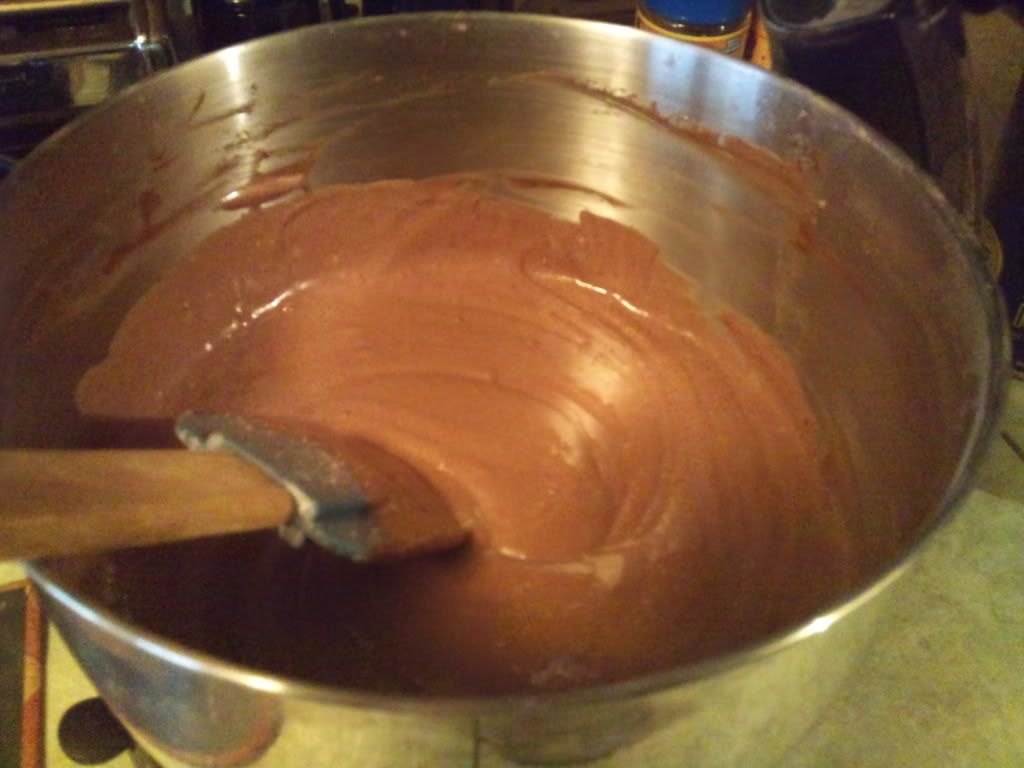
Pour the batter in a greased 8x8 square pan.
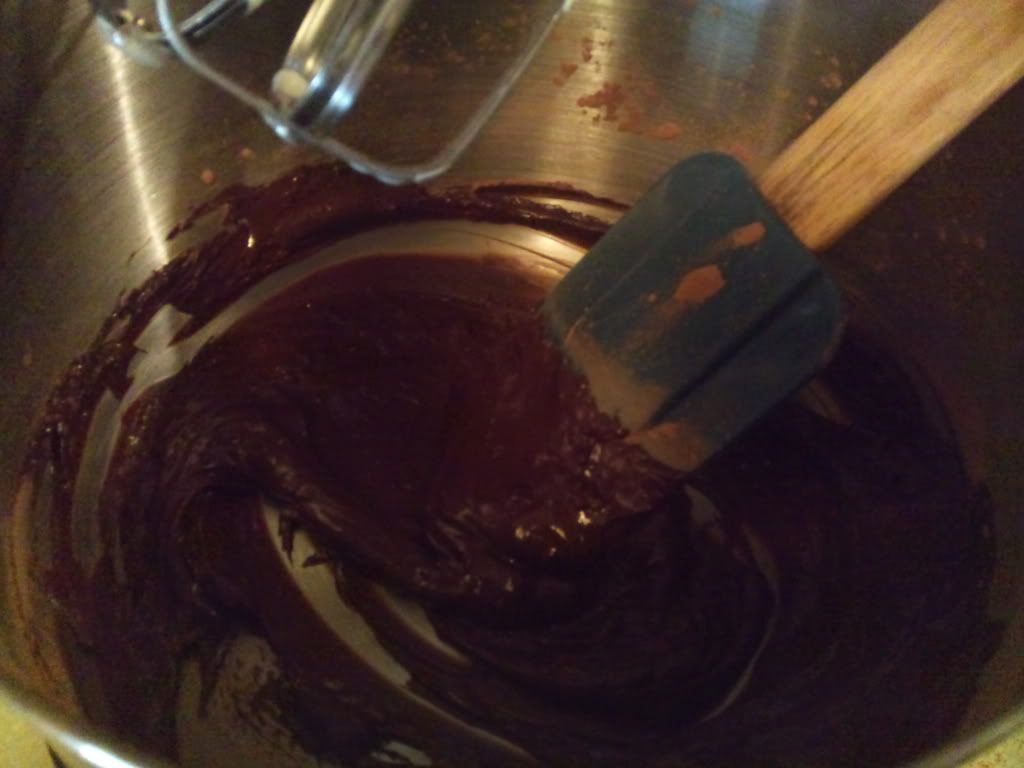
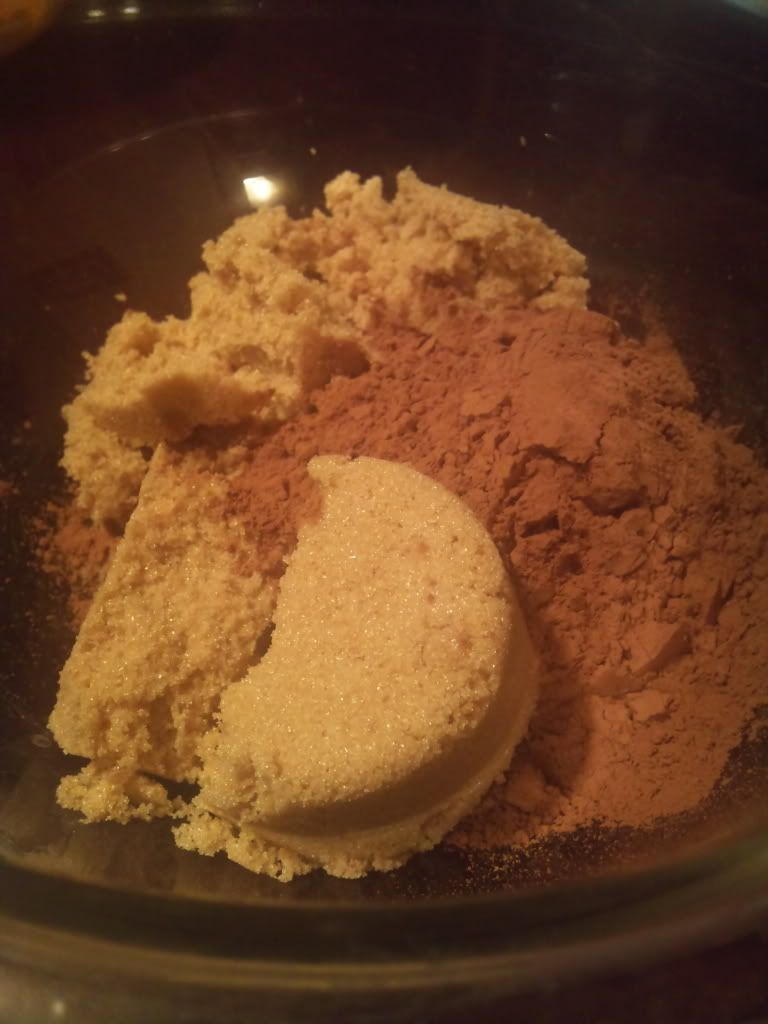
In another bowl, mix together brown sugar and cocoa powder.
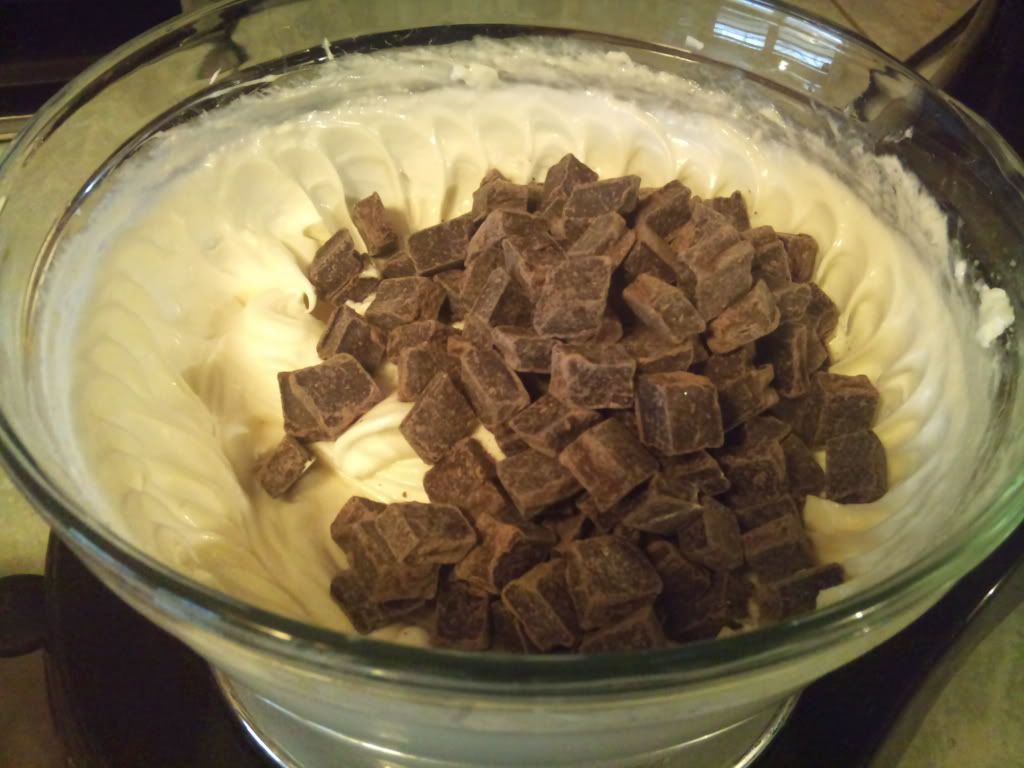
Now, this isn't in Christy's recipe, but I vividly remember the mud pie I ate as a kid had chunks of something in it. It was probably gravel or chunks of mud, I can't be sure, but the perfect mud pie must have some kind of chunks of something in it so I added a cup of chocolate chips that I floured.
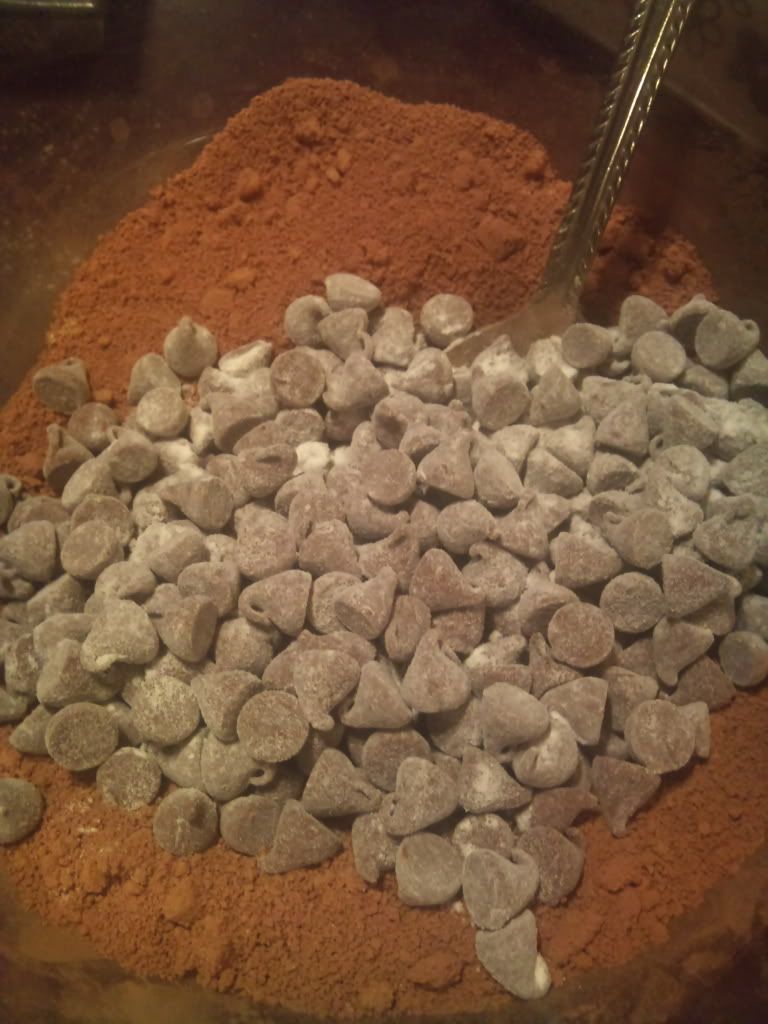
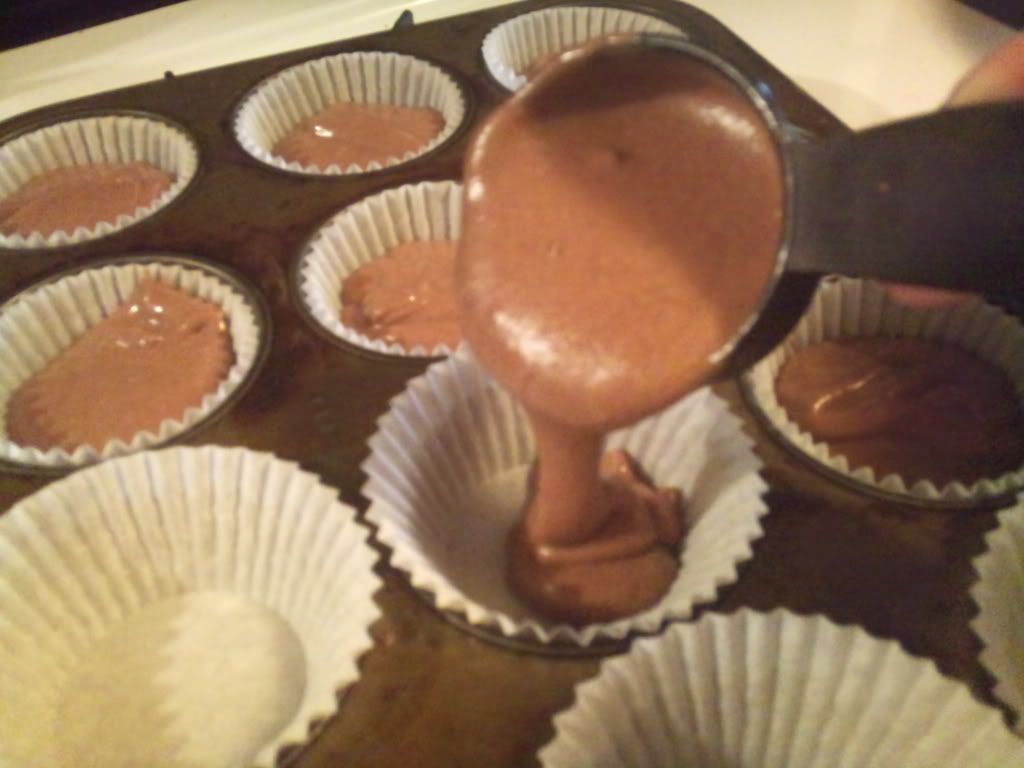
This is the first time I've floured my chocolate chips and I really don't know if I should have put them in with the batter or the topping, but I know as a kid I mixed the chunks in with the dirt before I added the water so I'm going to hope this works. To flour them, I just put them in a bowl with a little less than a tablespoon of flour and shook it to coat the chocolate chips. It's supposed to keep them from sinking to the bottom of the cake. So just keep this in mind when you're baking with chocolate chips. Oh! Now sprinkle all the dirt and chunks over the batter.
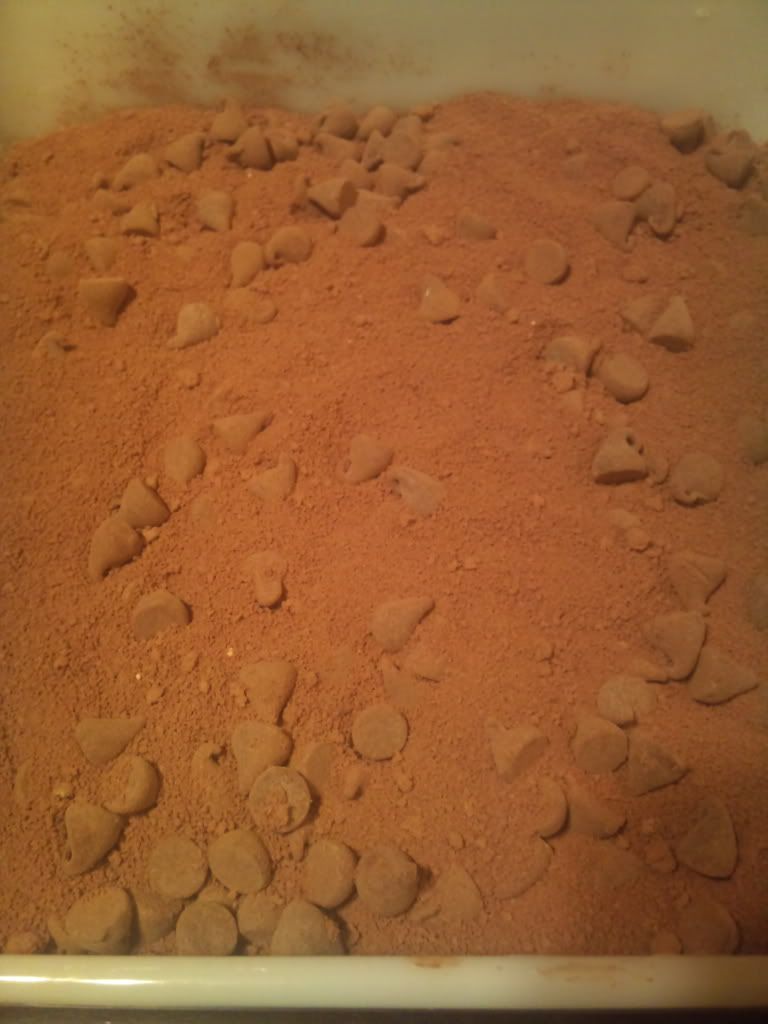
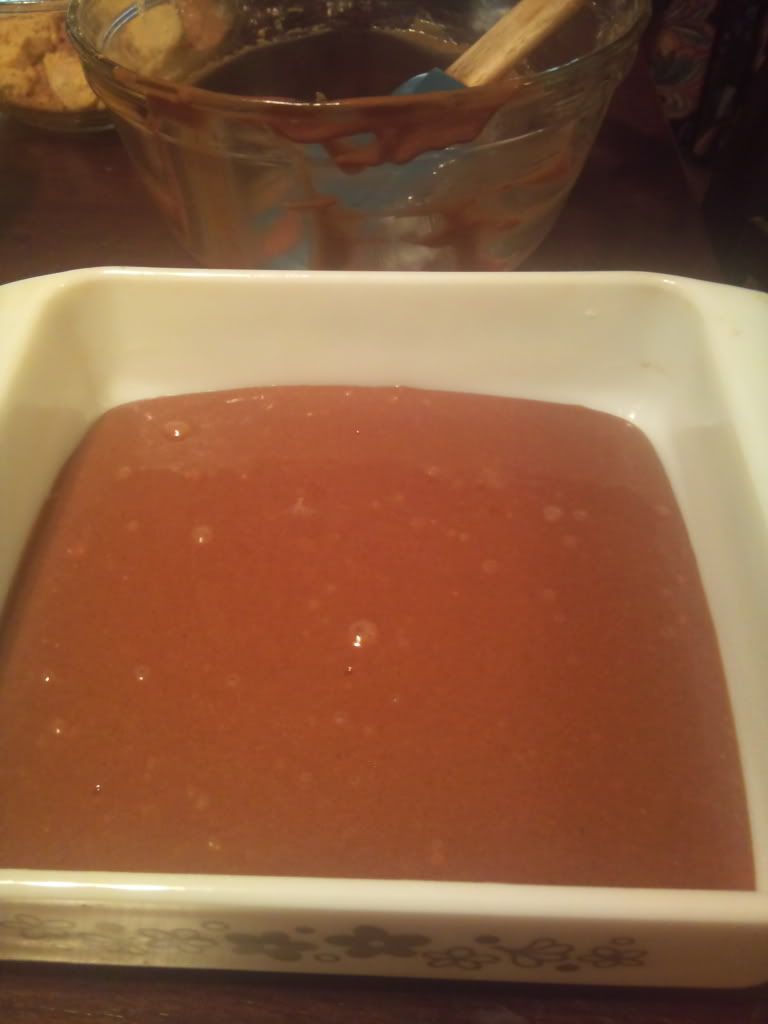
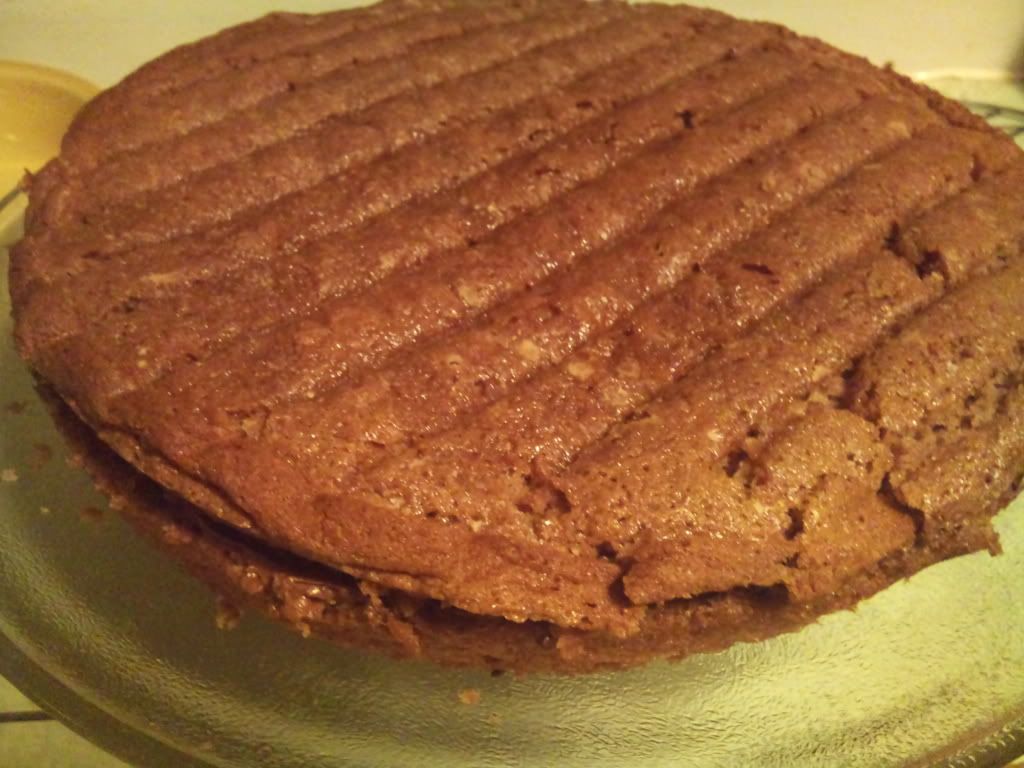
Slooooowly pour hot water over the top.
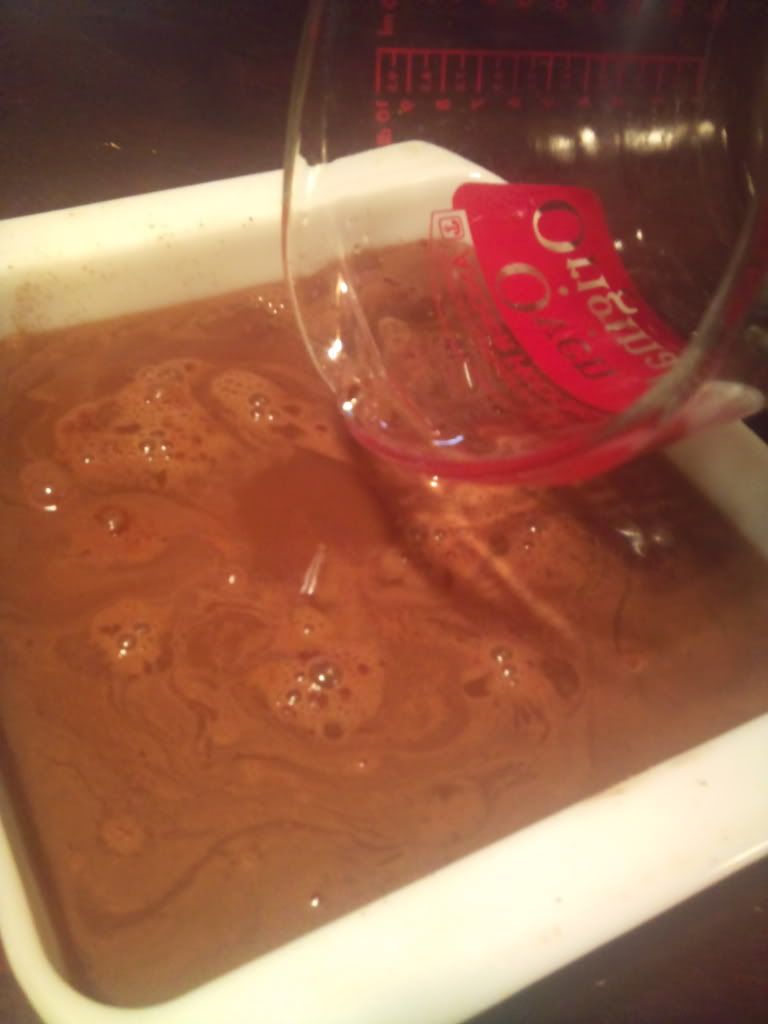
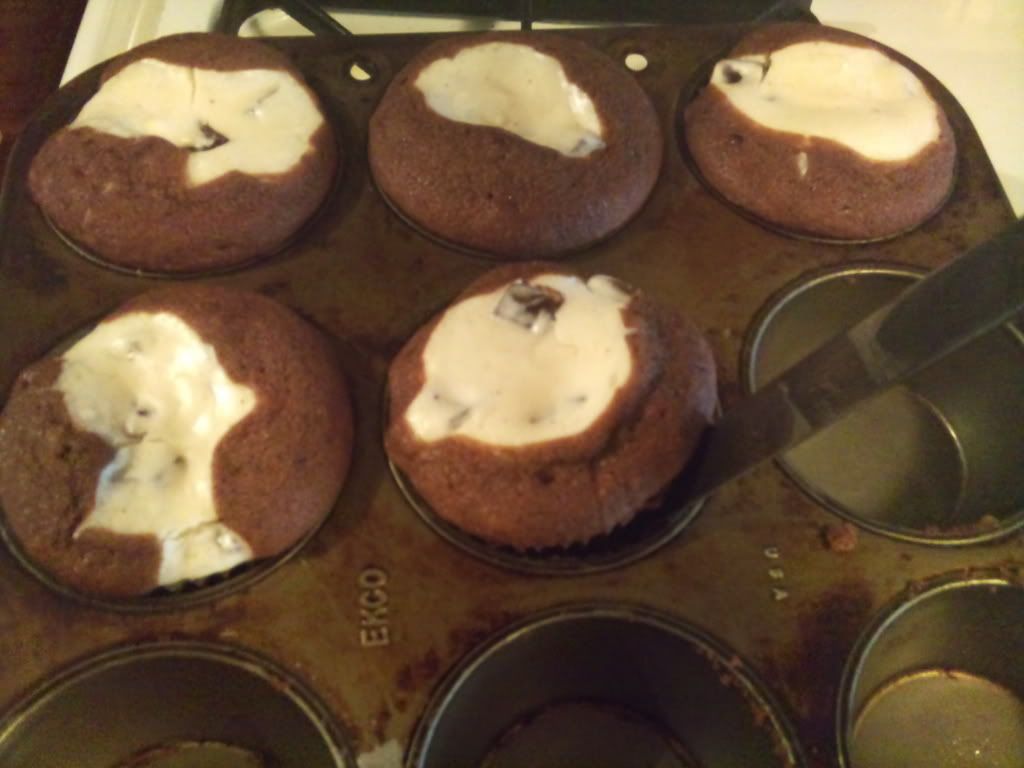
And then pop it in the oven. Now, while we're waiting for it to bake, seriously, as I type my mud pie is in the oven, look at this...
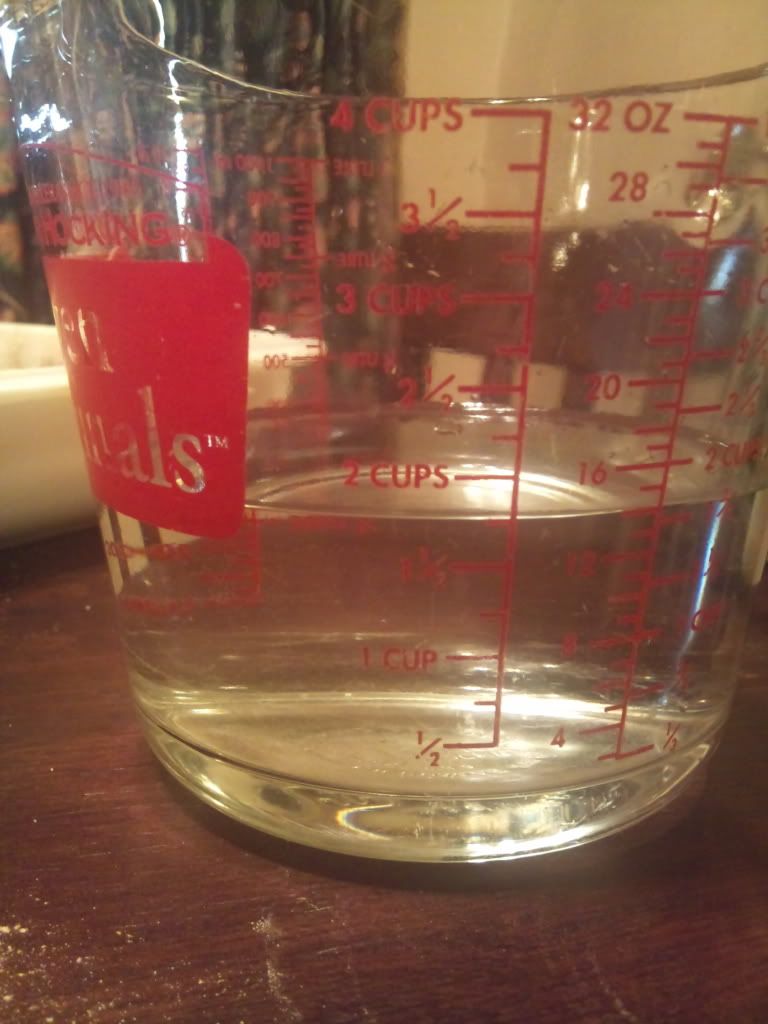
On my measuring cup 1/4ths are not marked. Well, I didn't think they were anyway, but that little mark in between the 1 1/2 and 2, that's 1 3/4 cups! Yeah, so I thought I'd pass that piece of newly acquired knowledge on to you if you have one of these measuring cups. I smell chocolate! Be right back with the results of our hard labor....
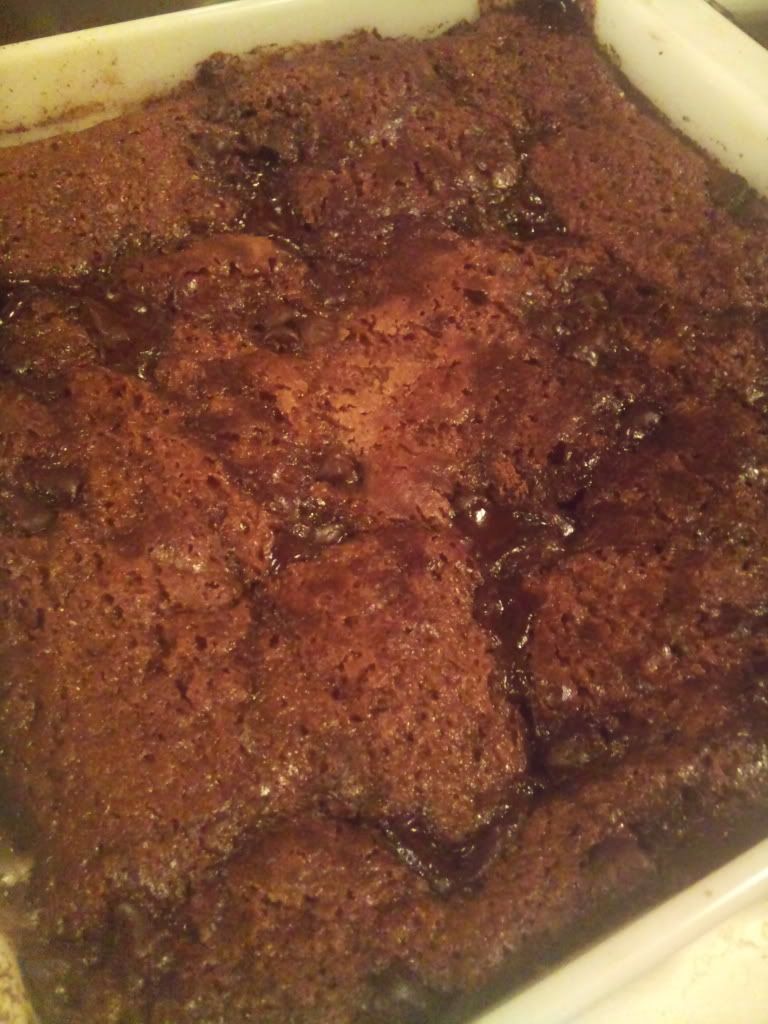
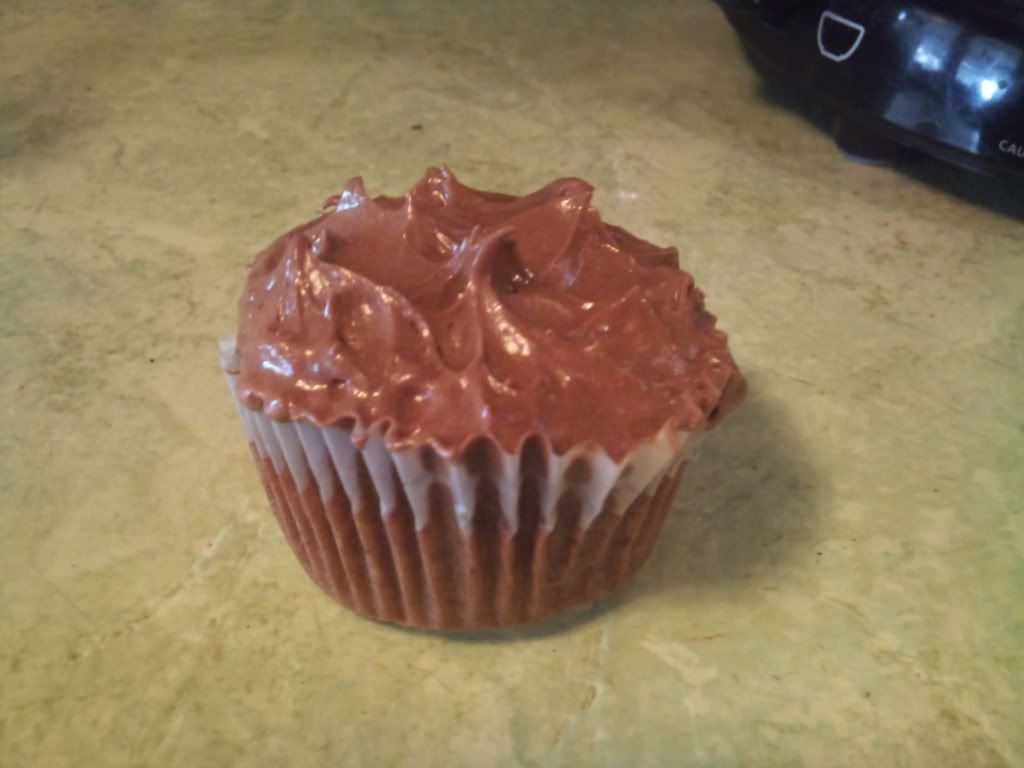
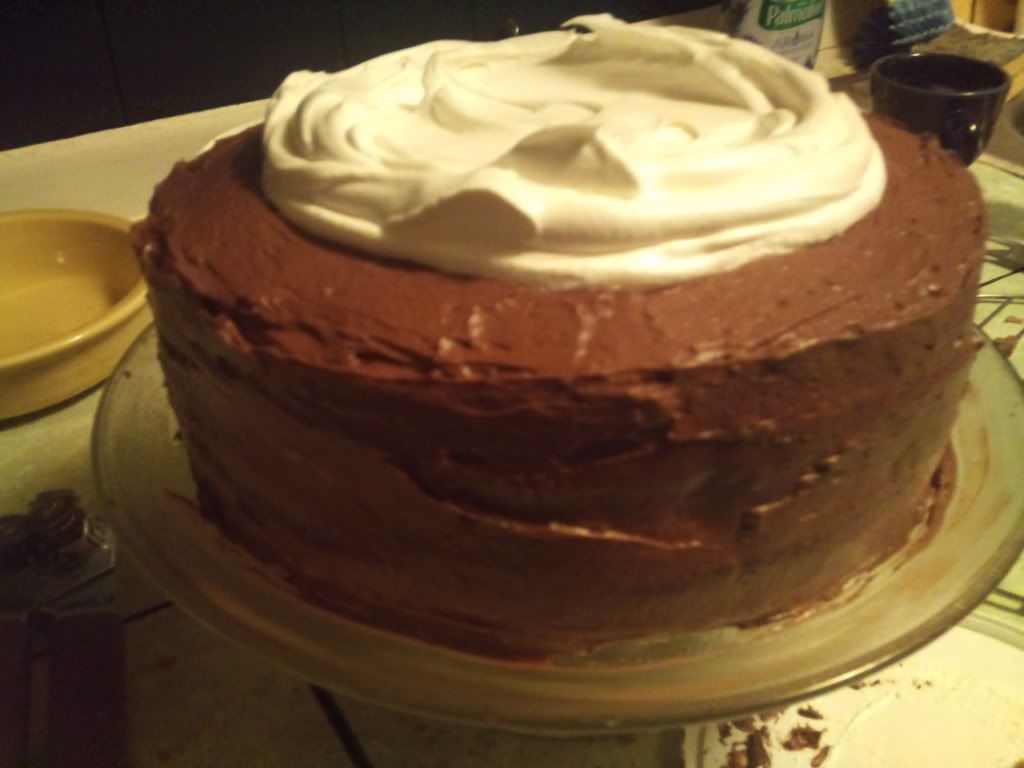
I bet my brother and cousin would be begging me for a bite of this mud pie!
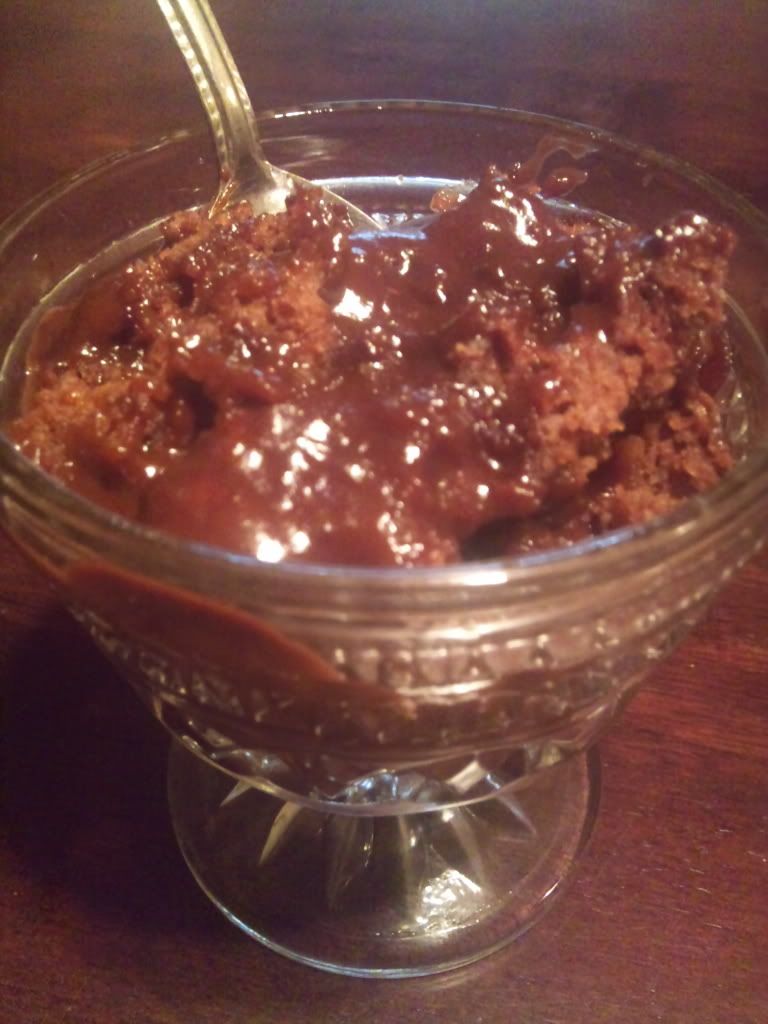
F.Y.I. don't change a thing with the chocolate chips. It's Perfect!
Now, onto something special!

Yesterday, Mel passed on the Blog On Fire Award to me and 9 other blogging foodie friends and today I get to pass it on to 10 of my blogging foodie friends! Now, don't be upset if you didn't get it. I wish I could give one to each and every one of you because I know what kind of time and dedication it takes to blog, especially about food! Needless to say it was a hard choice to just pick 10, but here are the winners:
The Crockpot Challenge
Alison's blog was one of the first blogs I connected with when I started my food blog. She let me know that she tried one of the recipes I posted and that was a great boost for me! Whenever she's commented on my blog, I always knew it was because she wanted to, not because she felt obligated to return a comment.
Learn, Laugh, Cook
Mandy's blog was also one of the first blogs I connected with. She always has a positive attitude and you can't help leaving her blog with a smile on your face! She always has a menu plan for the week, which is something I wish I could do. One of these days, one of these days... I know she'll be proud of me when I finally do it... on a regular basis.
My Catholic Kitchen
Veronica's roots run deep in her food and her faith. Even though I'm not Catholic, she's a reminder for me to keep God in everything I do, including cooking. Her pictures are always so awesome and so is her food. I always leave her blog feeling a little more southern.
The Hill Country Cook
Katie's blog started out as Lucky Girl's Sweets and Treats and if I remember right she was one of my first Facebook fans that wasn't family or someone who knew me. I have no doubt that if we each moved 200 miles closer to the other you'd see one of us in the other's kitchen!
Frieda Loves Bread
Frieda, Frieda, Frieda....I cannot tell you how much she has taught me. Thanks to her I can make bread that comes out decent (I'm still practicing!), but I thank her most of for teaching me how to properly use my pasta maker to make the most wonderful pasta and that has earned her a very special place in my heart, as well as this award!
Anny's Blog
Anny's blog was one of the first blogs that I left a comment on. She has one of those personalities that really comes through in her writing and you can't help but to like her! Plus she cooks things I would never dare to try until I've seen her try it and say it's good.
Mayree's Deep South Cakery With A Side Of Life
Mary is another friend I found on Facebook. I have no doubt that no matter what I ventured to do, she would cheer me on. She makes the most wonderful cakes I've ever seen and makes me yearn to decorate cakes again. She always has the best stories to tell. I can still see her momma chasing down armadillos.
Simple Fare, Fairly Simple
Valerie is just Valerie plain and simple. One of the first things I realized about her is she doesn't put on airs, she is who she is down to the bone. She's one of the sweetest, most gracious and humblest people I know. You've got to see her cookbook. If I was going to publish a cookbook, it would be exactly like hers. Well, not the same recipes of course, but, well, just go see it and you'll see what I'm talking about!
Food Is Love
Laurie's blog is one I can't help but to think about when I'm driving by a fast food restaurant and wanting to turn in. I swear I hear her on my shoulder saying, "it won't take but a minute to cook a burger at home and it'll be better for ya." She also let me do a guest post on her blog and I'll always remember her for that.
Sweet Tea With Cindy
Cindy's blog has more to offer than just sweet tea. I know I can always go there for a dose of encouragement, a recipe for something sweet and a big ole glass of southern sweet tea.
Okay, that's my 10! Again, I wish I could give a reward to each and every one of you because I know you pretty much have to put every ounce of your soul into blogging about food! I've learned with foodie bloggers you get a double dose of love in their cooking because they not only put it in their food, they put that same love on here for the rest of us!
Tuesday, May 17, 2011
Mocha Mystery Delight
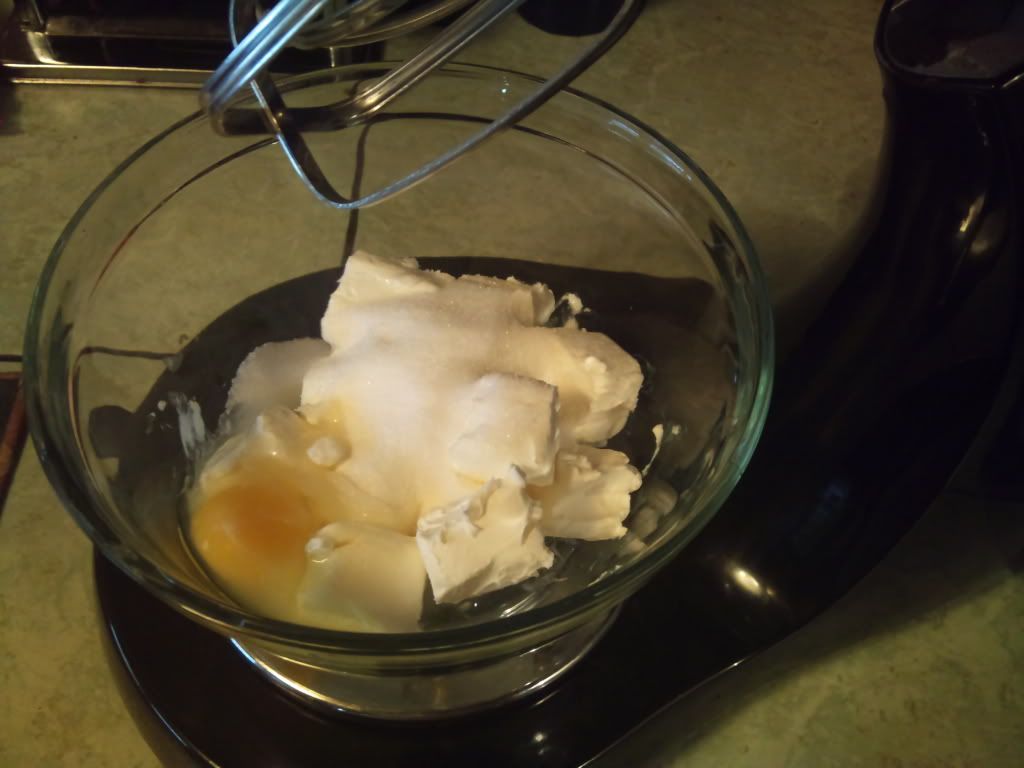
I found this recipe in my 1968 New Better Homes & Gardens Cookbook. It's really interesting to see that some recipes have stood the test of time by being passed down, but then there's this one for Mocha Mystery Delight that slipped through the cracks. I think maybe it was placed in this cookbook before it's time and I've unearthed a buried treasure!
This recipe is so simple, but I still seemed to overlook one tiny detail after reading the recipe THREE times before I attempted to make it. When I put the cake in the oven I realized it called for a 1-layer cake mix and I used a 2-layer cake mix. Trust me, this could be one of the reasons this recipe didn't quite make it. You want to use, well, the only option we have these days for cake mix, the 2-layer kind :)
You need:
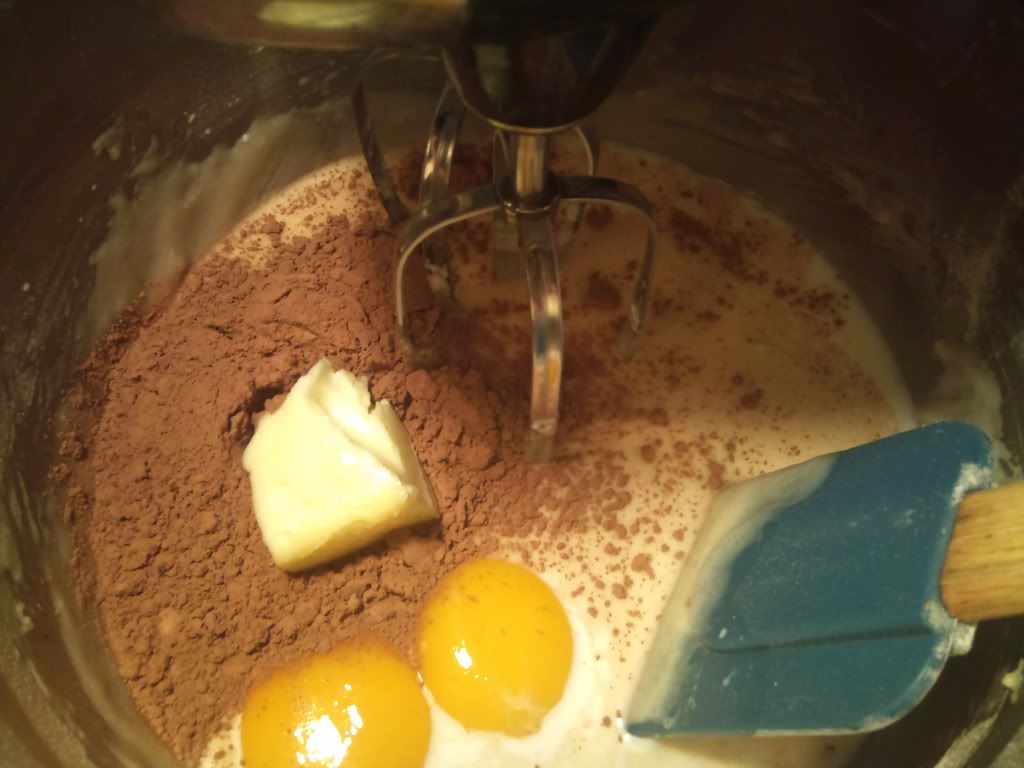
1 chocolate cake mix (I used Betty Crocker Super Moist)
1 box of regular (not instant) chocolate pudding
1 tablespoon of instant coffee (if you don't have instant don't worry, read on)
First, turn the oven on 350 degrees.
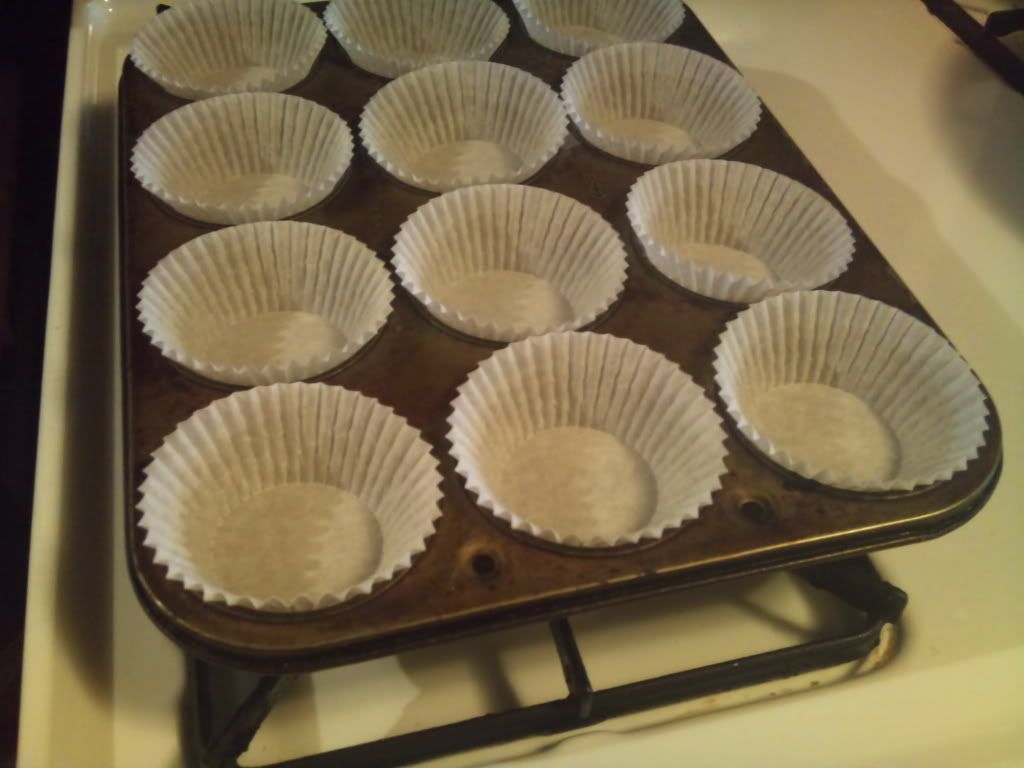
The recipe said to grease a 9 x 9 x 2 cake pan. This should have been my first clue as to something being amiss, I KNEW it wasn't going to fit in that so I used an 11 x 9 x 3 pan. If you don't have one, don't go out and buy one, just use your 13 x 9 x 2 pan. I was out of Baker's Joy and still a little disappointed with it from the last time I used it, so I greased and floured the pan the old-fashioned way. Take your hand and scoop up a little shortening and spread a thin layer all over the bottom and sides of the pan.

Then dump about a tablespoon of flour in the pan and turn the pan to coat the sides and bottom of the pan with flour, tapping the sides of the pan with your hand. Hold the pan over the trash can to catch any flour that may fall out while you're coating the sides with flour, give it a good tap all over and dump the excess flour in the trash.

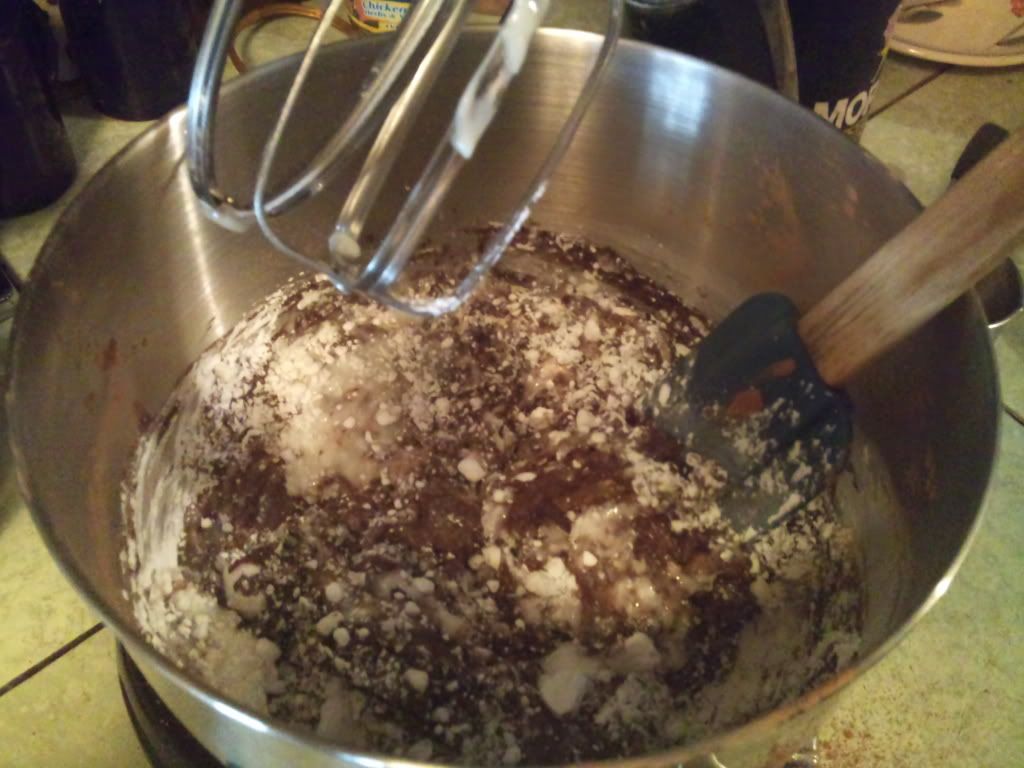
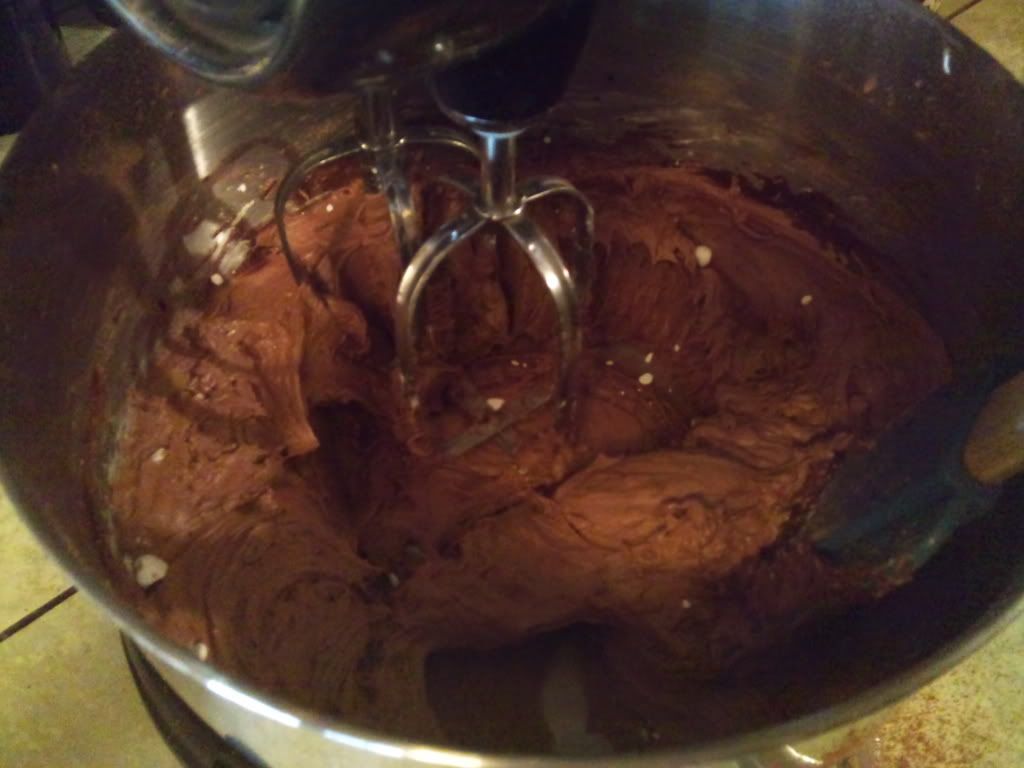
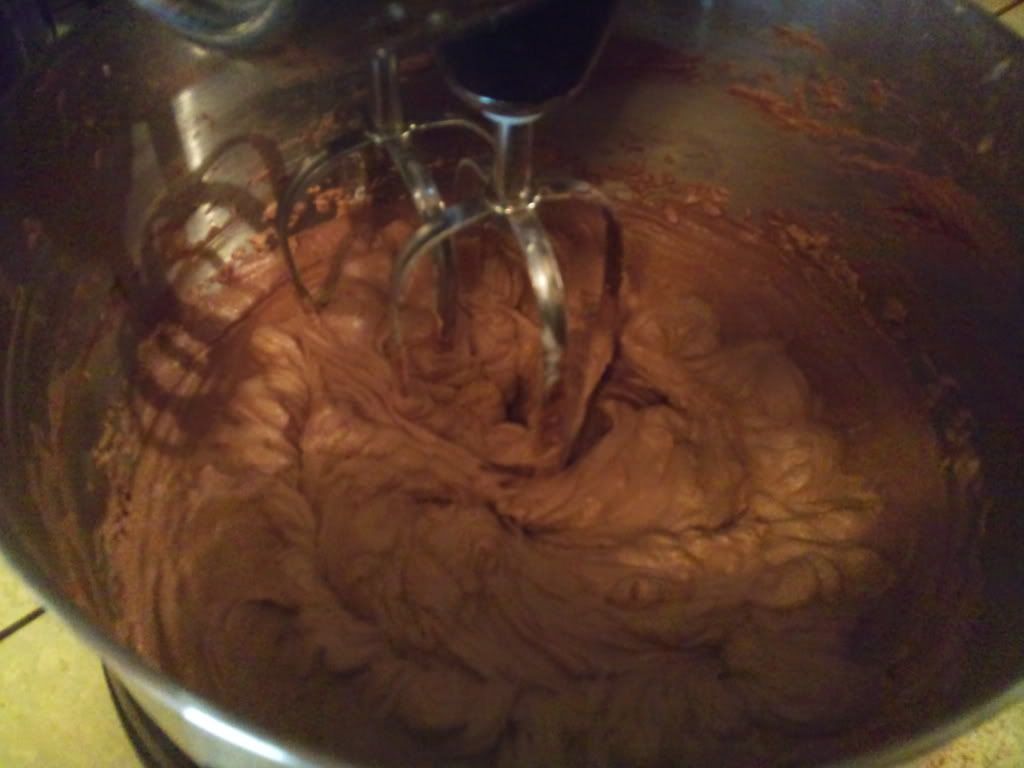
Mix your cake mix according to the package directions and then pour it in your pan.

Mix together the instant coffee and 2 1/2 cups of cold water. If you don't have instant, just add 1/2 cup of water to 2 cups of cold (already brewed) coffee. Then gradually add the package of pudding and mix until it's dissolved, about a minute or so.

Next, evenly pour the coffee/pudding mixture over the cake batter. I was thinking it would sorta lay on top of the batter, but that didn't happen so I just poured it over the cake as evenly as I thought was even.

Put the cake in the oven for 45 minutes. You can check it before the time is up if you think your oven may cook a little fast. Just use a toothpick or knife to stick in the middle of the cake, don't go all the way to the bottom though, just about halfway down and if it comes out clean, it's done.

Use a spoon to scoop out a piece and put it on a plate. Serve warm with whipped cream!

FYI...If you make Mocha Mystery Delight, it should probably be eaten within about 3 or 4 days. The coffee gets stronger and stronger and whew...I love strong coffee, but dang that was intense!
Monday, April 4, 2011
Chocolate Cherry Torte (Black Forest Cake)
It seems like forever since I cooked Chicken Cordon Bleu. To tell you the truth, I'm not even sure what we ate last week. However, I do know what we've eaten so far this week. Lots and lots of cake! Friday afternoon I baked a cake and for one reason or another I didn't end up frosting it until Friday night. We actually had company. My friend saw the cake sitting on the counter cooling and asked when I was going to frost it.
To tell you the truth, I've learned that it's a little embarrassing to cook in front of people these days, but I am learning to get past it for your sake and for the sake of all those who think cooking is so hard! I take pictures of everything I do in the kitchen. The other day I made sweet iced tea and took pictures of that. You never know when I might decide to post it. There was a day when I didn't know how to make sweet tea. Well, I made sweet tea, but it would turn cloudy or would sour the next day. Now when friends come over, they ask for a glass of my sweet tea.
So sweet iced tea will be a post for another day. Today I'm going to tell you how I made Chocolate Cherry Torte. I was actually making Black Forest Cake, but I did a little research and discovered that true Black Forest Cake has cherry liquor in it, also known as kirsch. However, I did use the recipe for the cake part. I'm still trying to recreate a cake I made when I was a kid. I thought using semi-sweet chocolate was the key, but it wasn't. It was close, but just not quite there yet. The cake part was a little more trouble than it was worth and since this "torte" is a little bit of work, if I did it over again, I would have probably used a cake mix or a basic chocolate cake recipe because it's the frosting and filling that make the cake.
My husband wants me to make him a Red Velvet Cake "from scratch" for his birthday in a couple of weeks. I asked him if he could really tell the difference between a box mix and a cake made from scratch. He says that sometimes he can. I think I'll make him take a taste test between now and his birthday. Stay tuned for that post because I definitely will be posting about it! For now, lets talk about that Chocolate Cherry Torte I made.
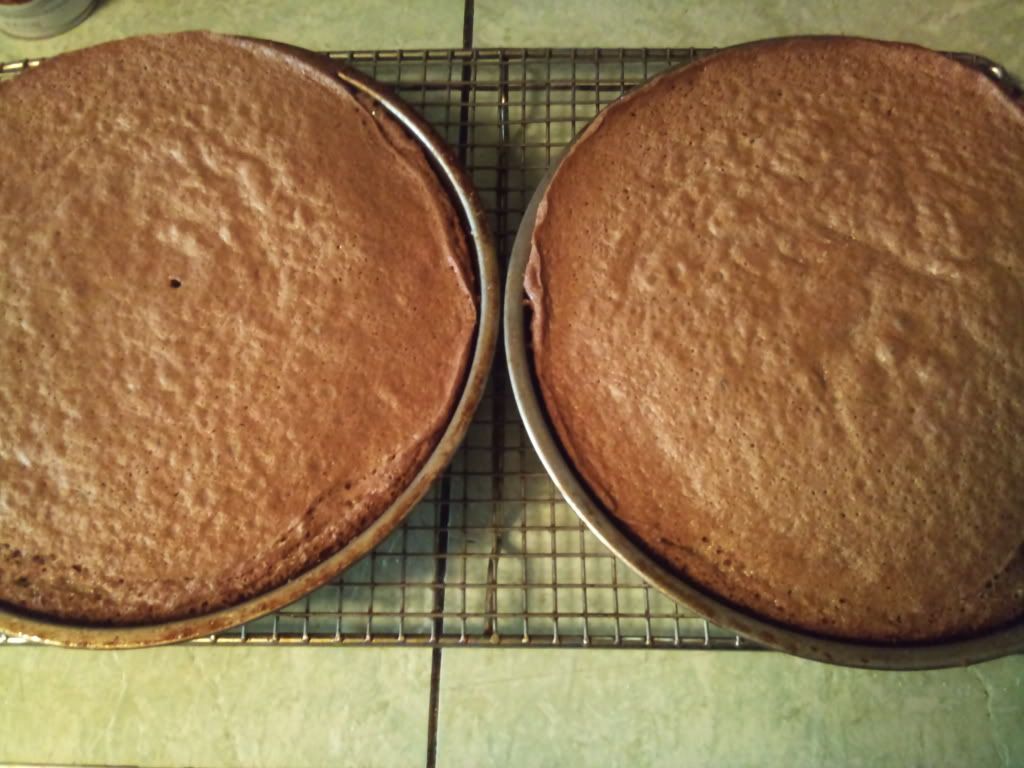
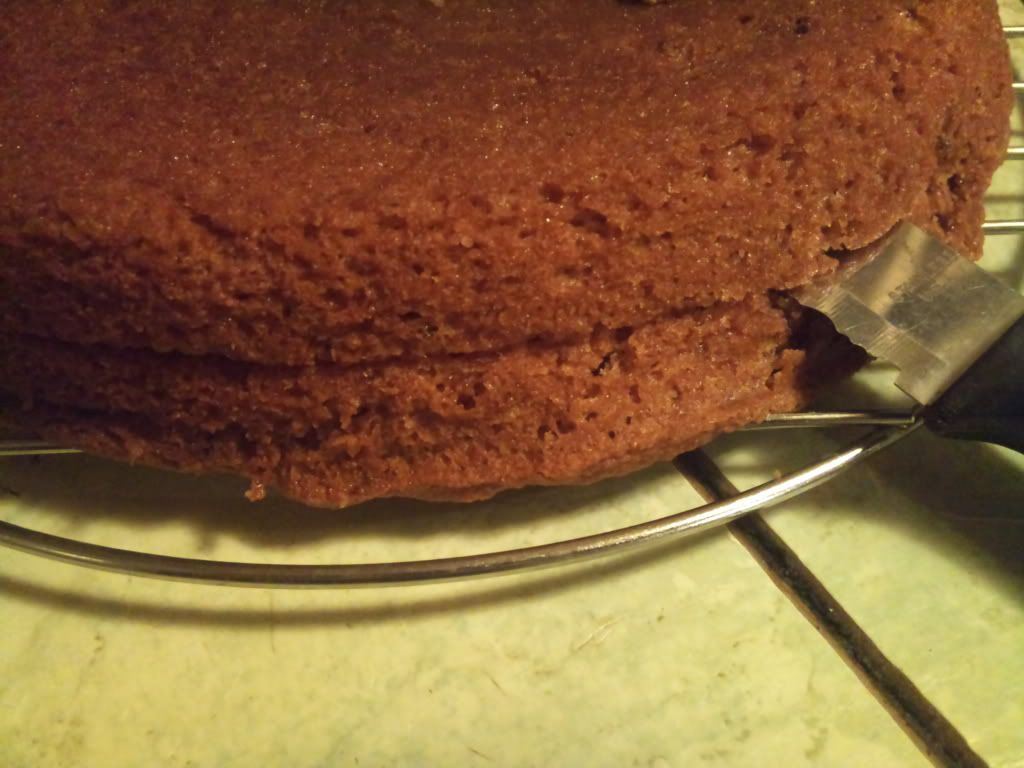
I use Baker's Joy spray to grease and flour my pans. Once I made my cake batter, I split it between two round cake pans.


Next, I put a thick layer of frosting just around the edge of the cake to hold in the cherry filling. I spooned the cherry filling out of the can and put it in the middle of the frosting.


Then I took Cool Whip and spread a generous layer over the top of the cherries and put the third layer on top and frosted it.


Then I put the top layer on and frosted the sides and around the edge of the top of the cake. In the middle I spread cool whip and the rest of the cherry pie filling. Like I said, I had someone watching and forgot to take a few pictures, but I think you get the general idea.
Knowing what I know now, I would have put the cakes in the refrigerator since I was going to be serving it immediately after frosting it. It would have been fine if I had frosted it and then put it in the refrigerator for several hours before cutting it. However, it was still really good and it really didn't look all that bad.


We still have a few more pieces left, but I imagine it'll be gone tomorrow!
Monday, March 21, 2011